How to Organize Artworks into Folders
Overview
Folders let you group the artworks in your Inventory into named collections, so a growing catalog stays browsable for you and presentable to buyers. They are for artists and galleries who manage more than a handful of works and want to organize by series, location, or any grouping of their own. Folders live on your Inventory page as cards above the artwork list, and each folder can be shown on or hidden from your public profile and link-in-bio page. Moving an artwork into a folder changes only where it is organized, not whether it is published, listed, or sold. New folders start hidden from your profile until you choose Show folder on profile. When you finish, you will have named folders containing the artworks you moved, with visibility set the way you want it.
Before you start
- A Cohart seller account (artist or gallery) with artworks already in Inventory — folders organize works you have uploaded first (see “How to Upload an Artwork” for single uploads or “How to Bulk Upload Artworks” for spreadsheet uploads).
- A naming plan: folder names allow up to 80 characters, and each folder card can be dragged to reorder it.
- Expect organization only: moving works never publishes, lists, or sells them. New folders start hidden (marked HIDDEN ON PROFILE) until you show them, and the folder menu also offers Delete folder — read its confirmation dialog carefully before confirming.
- Effects to know: Show folder on profile publishes the folder card to your public profile and Link in Bio, while folders left hidden keep the HIDDEN ON PROFILE badge; moving artworks in or out never changes whether they are published or listed.
Steps
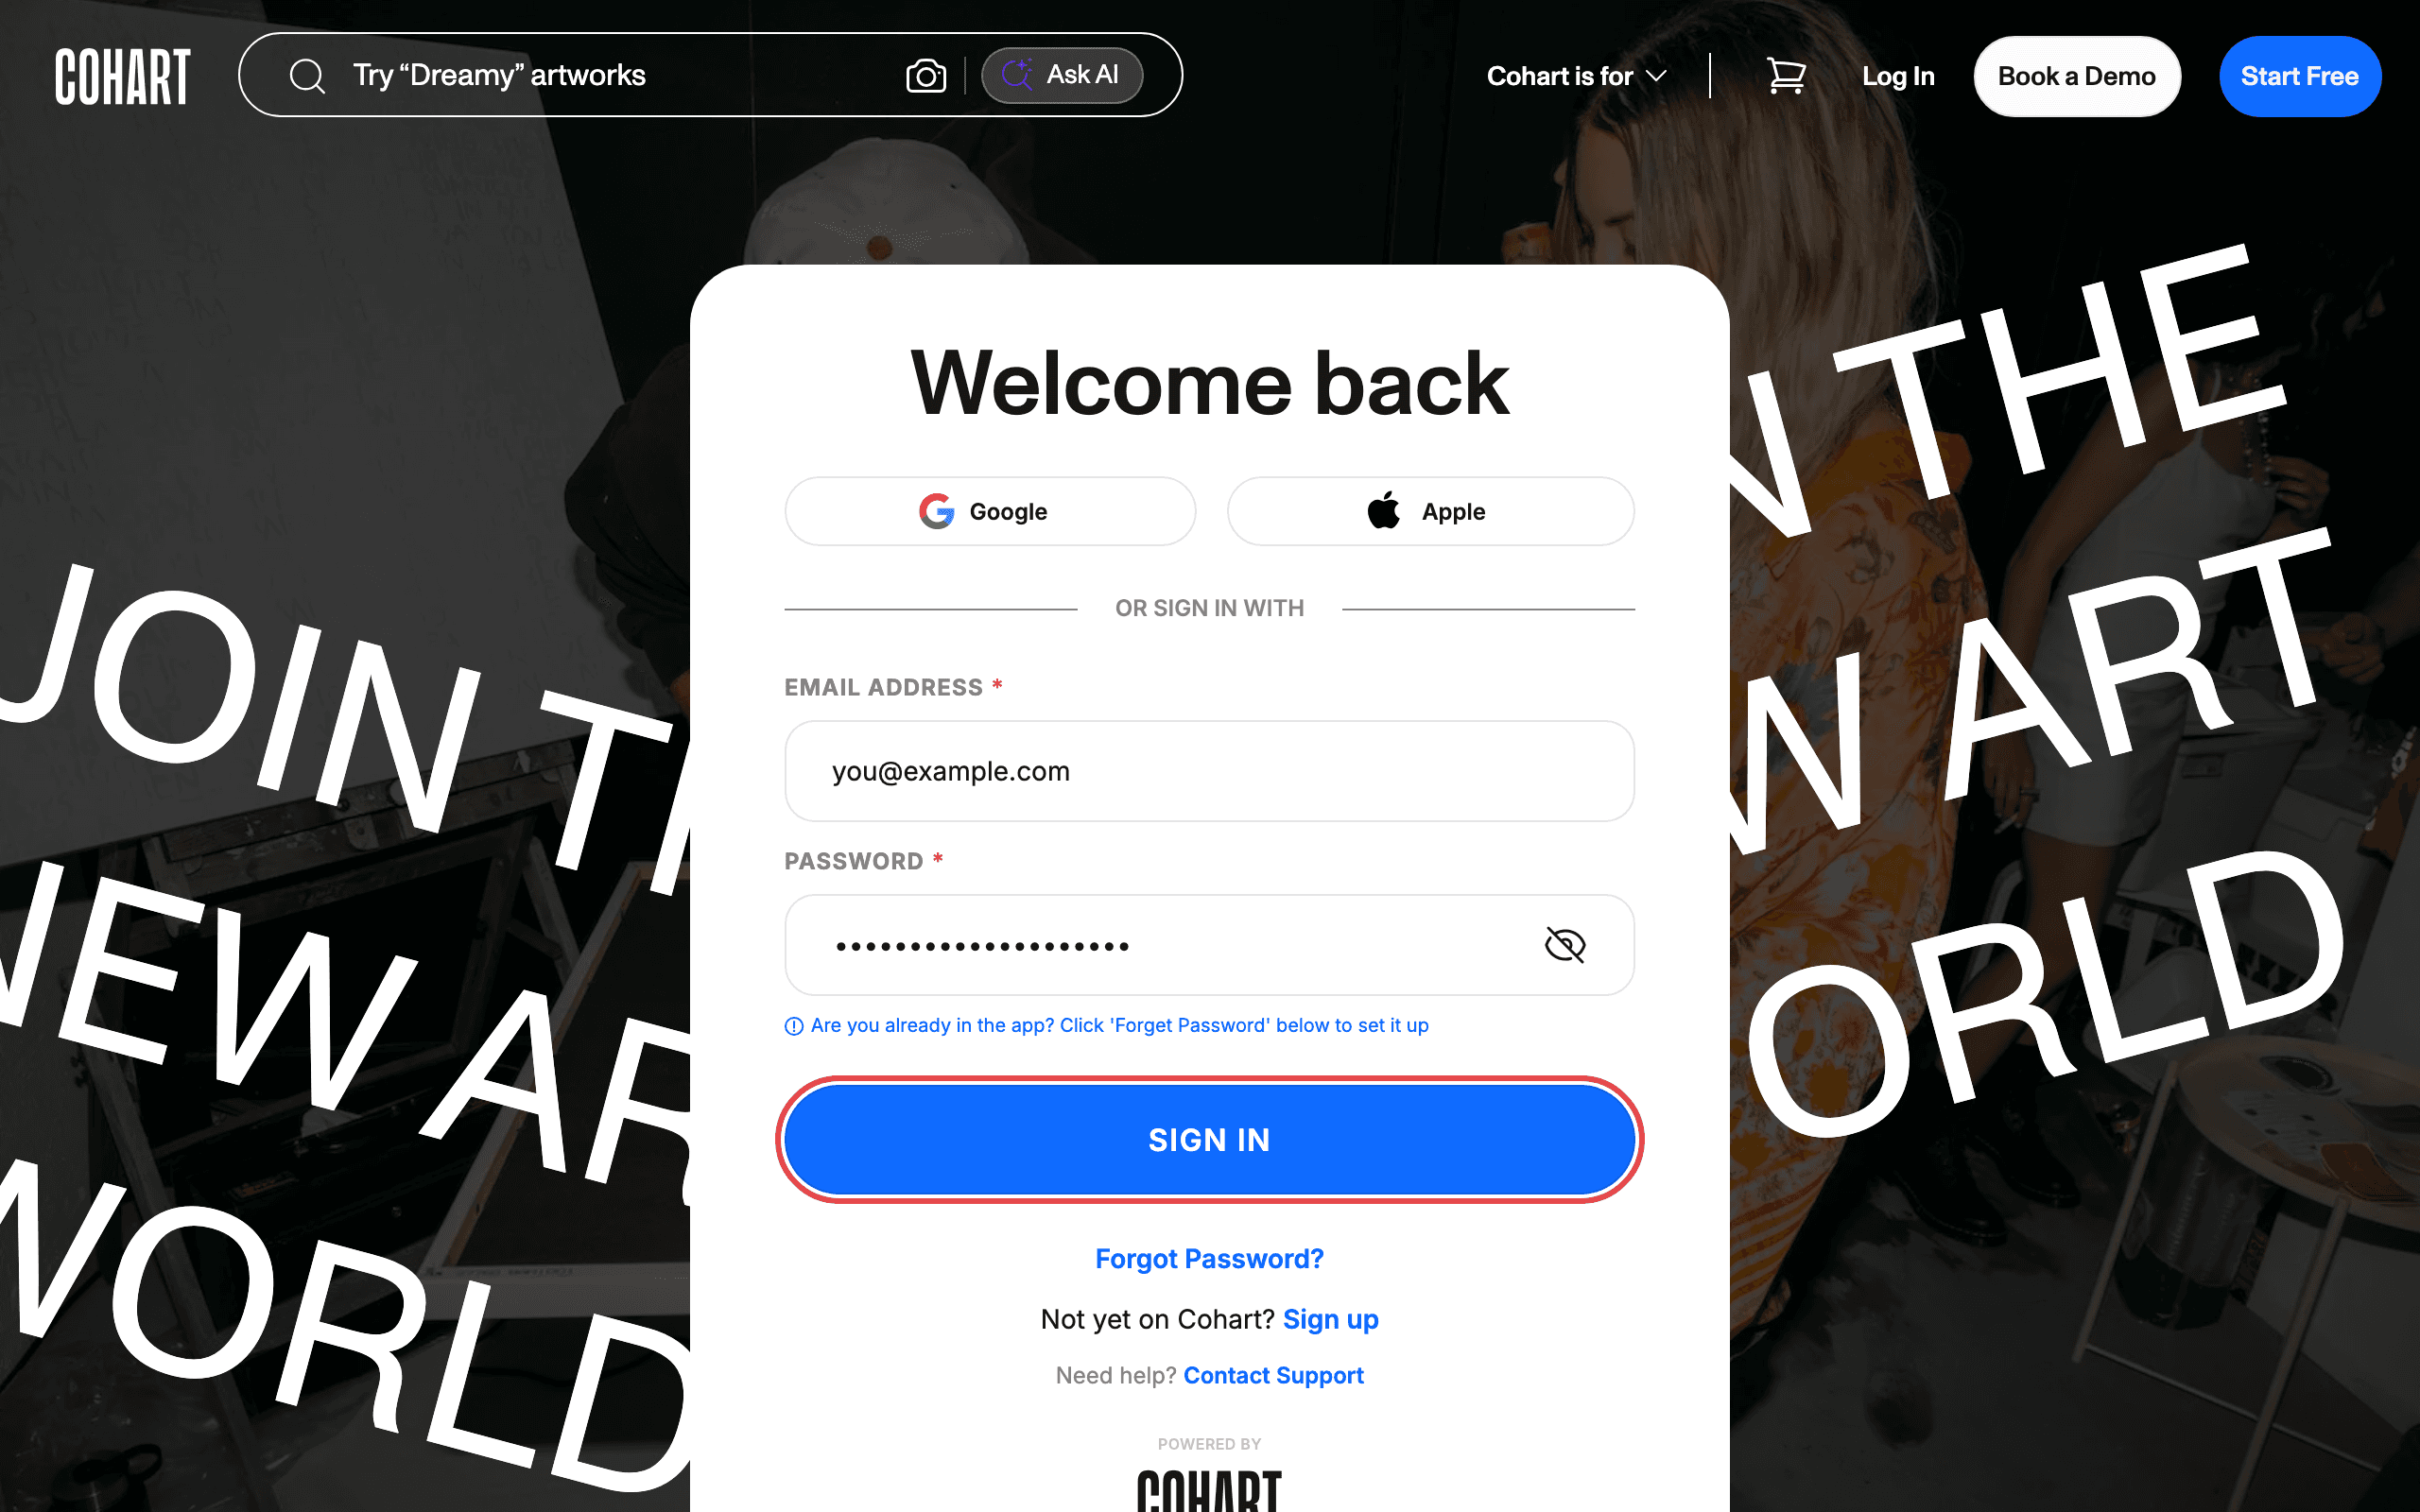
1. Sign in to Cohart
Sign in with your email address and password, or use Google or Apple.
2. Open Inventory and find your folders
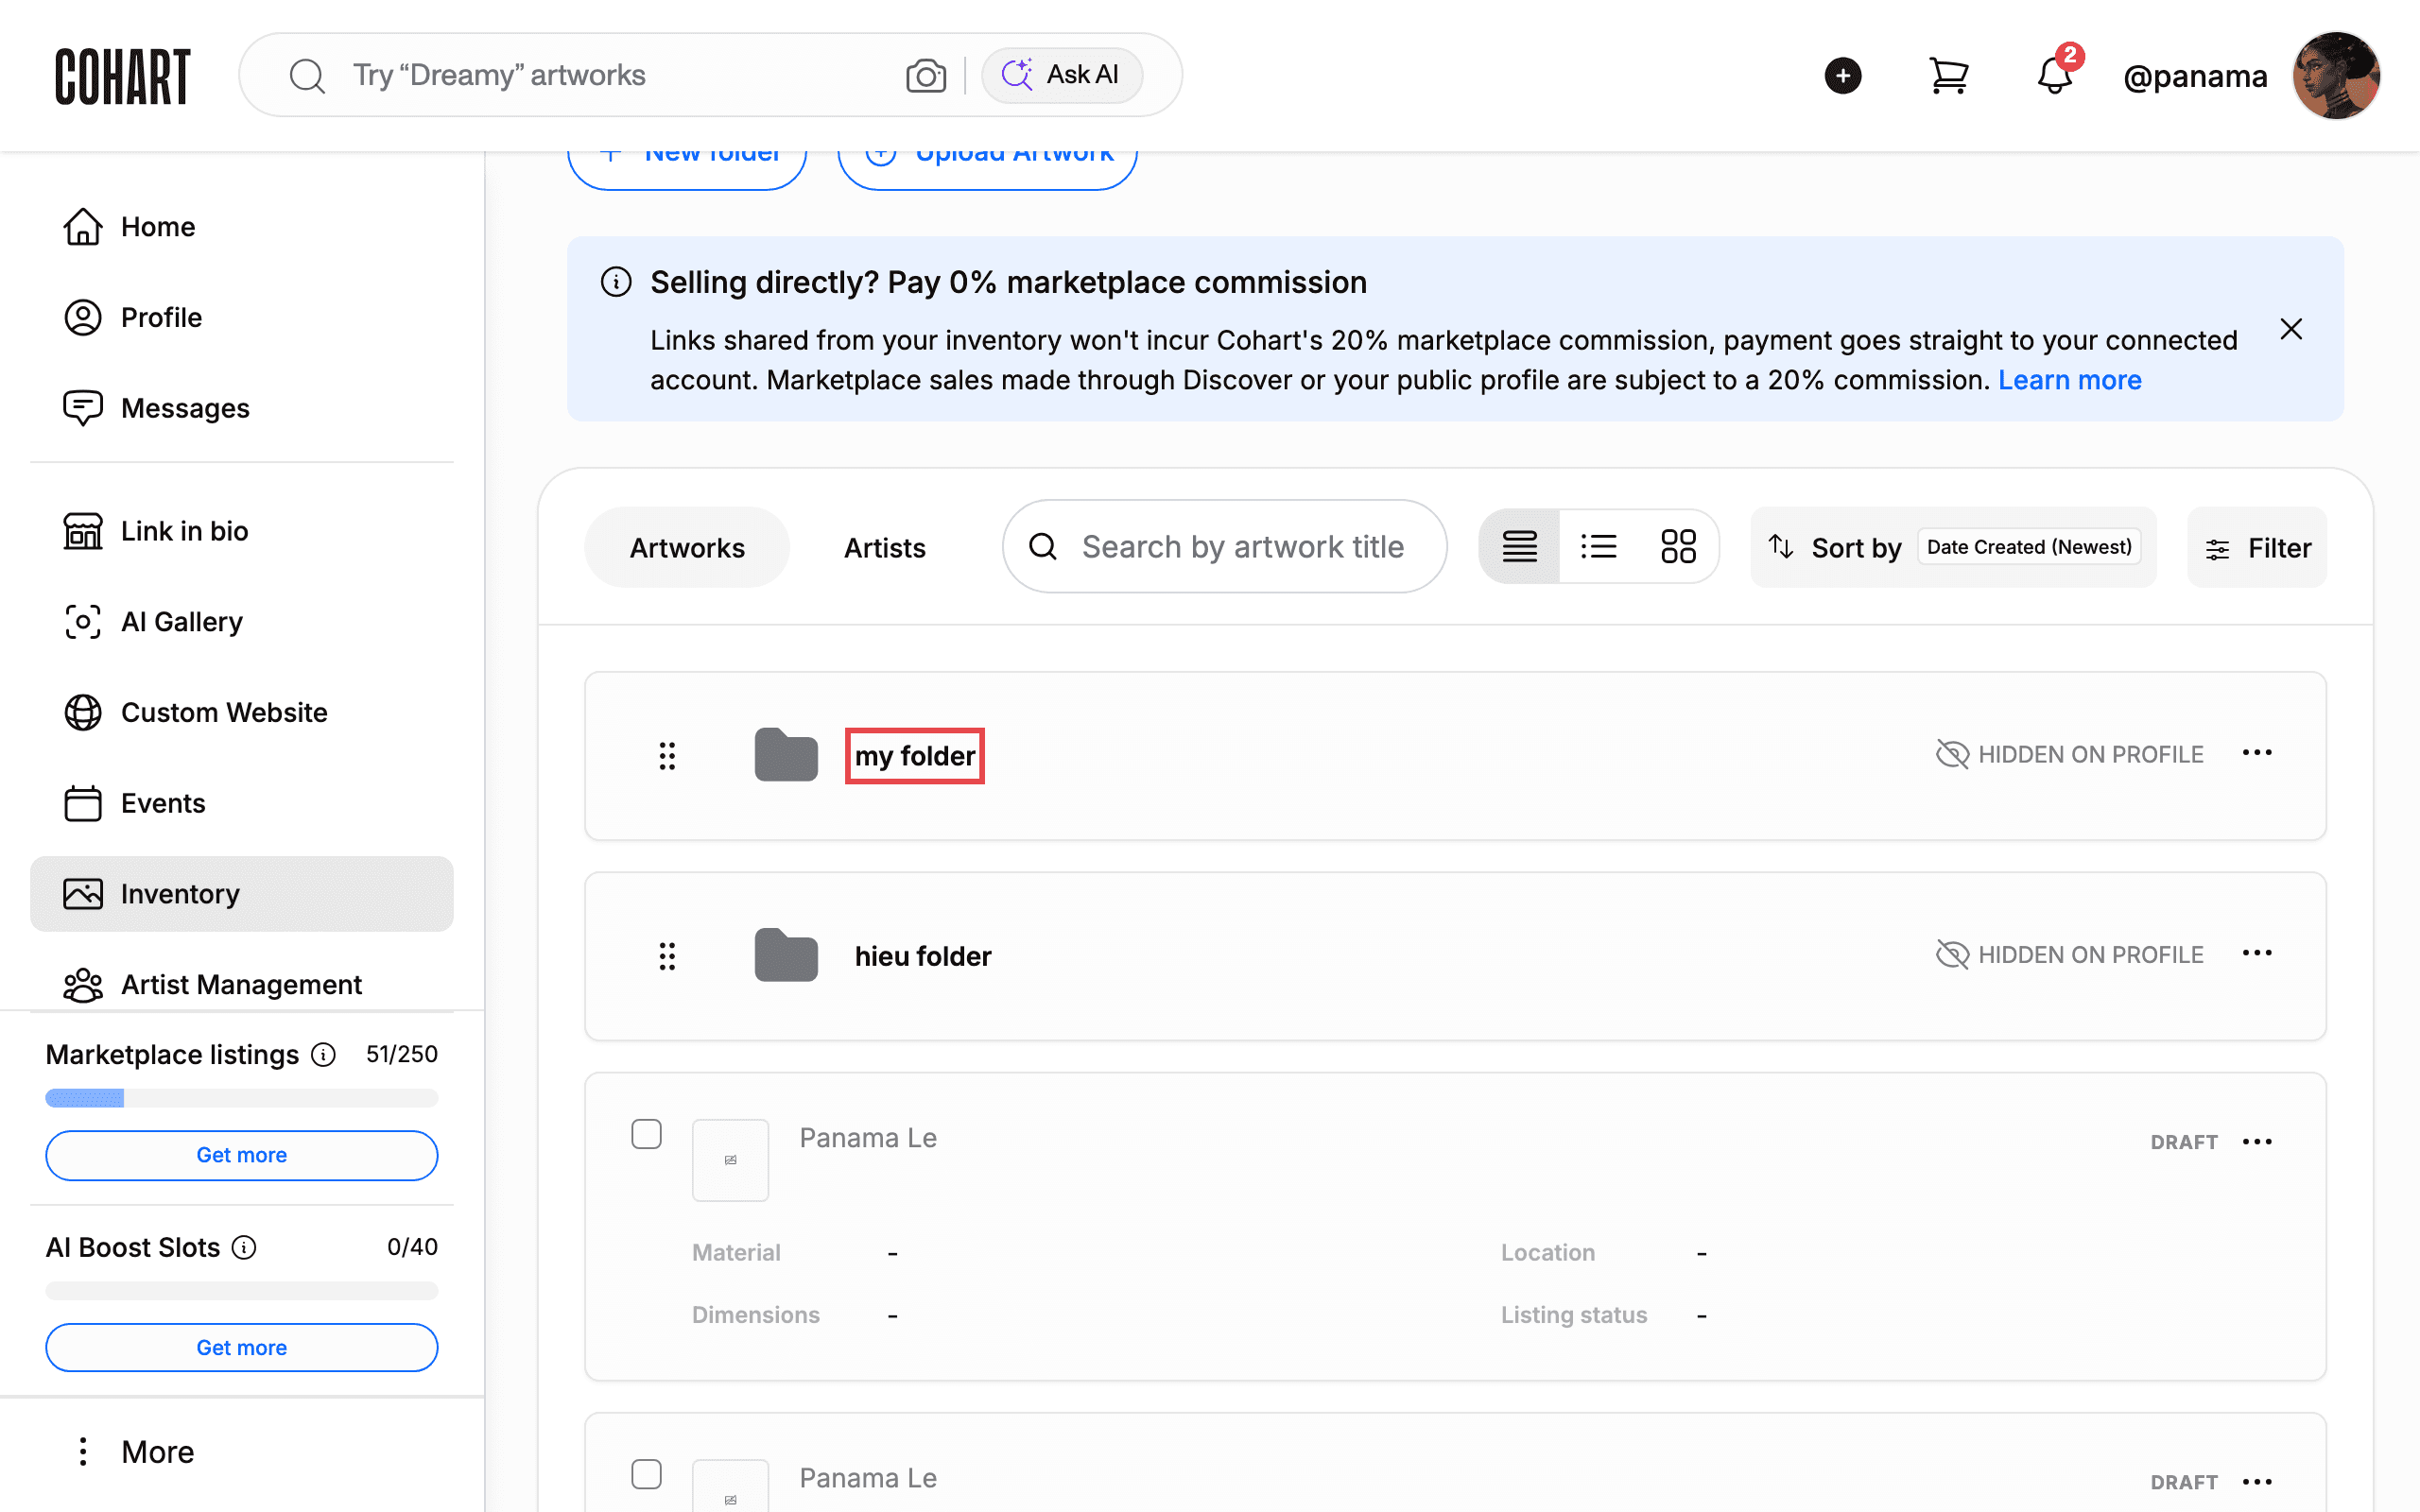
After sign-in you land on Inventory. Your folders appear as cards above the artwork list. Each card shows the folder name and a HIDDEN ON PROFILE badge when the folder is not visible on your public profile.
Use the Artworks and Artists tabs, Search by artwork title, Sort by, or Filter to narrow the list.
3. Create a new folder
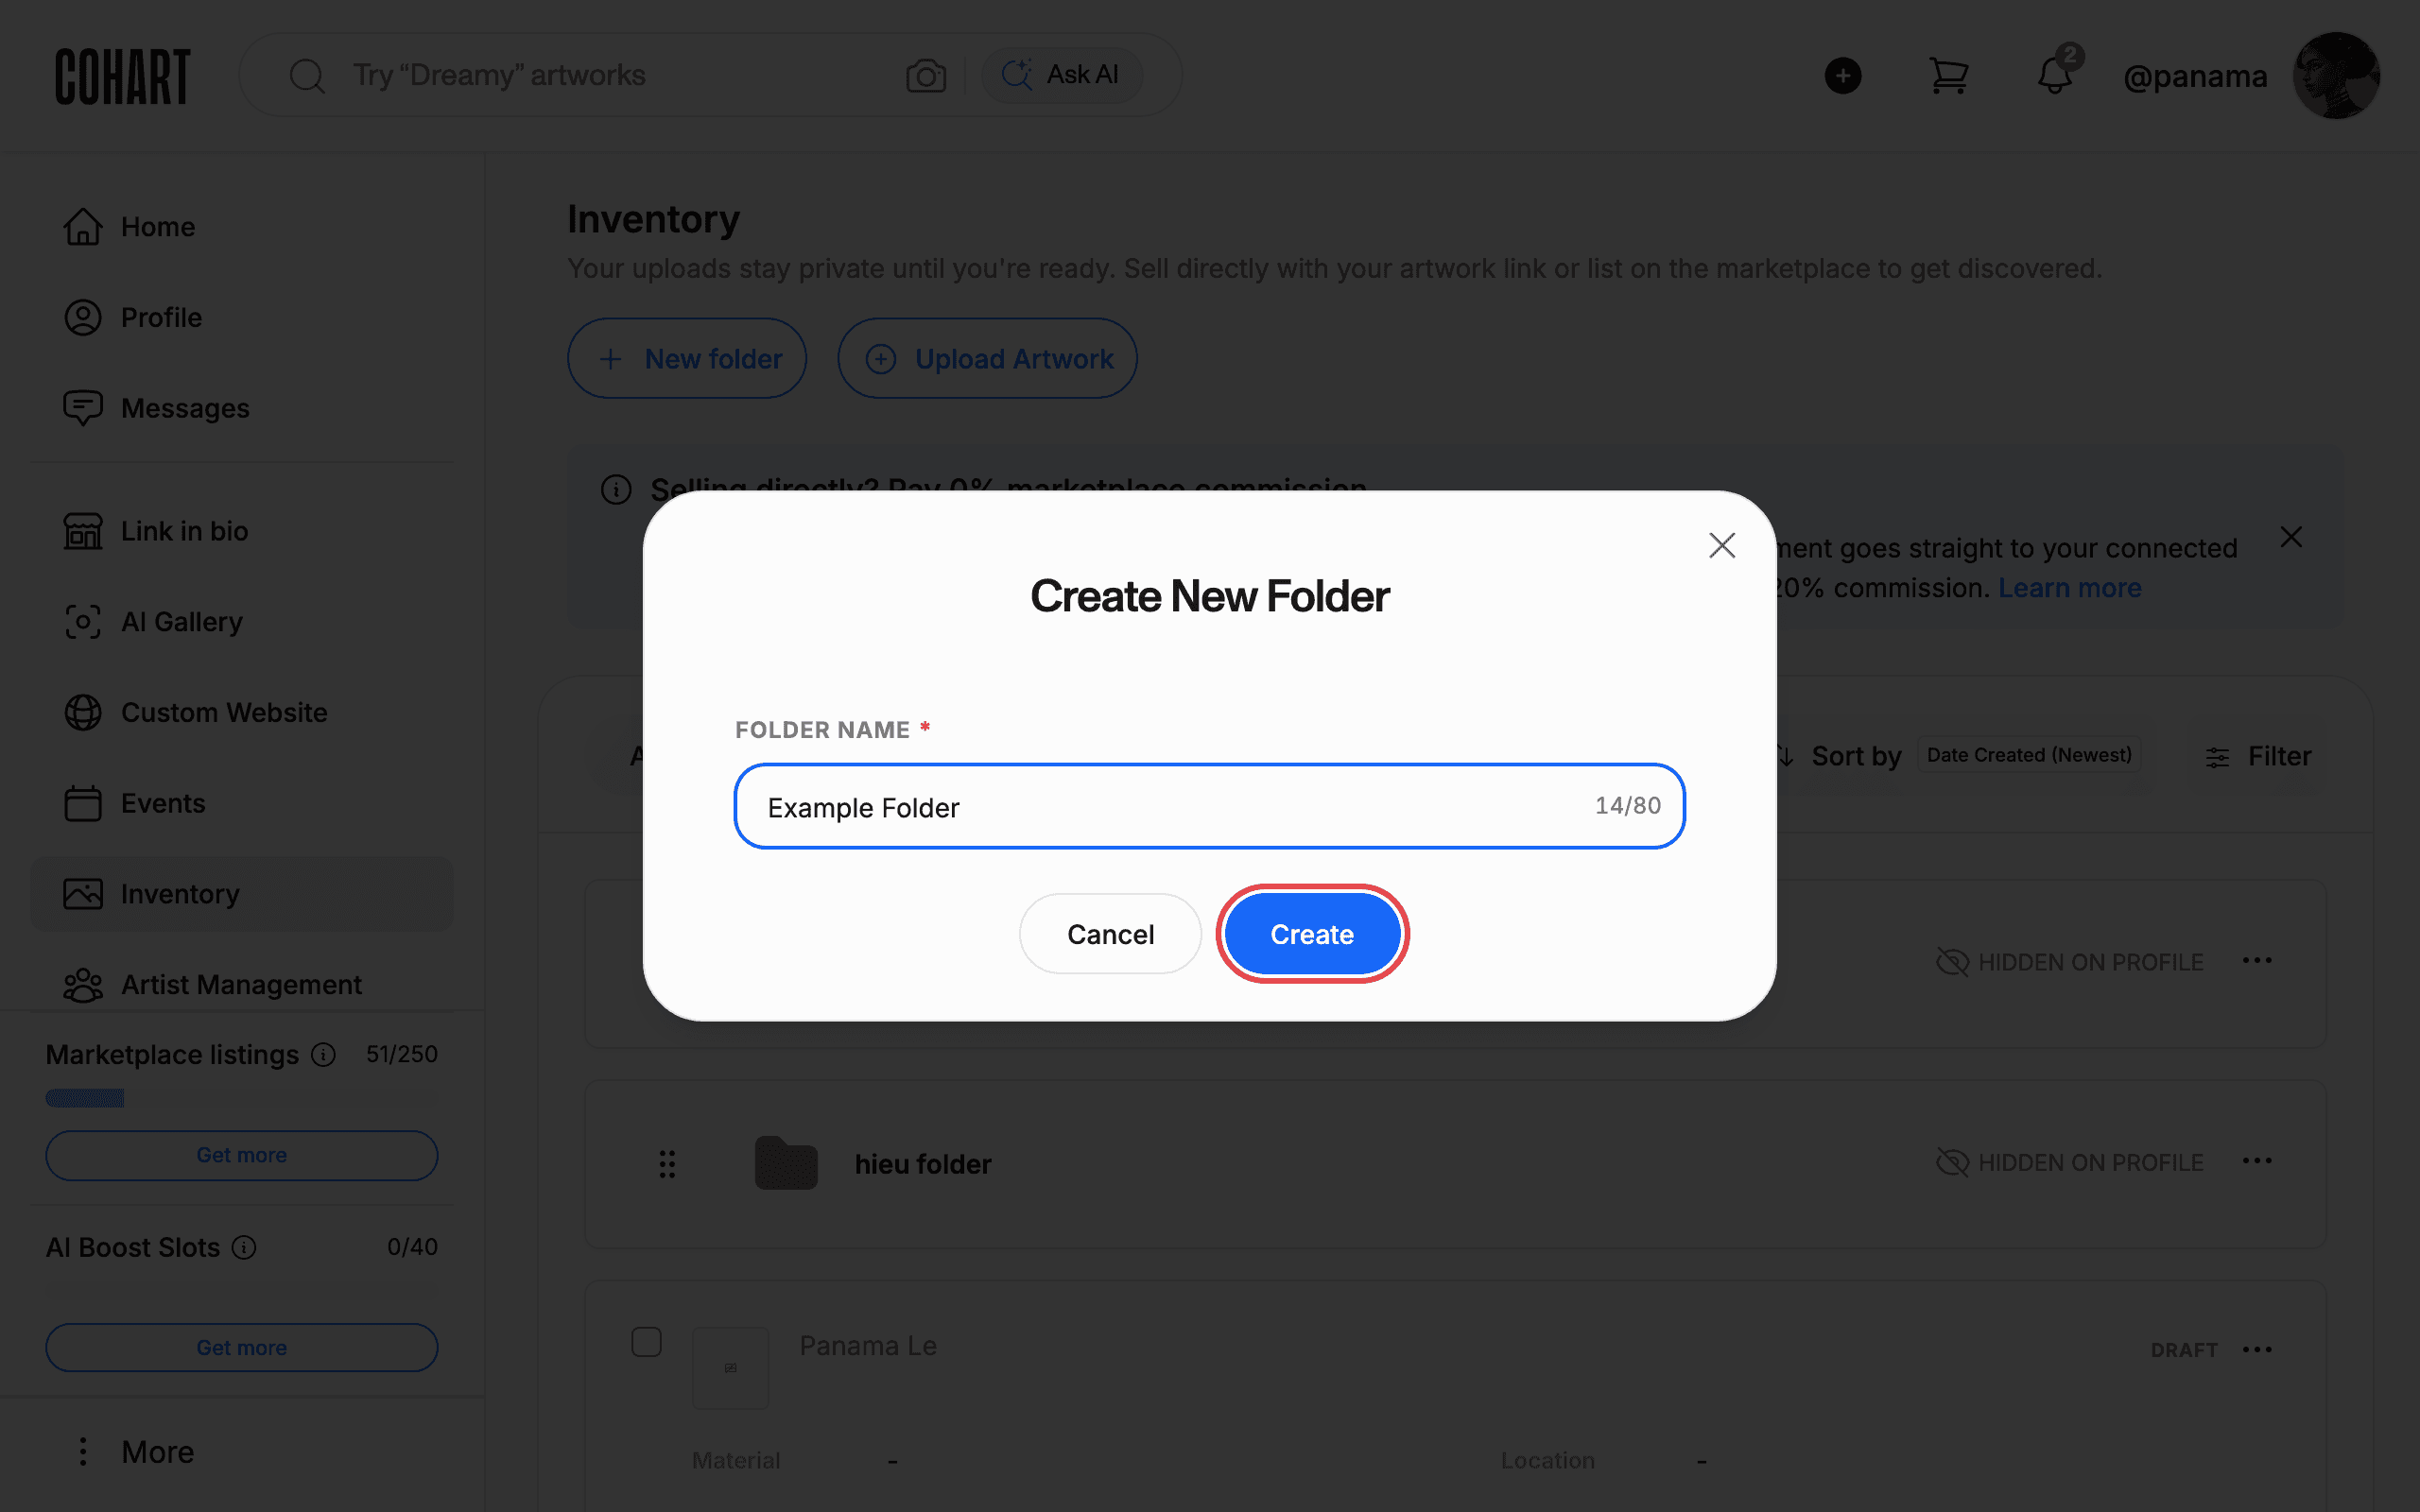
Click New folder at the top of the Inventory page. Type a name in FOLDER NAME. Names are limited to 80 characters. Click Create.
Click Cancel or the Close button to leave without creating the folder.
4. Open a folder’s menu
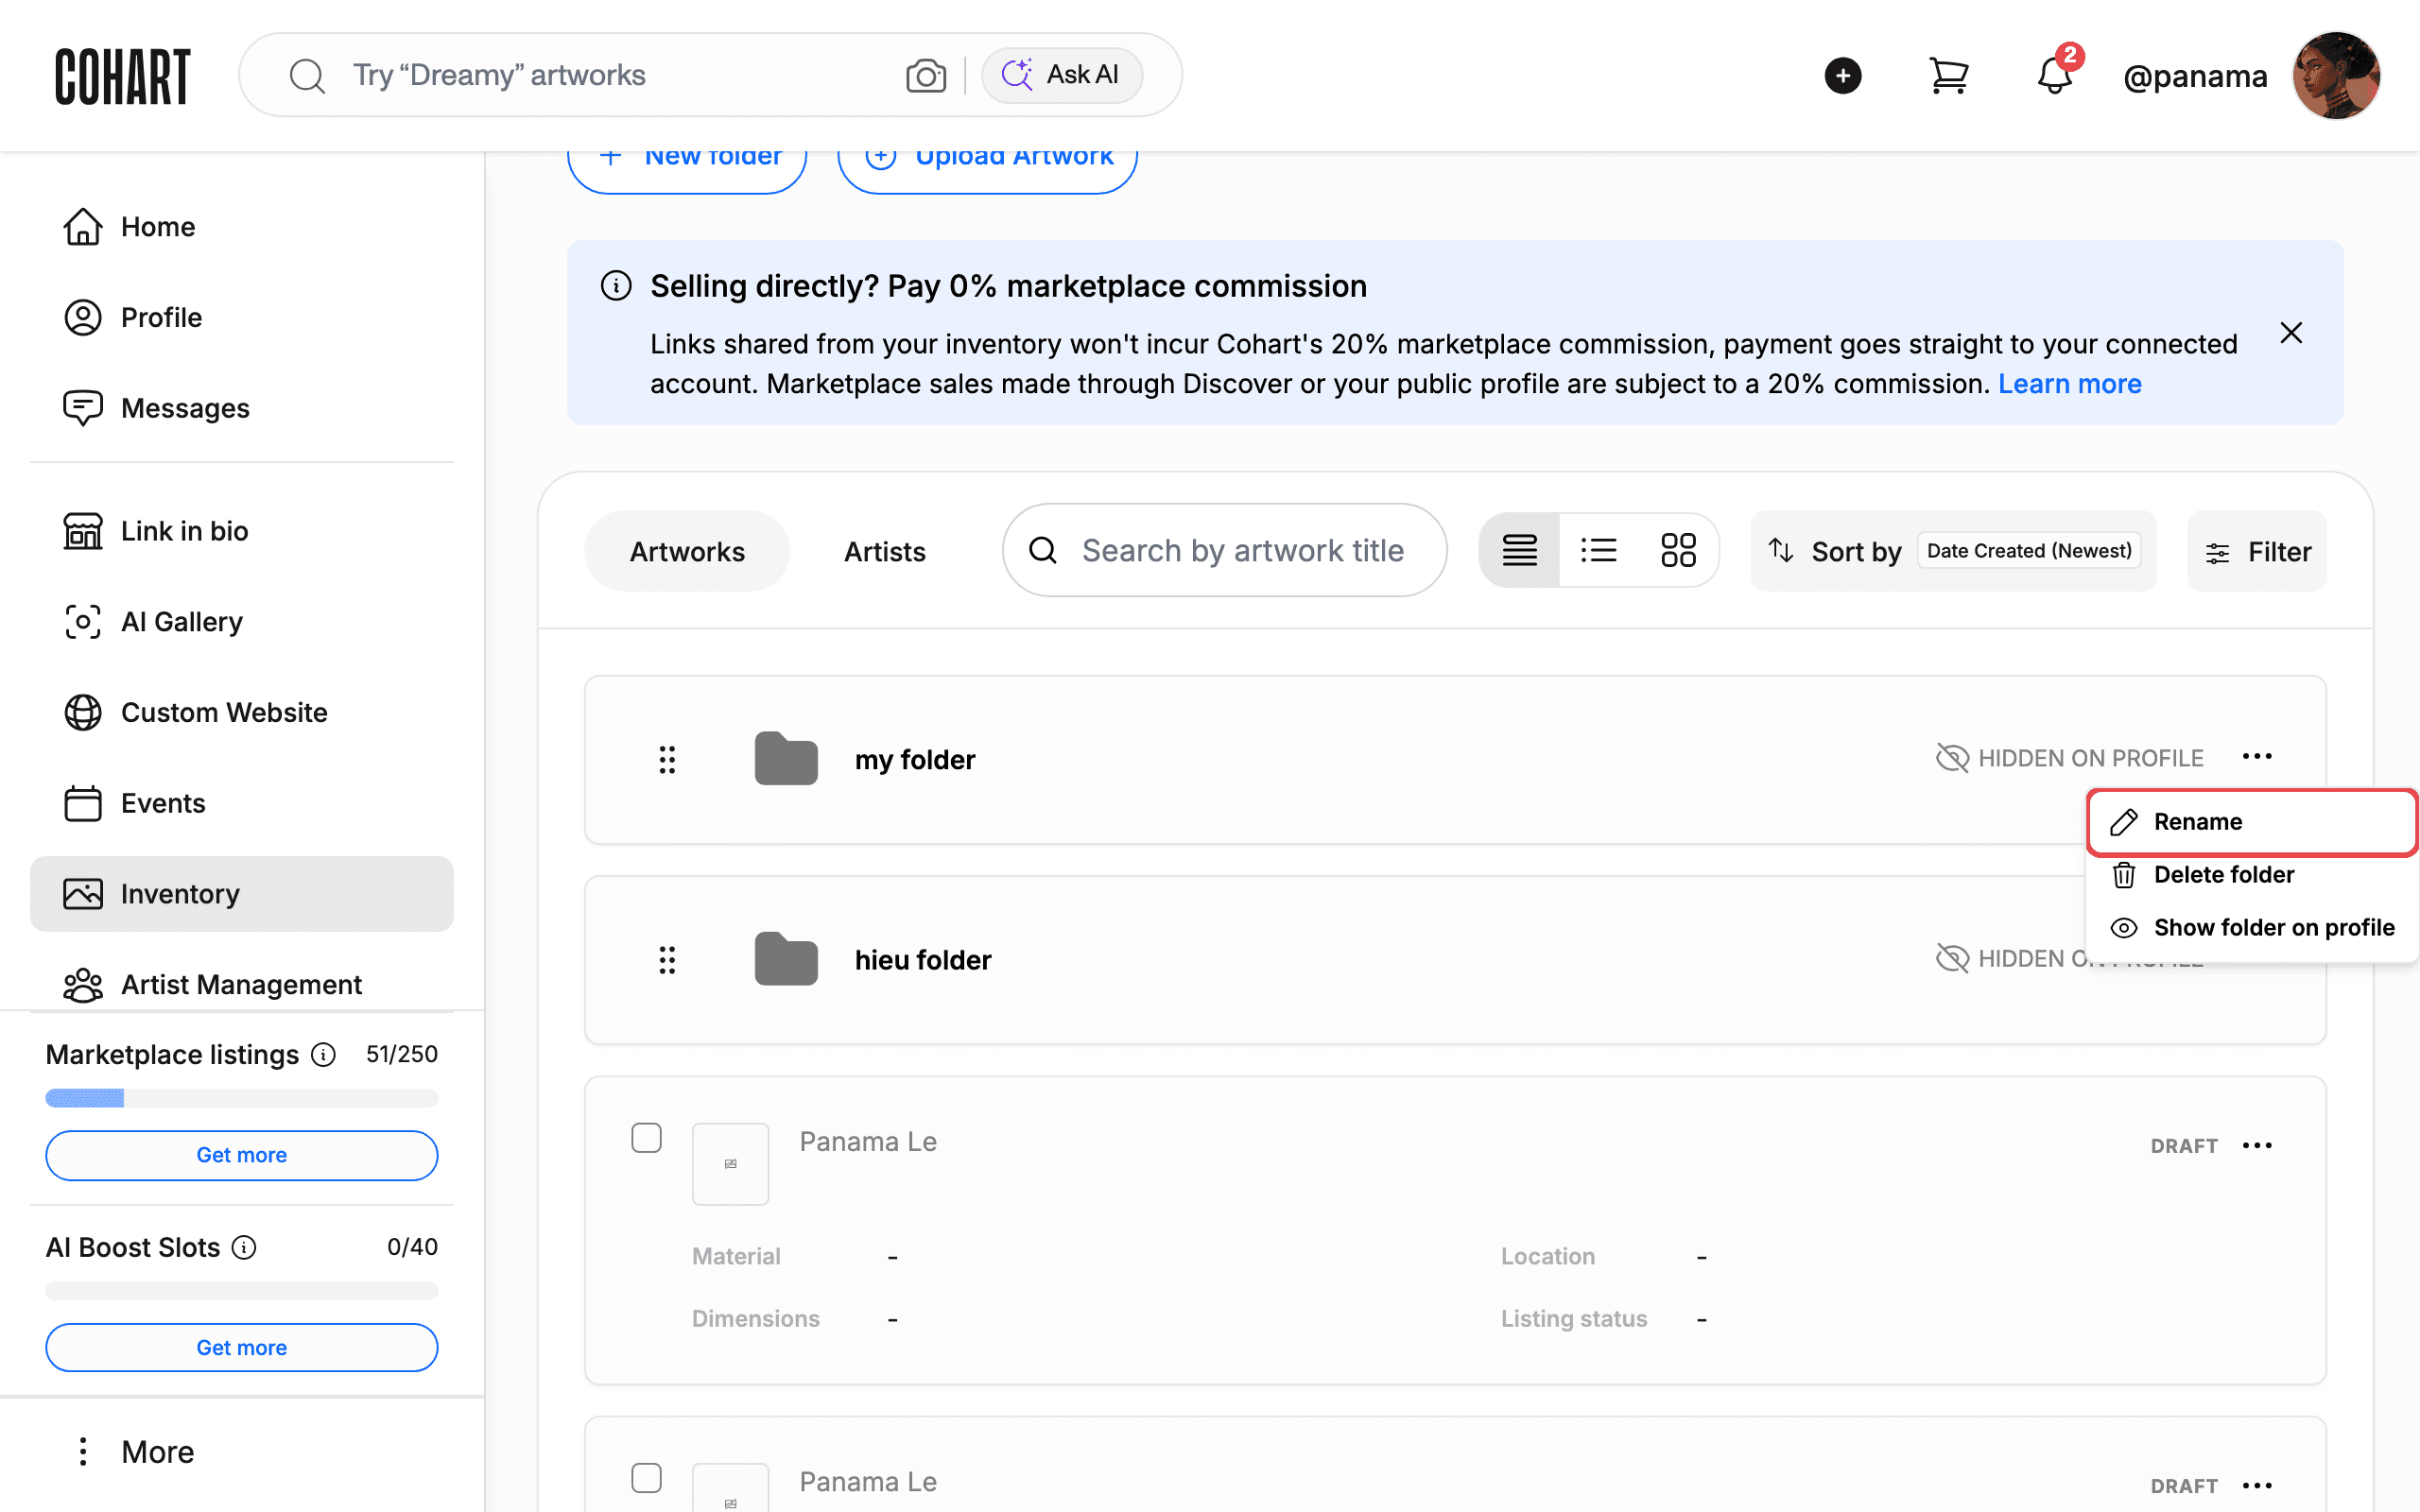
Click the three-dot menu on a folder card. The menu offers Rename, Delete folder, and Show folder on profile.
5. Rename a folder
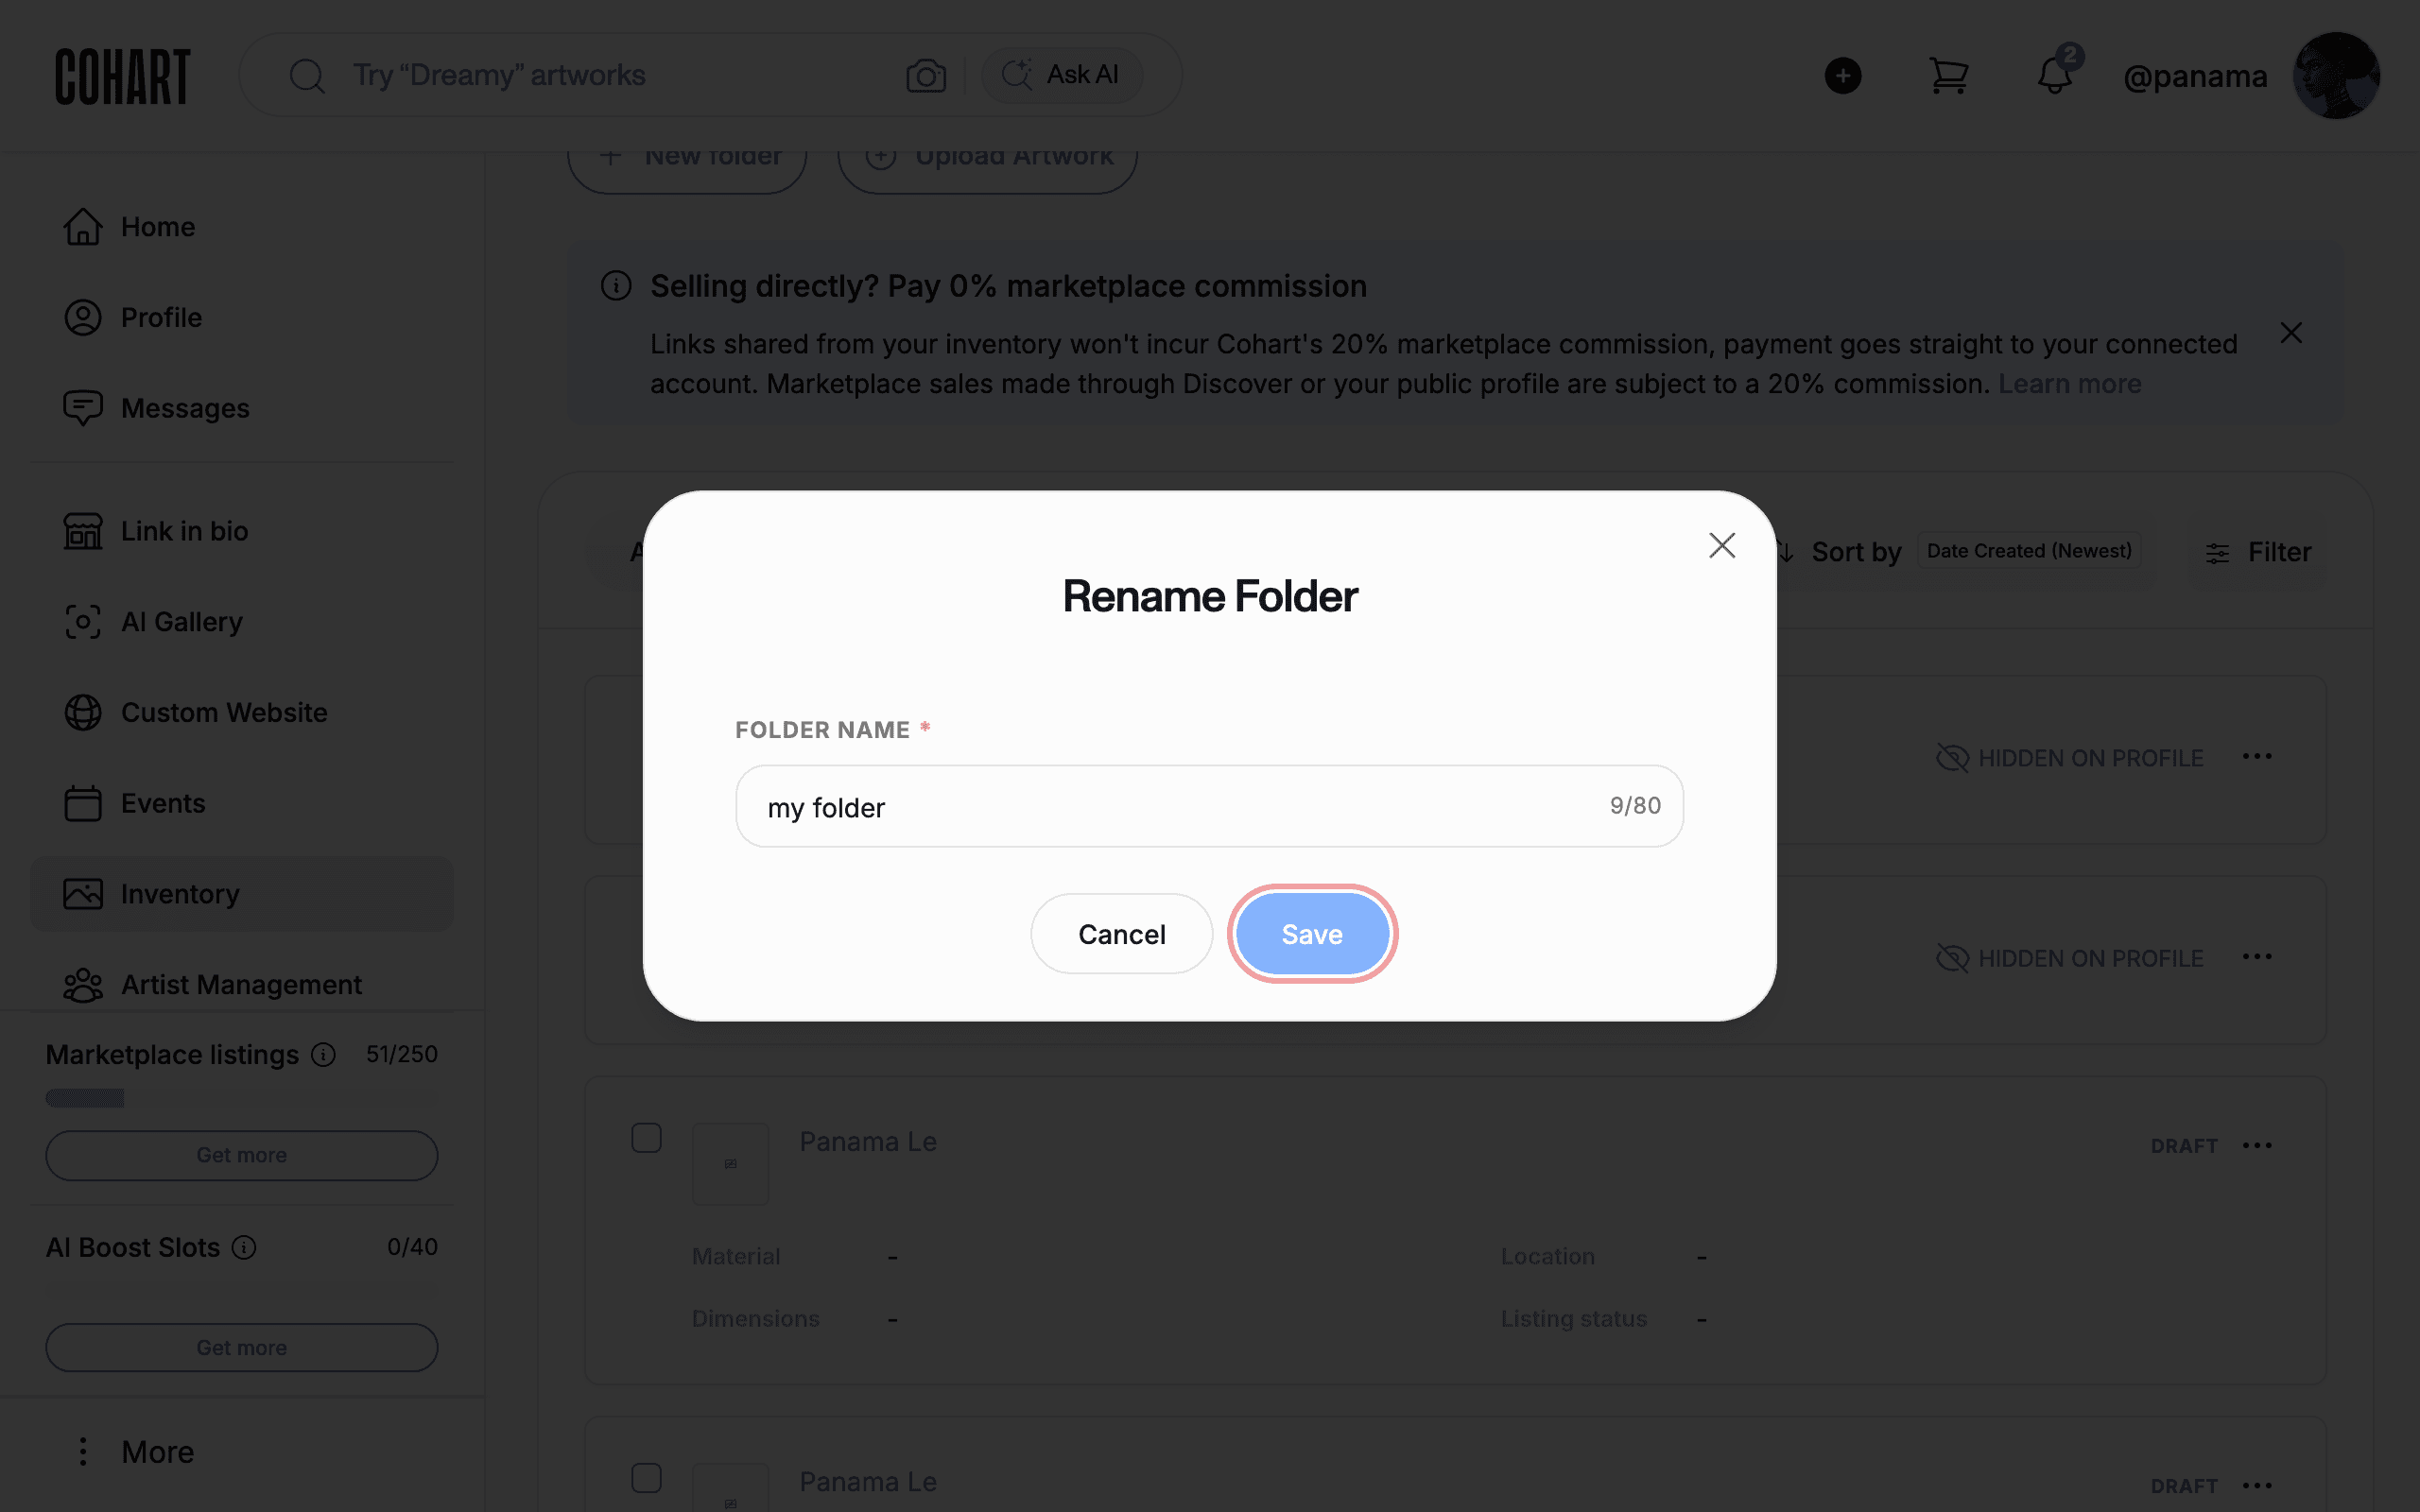
Click Rename in the folder menu. Edit the name in FOLDER NAME. Click Save.
Click Cancel or Close to keep the current name.
6. Select artworks to move
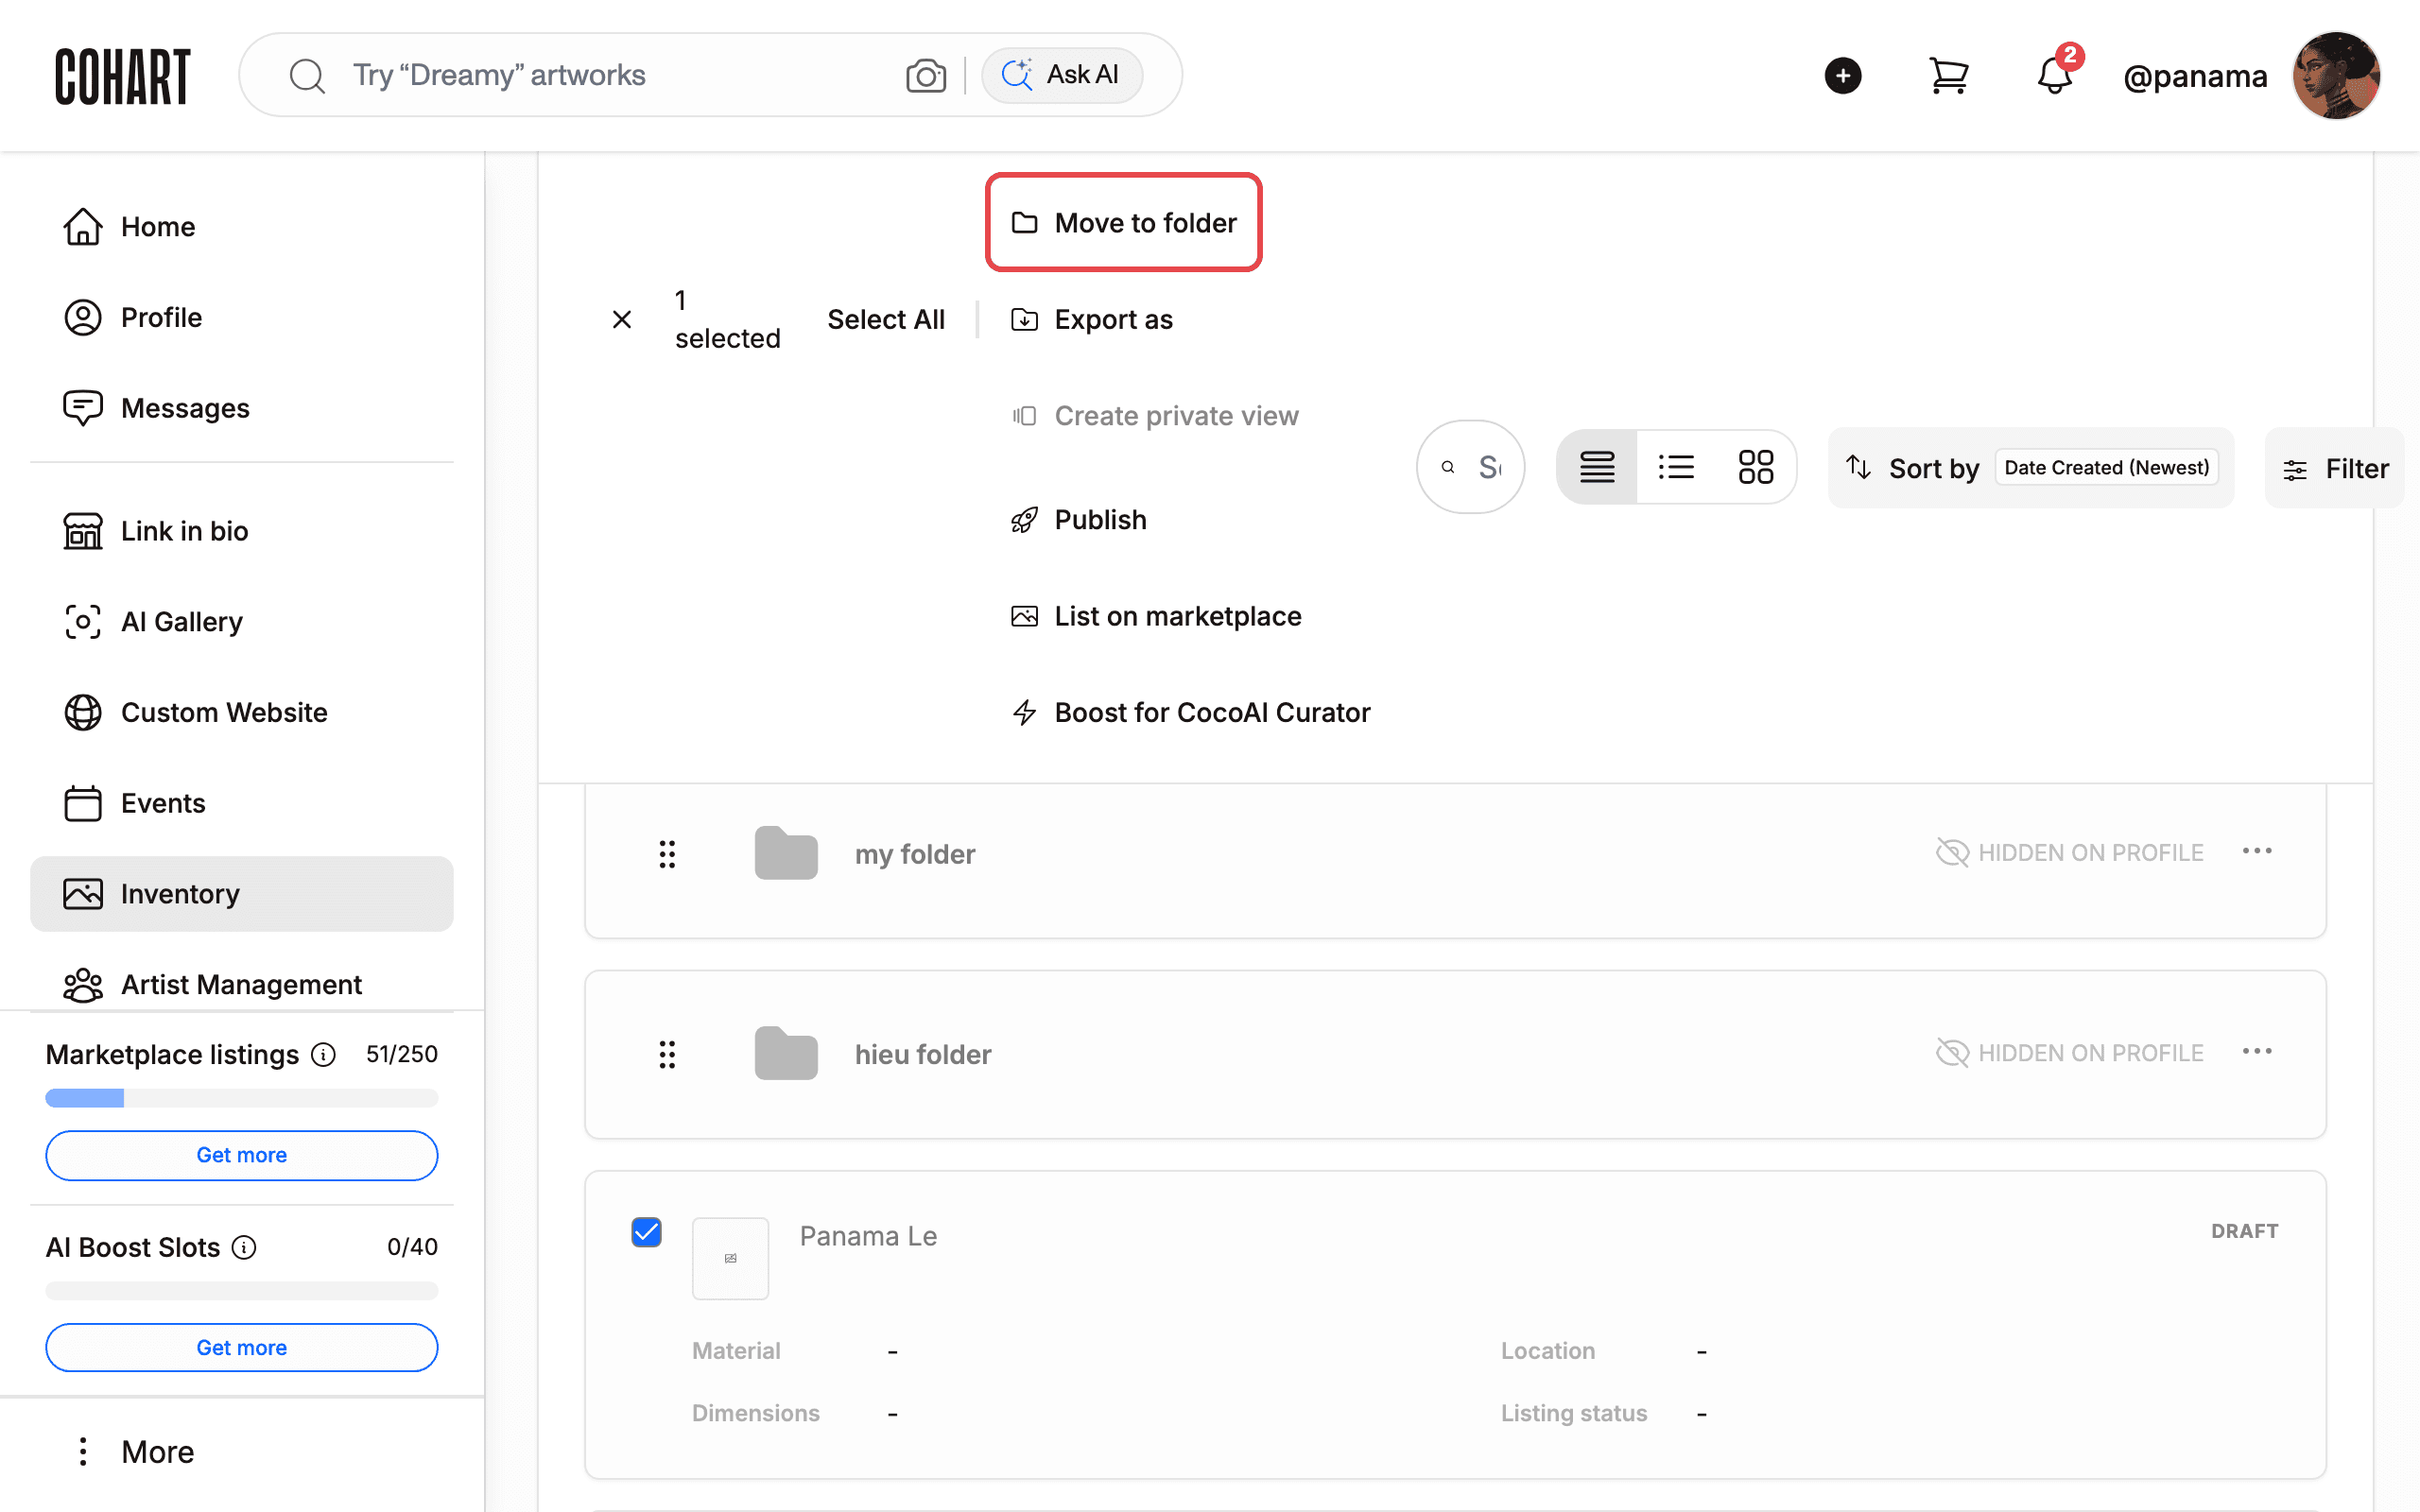
Check the box on an artwork card. A selection menu appears showing how many artworks are selected (for example, 1 selected). It offers Select All, Move to folder, Export as, Create private view, Publish, List on marketplace, and Boost for CocoAI Curator.
Click Move to folder to continue organizing.
7. Move artworks into a folder
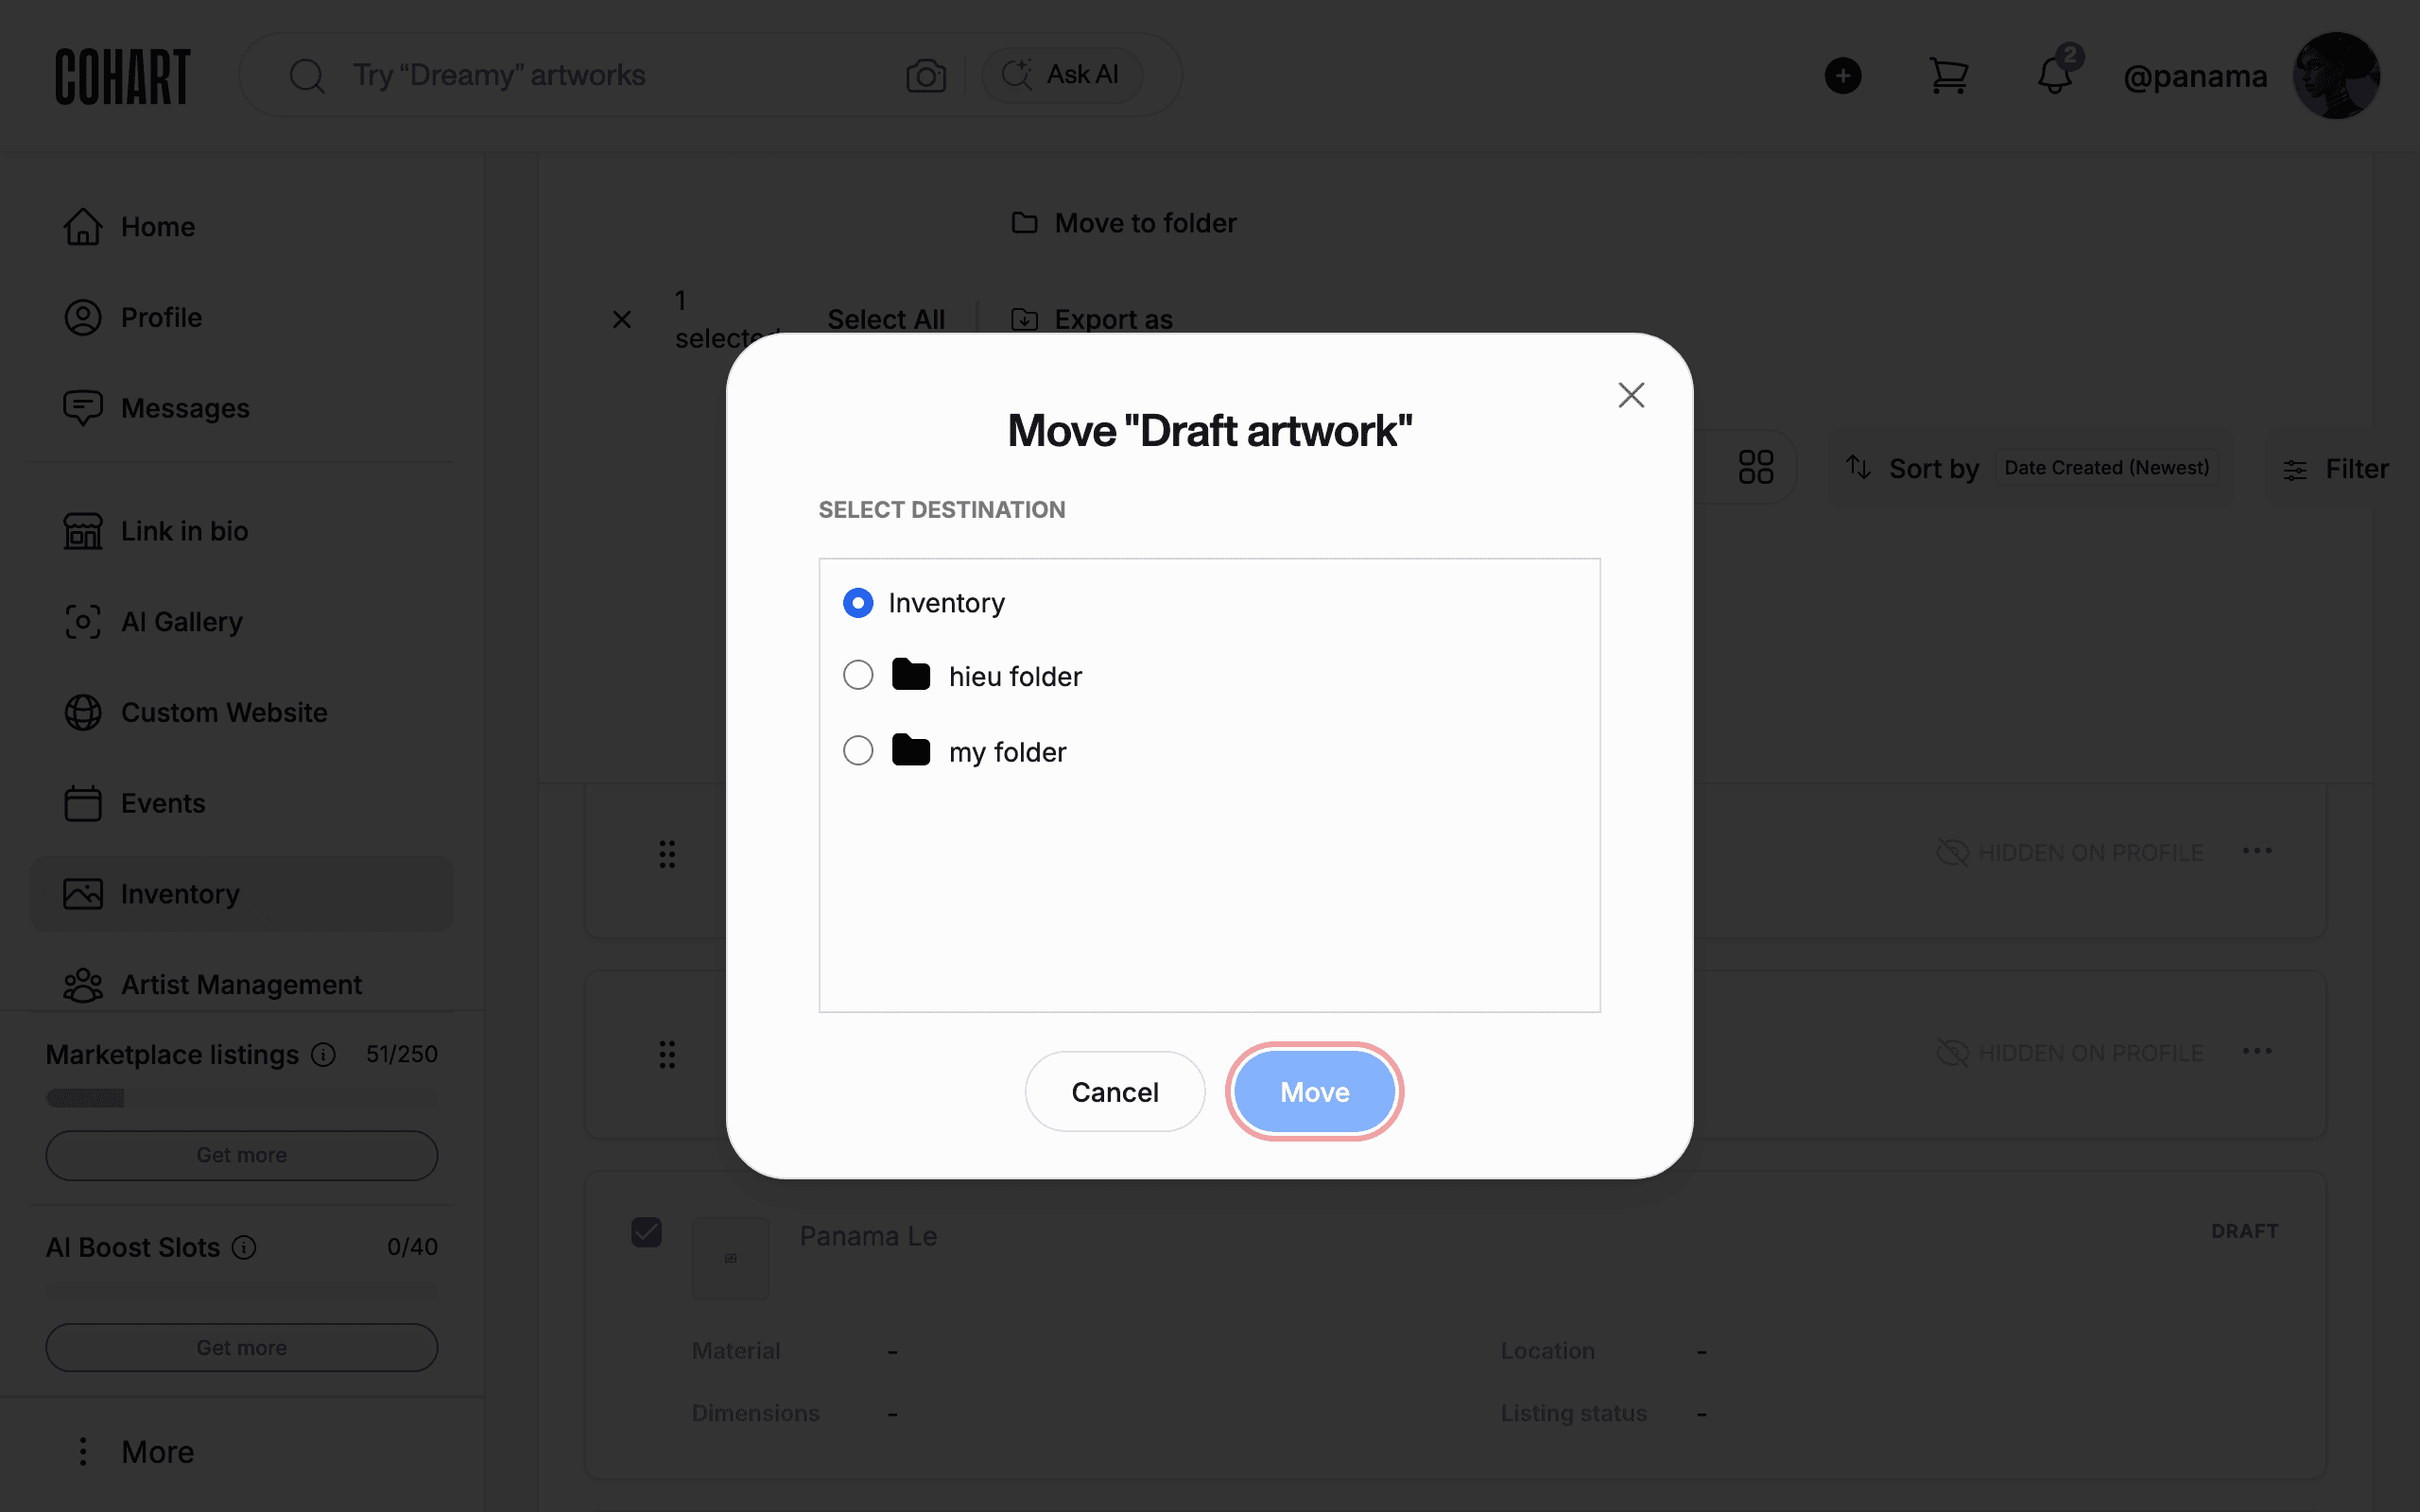
In the Move to folder dialog, choose a destination under SELECT DESTINATION. Pick one of your folders, or pick Inventory to move artworks back out of a folder. Click Move.
Click Cancel or the Close button to leave everything where it is.
8. Open a folder to review its contents
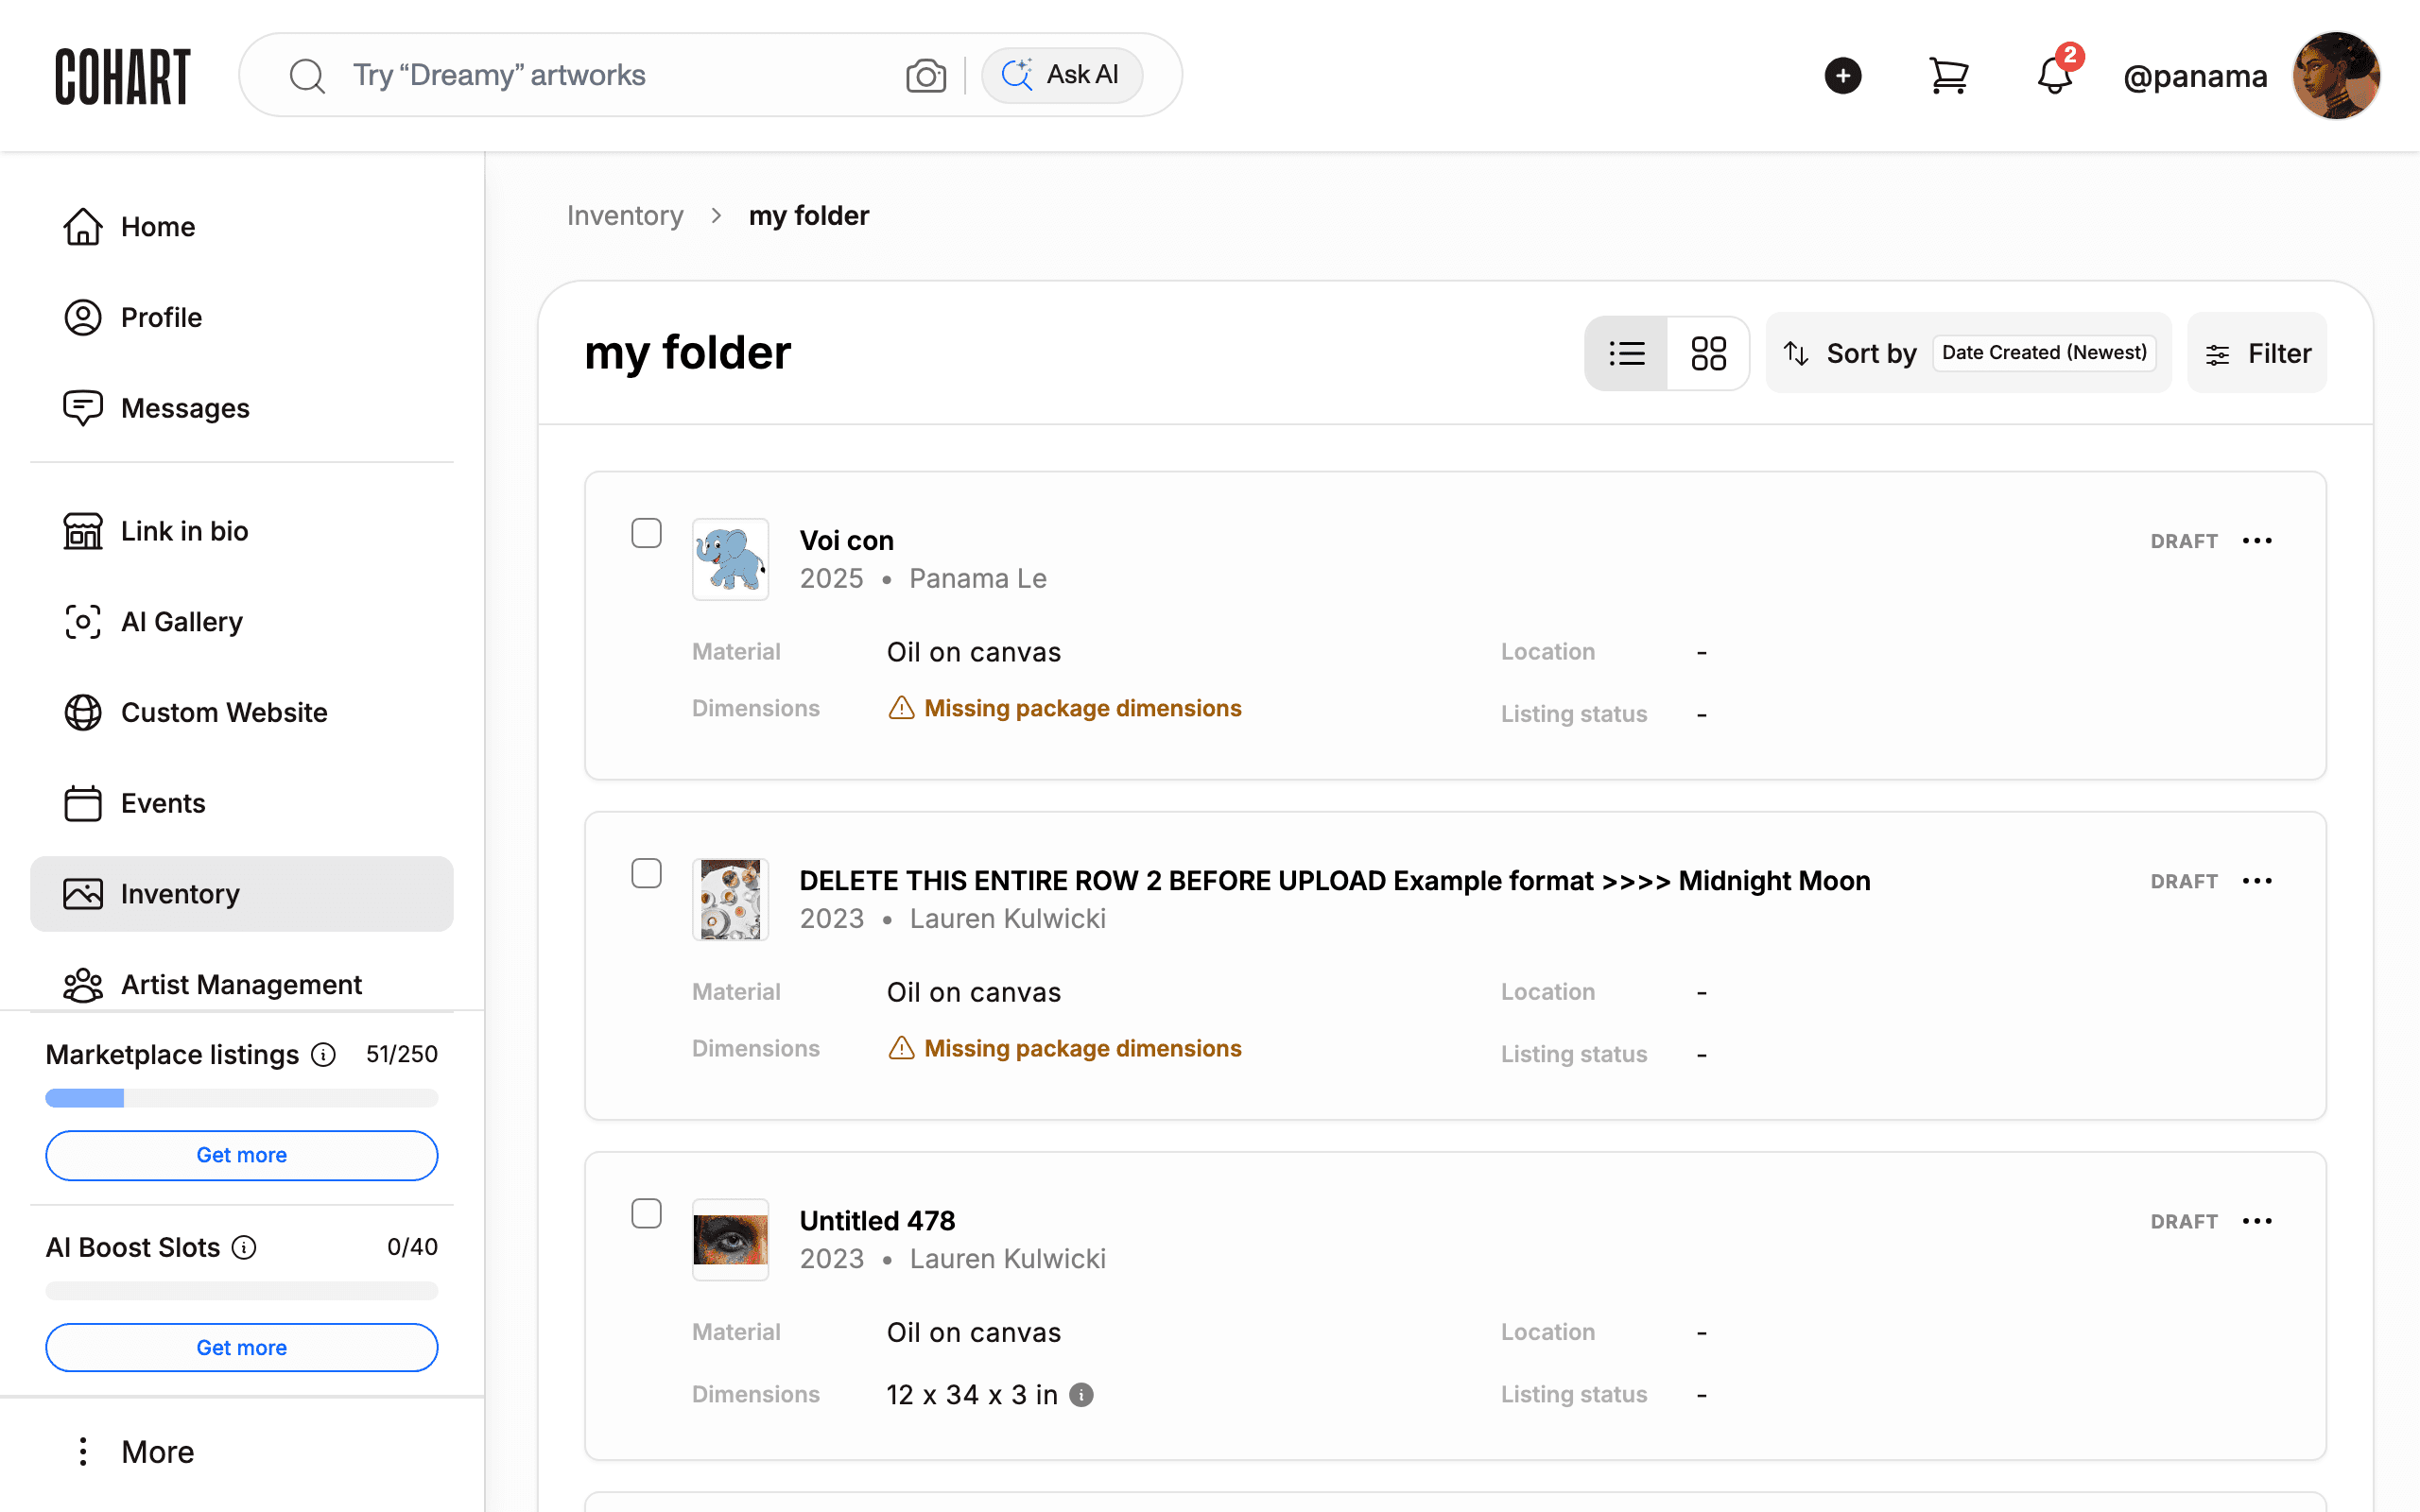
Click a folder name to open it. The top of the page shows Inventory followed by the folder name. The folder page lists every artwork inside it, with the same Sort by and Filter controls as the main Inventory page.
Tips
- Each folder card has a six-dot handle on its left edge. Drag it to reorder your folders.
- New folders start hidden from your public profile. Use Show folder on profile in the folder menu to change this.
- To move everything at once, check one artwork and then click Select All.
- To take an artwork out of a folder, select it inside the folder and move it to the Inventory destination.
- The FOLDER NAME field caps names at 80 characters. The counter next to the field shows how many characters you have used.
Troubleshooting
- Move to folder is missing from the selection menu → no artwork is checked yet → check the box on at least one artwork card first.
- You are unsure what Delete folder does to its artworks → deleting a folder is permanent and cannot be undone → read the confirmation dialog text before confirming. [UNVERIFIED — check manually]