How to Create a Marketing Email Campaign
Overview
A marketing email campaign is how you email your collectors and followers directly from Cohart — announcements, new work, shows, or recurring updates. It exists so you can reach the audience you built on Cohart without exporting addresses or leaving the platform. This guide is for sellers with an artist or gallery account who have an audience in Contact Management. You will build the email in the CONTENT EDITOR with an EMAIL SUBJECT and drag-and-drop blocks, then choose who receives it under RECIPIENTS (All contacts, Groups, or Individuals) and how it goes out under SENDING OPTIONS (one-time or recurring, immediate or scheduled). Sending consumes email credits, shown in the sidebar with a Buy credits button, and each click of Create new campaign immediately creates a new draft. By the end, your campaign is saved as a draft you can return to, preview, test, or send when ready.
Before you start
- A Cohart artist or gallery account with access to Marketing Email.
- Contacts or groups to send to — add them first via Contact Management (see How to Add a Contact and How to Bulk Upload Contacts), since recipient counts are estimated from your contact list.
- Your subject line and campaign name ready (both required, marked with
*), the email body content or artworks to feature, and enough email credits — check the Email sent balance in the sidebar and use Buy credits if sending is blocked. - Each click of Create new campaign creates a separate draft, and Send Now emails real recipients immediately — use Send test email or Save & Exit when you are not ready to send.
Steps
1. Sign in to Cohart
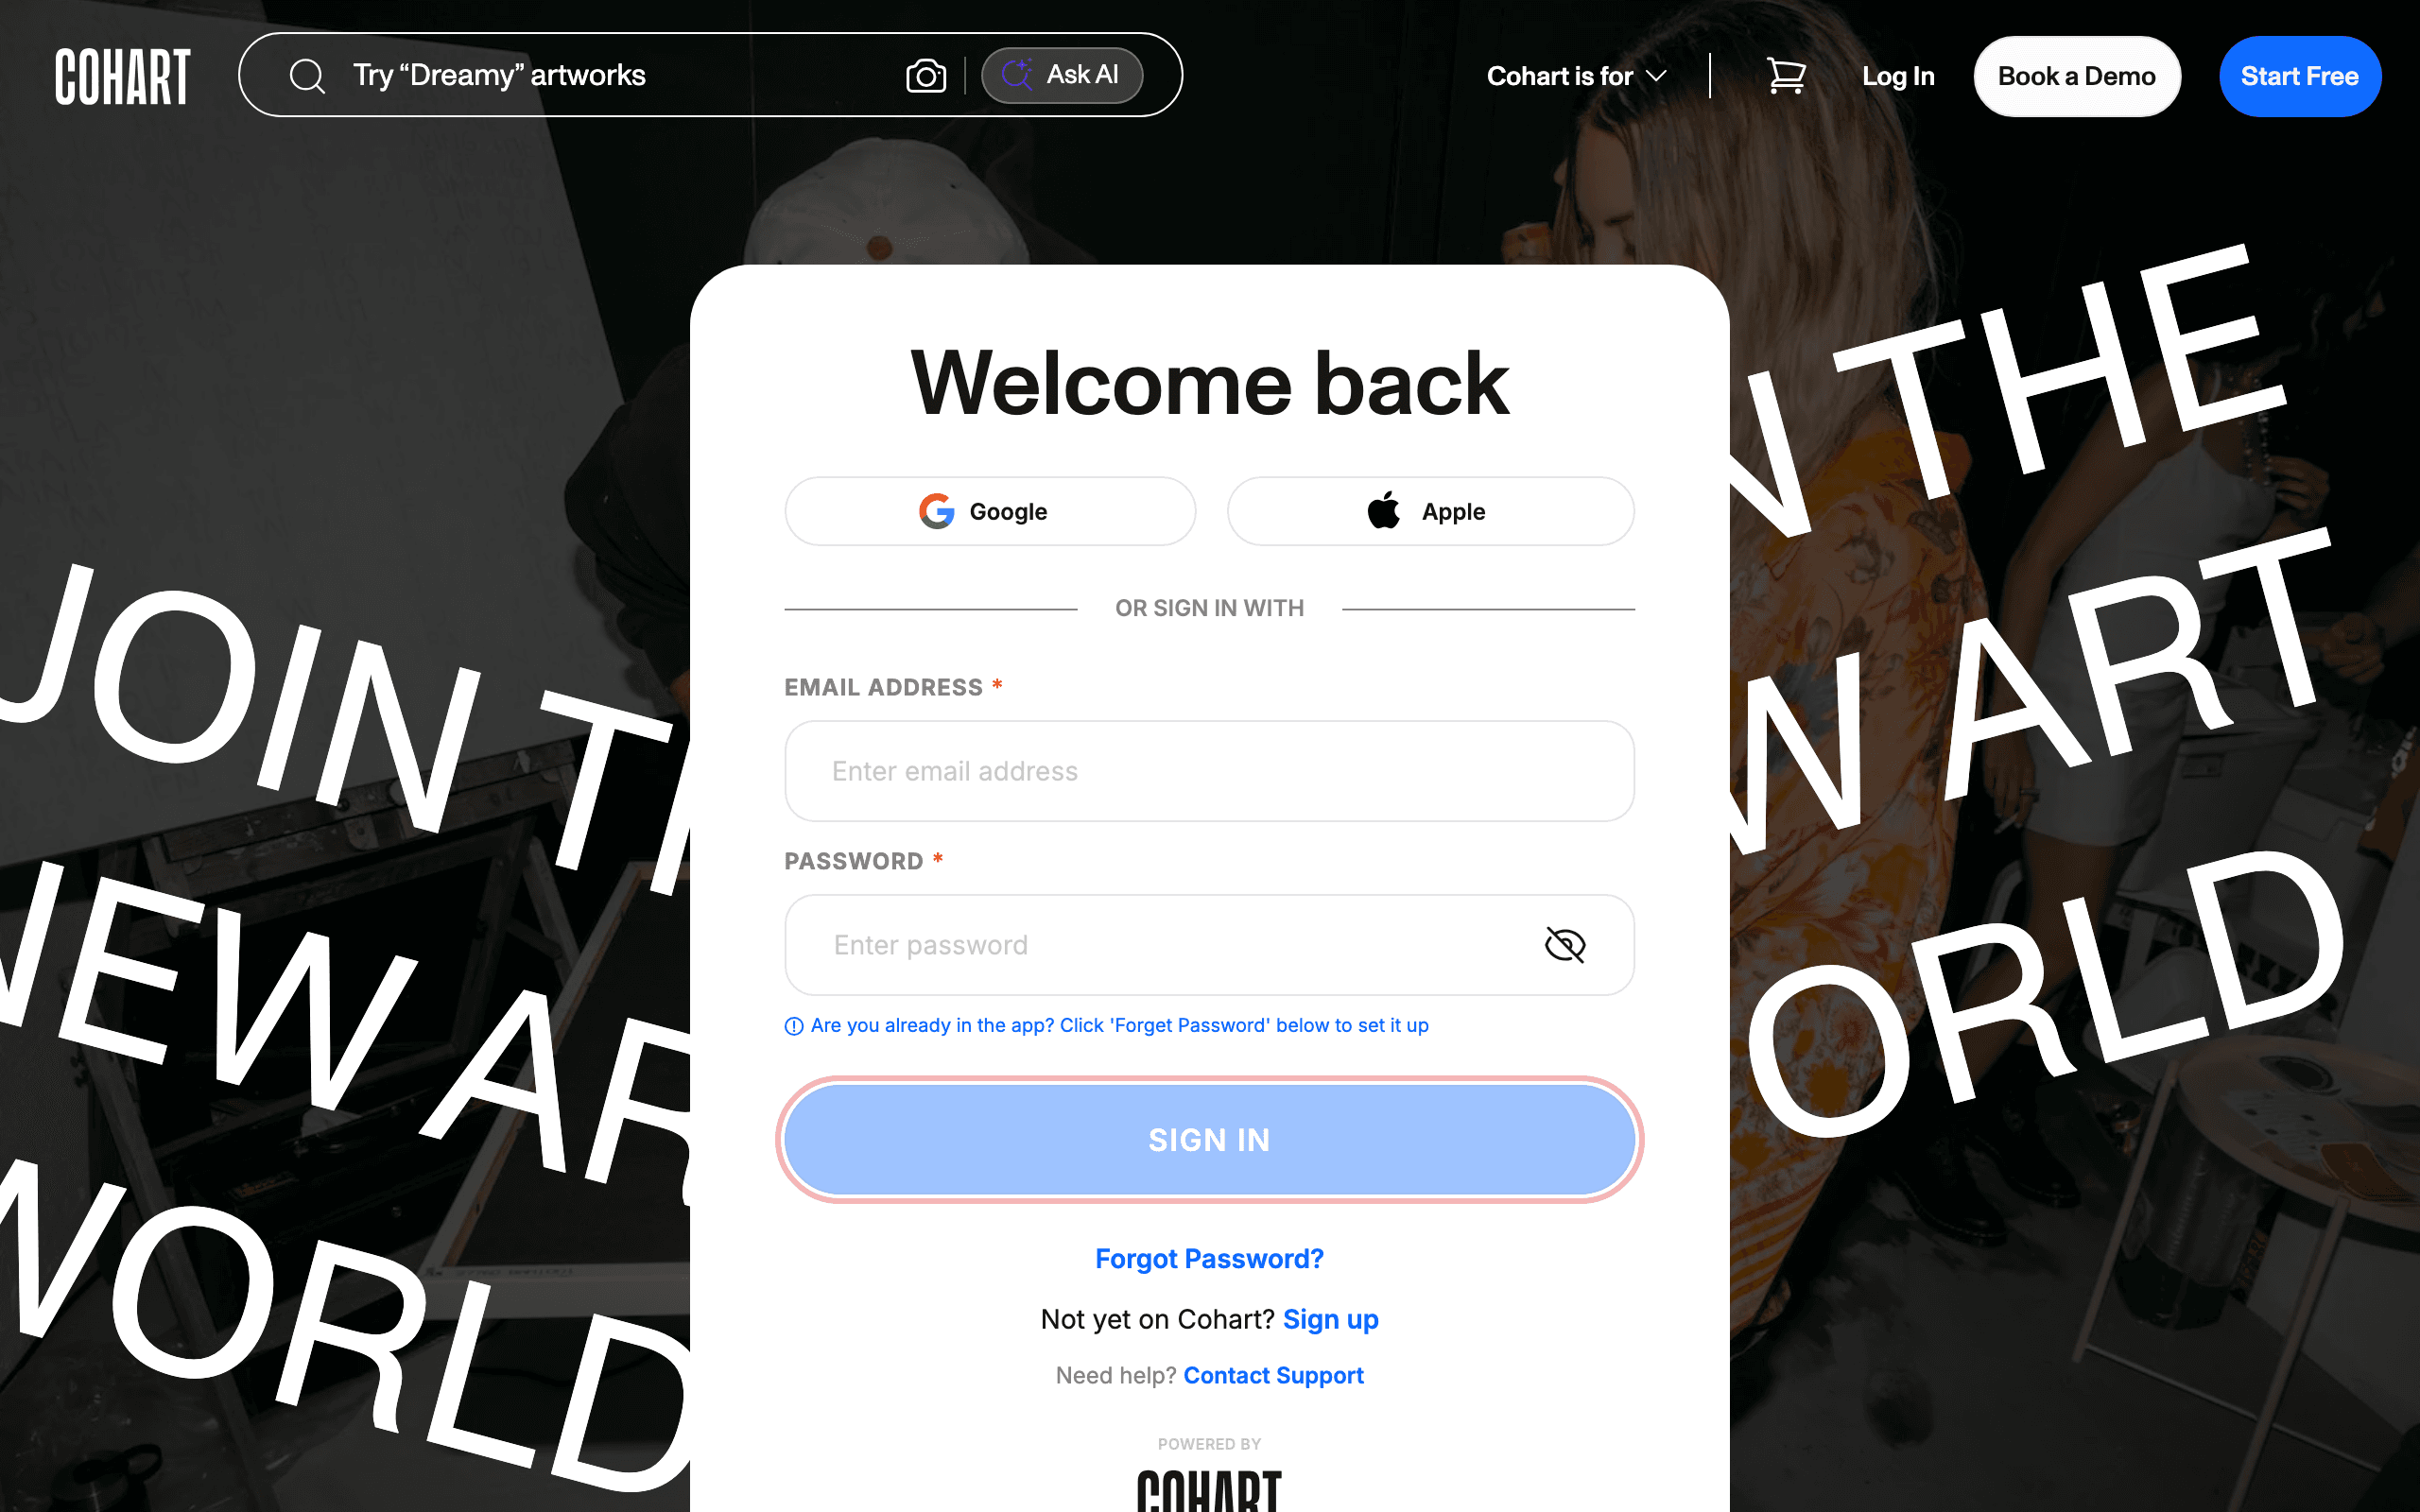
Sign in with your email address and password, or use Google or Apple.
2. Open Marketing Email
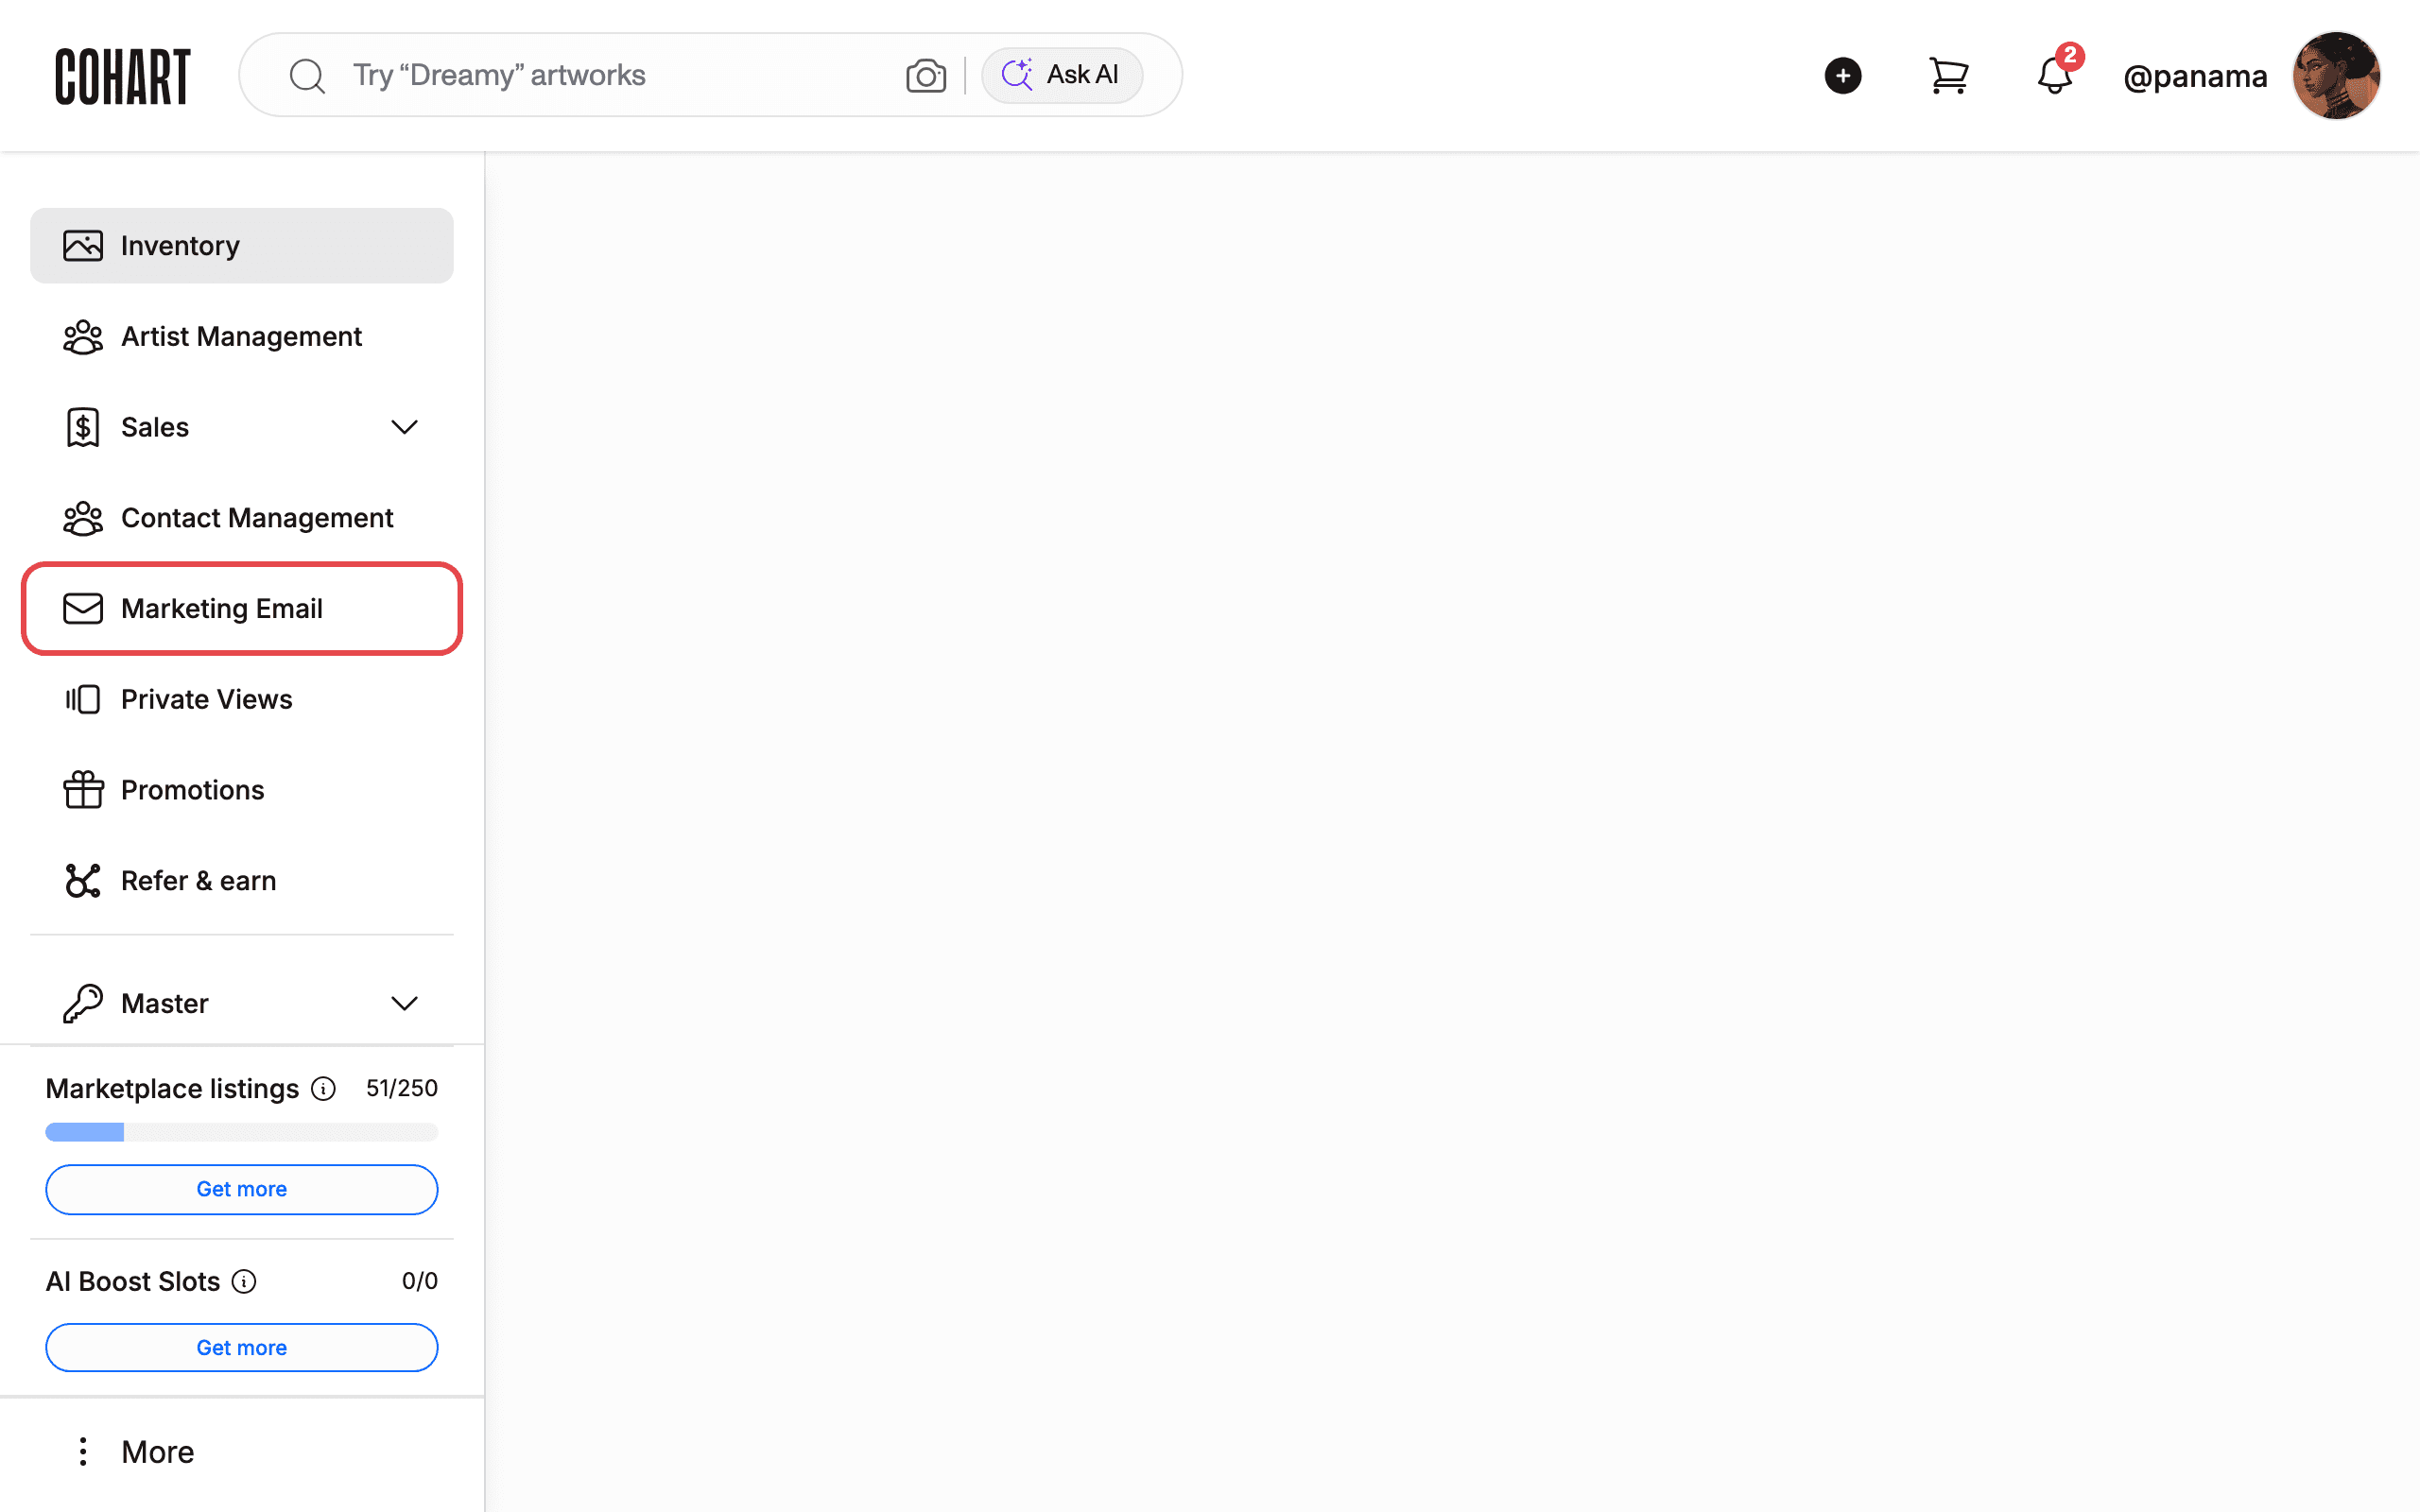
In the left sidebar, click Marketing Email.
3. Click Create new campaign
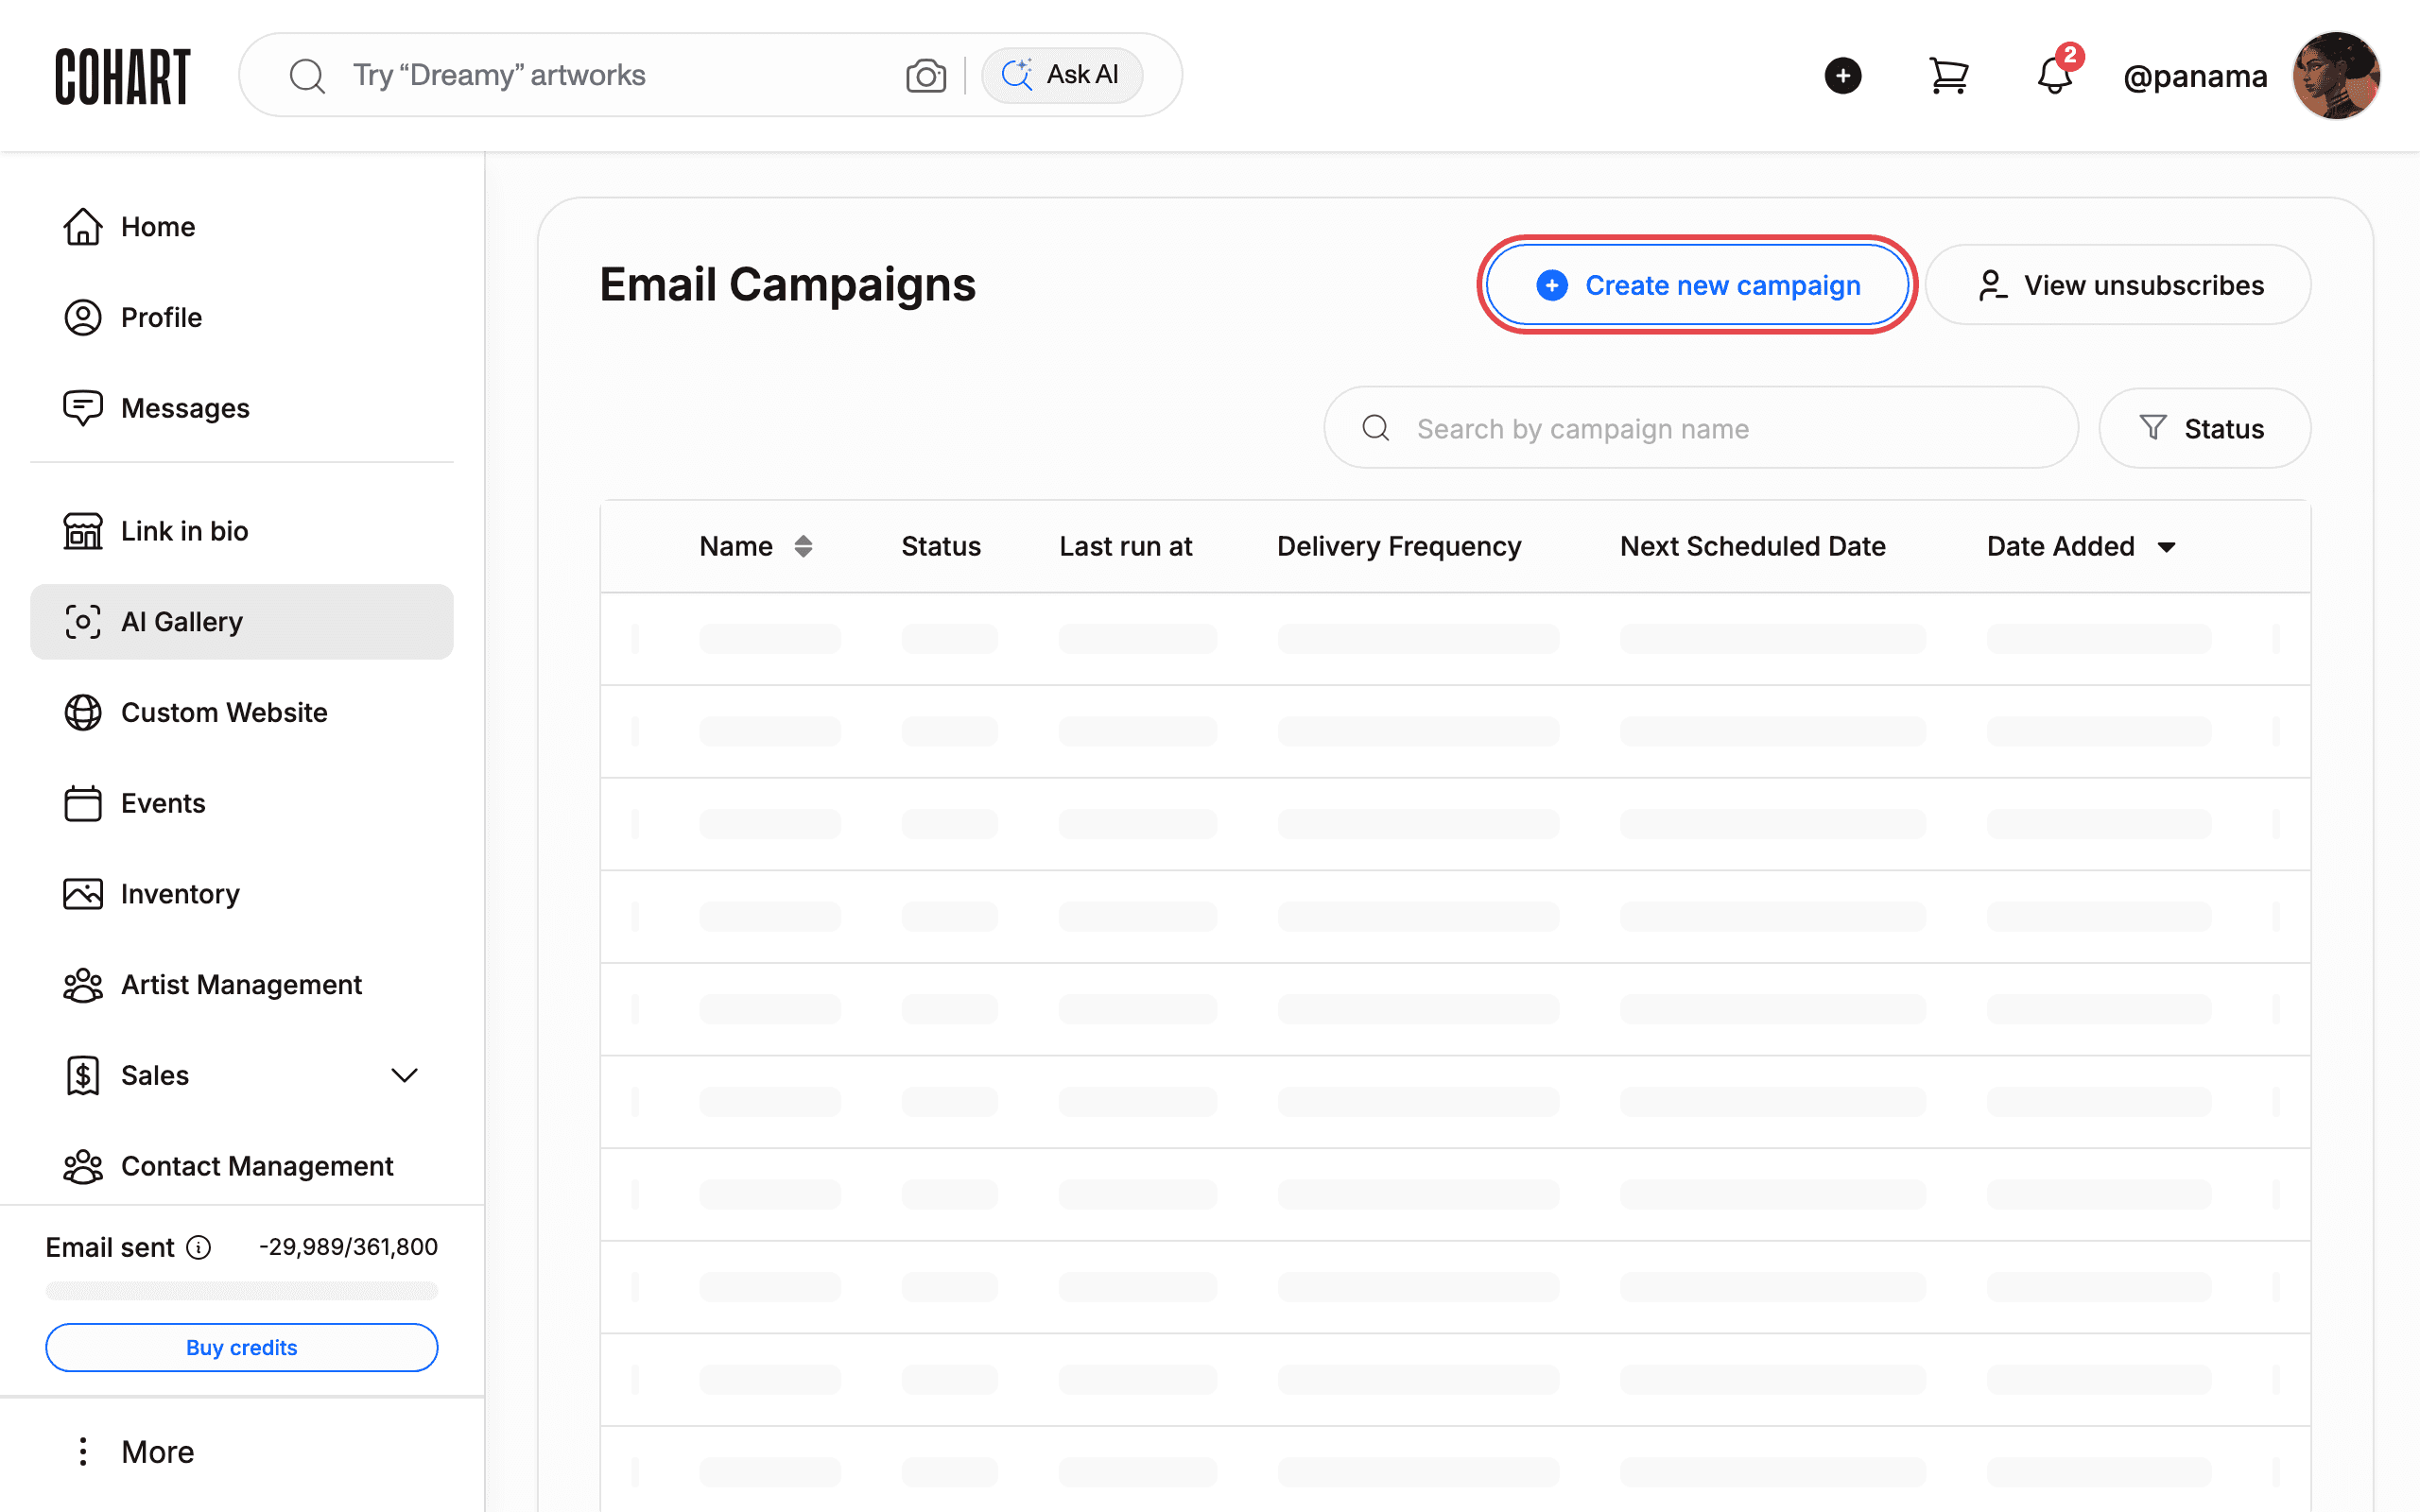
On the Email Campaigns page, click Create new campaign. The page lists your existing campaigns in a table with the columns Name, Status, Last run at, Delivery Frequency, Next Scheduled Date, and Date Added. You can also use Search by campaign name, the Status filter, or View unsubscribes. Clicking the button immediately creates a draft campaign and opens the Edit Campaign page, so click it only once.
4. Enter the EMAIL SUBJECT
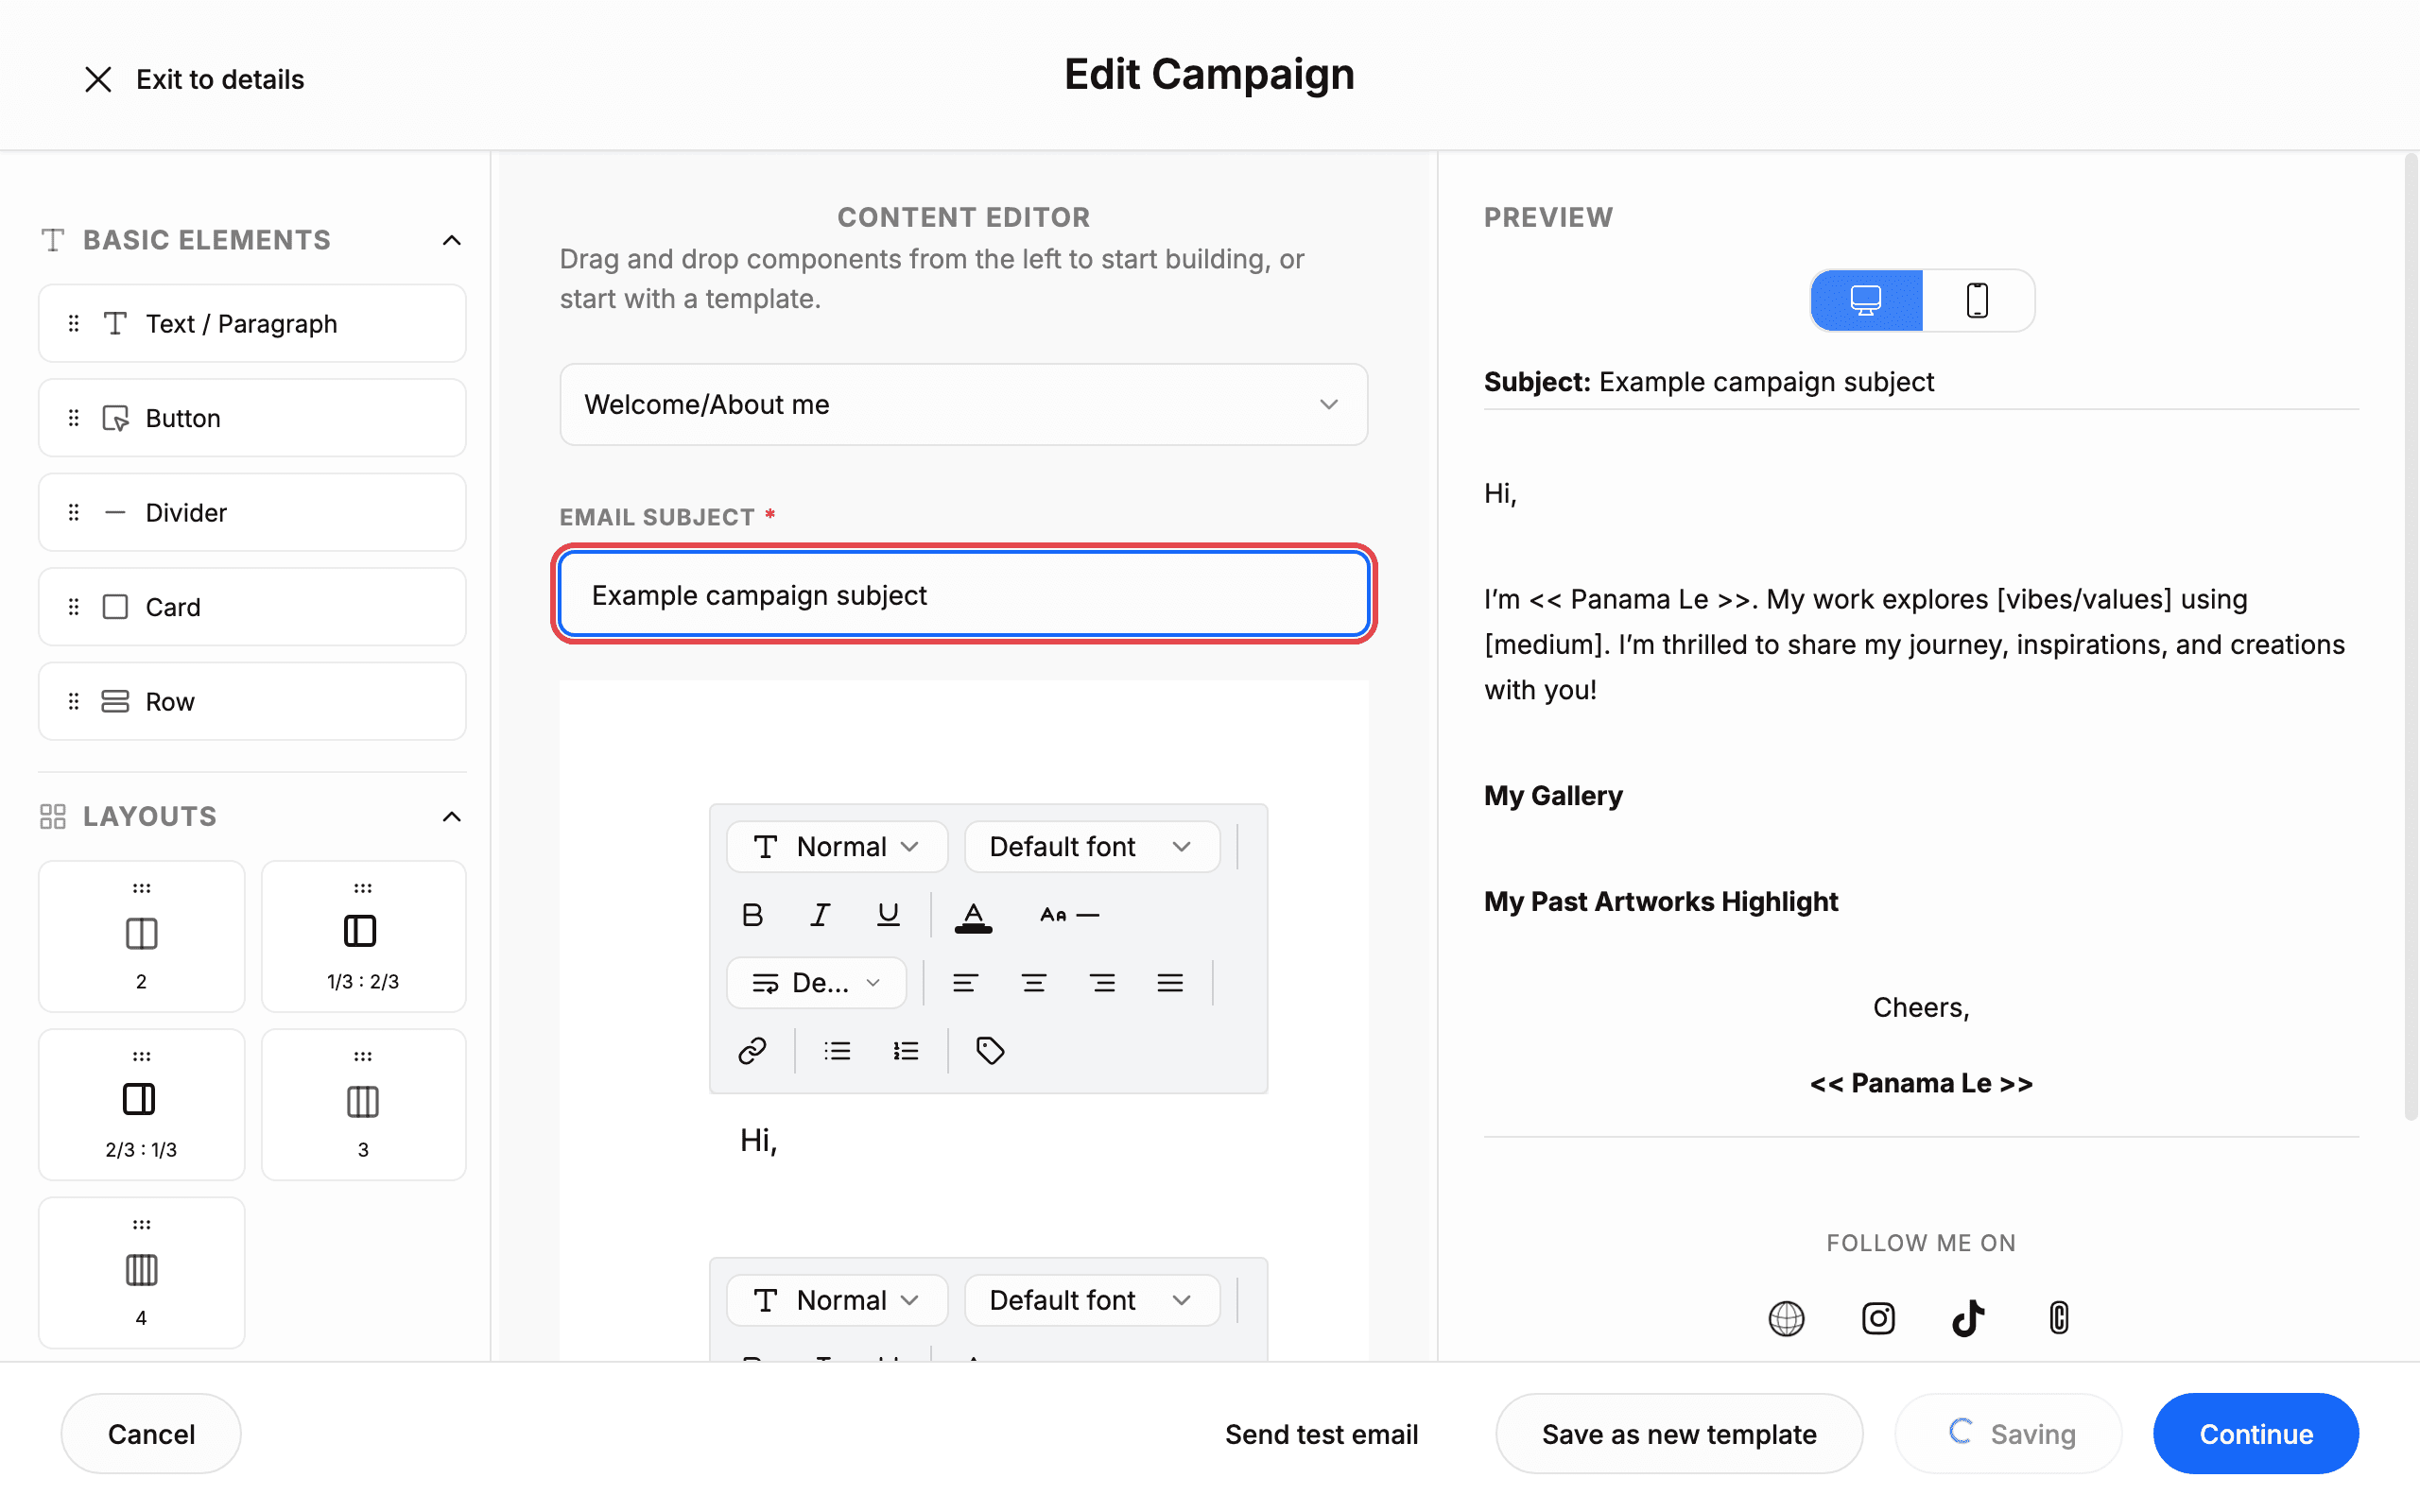
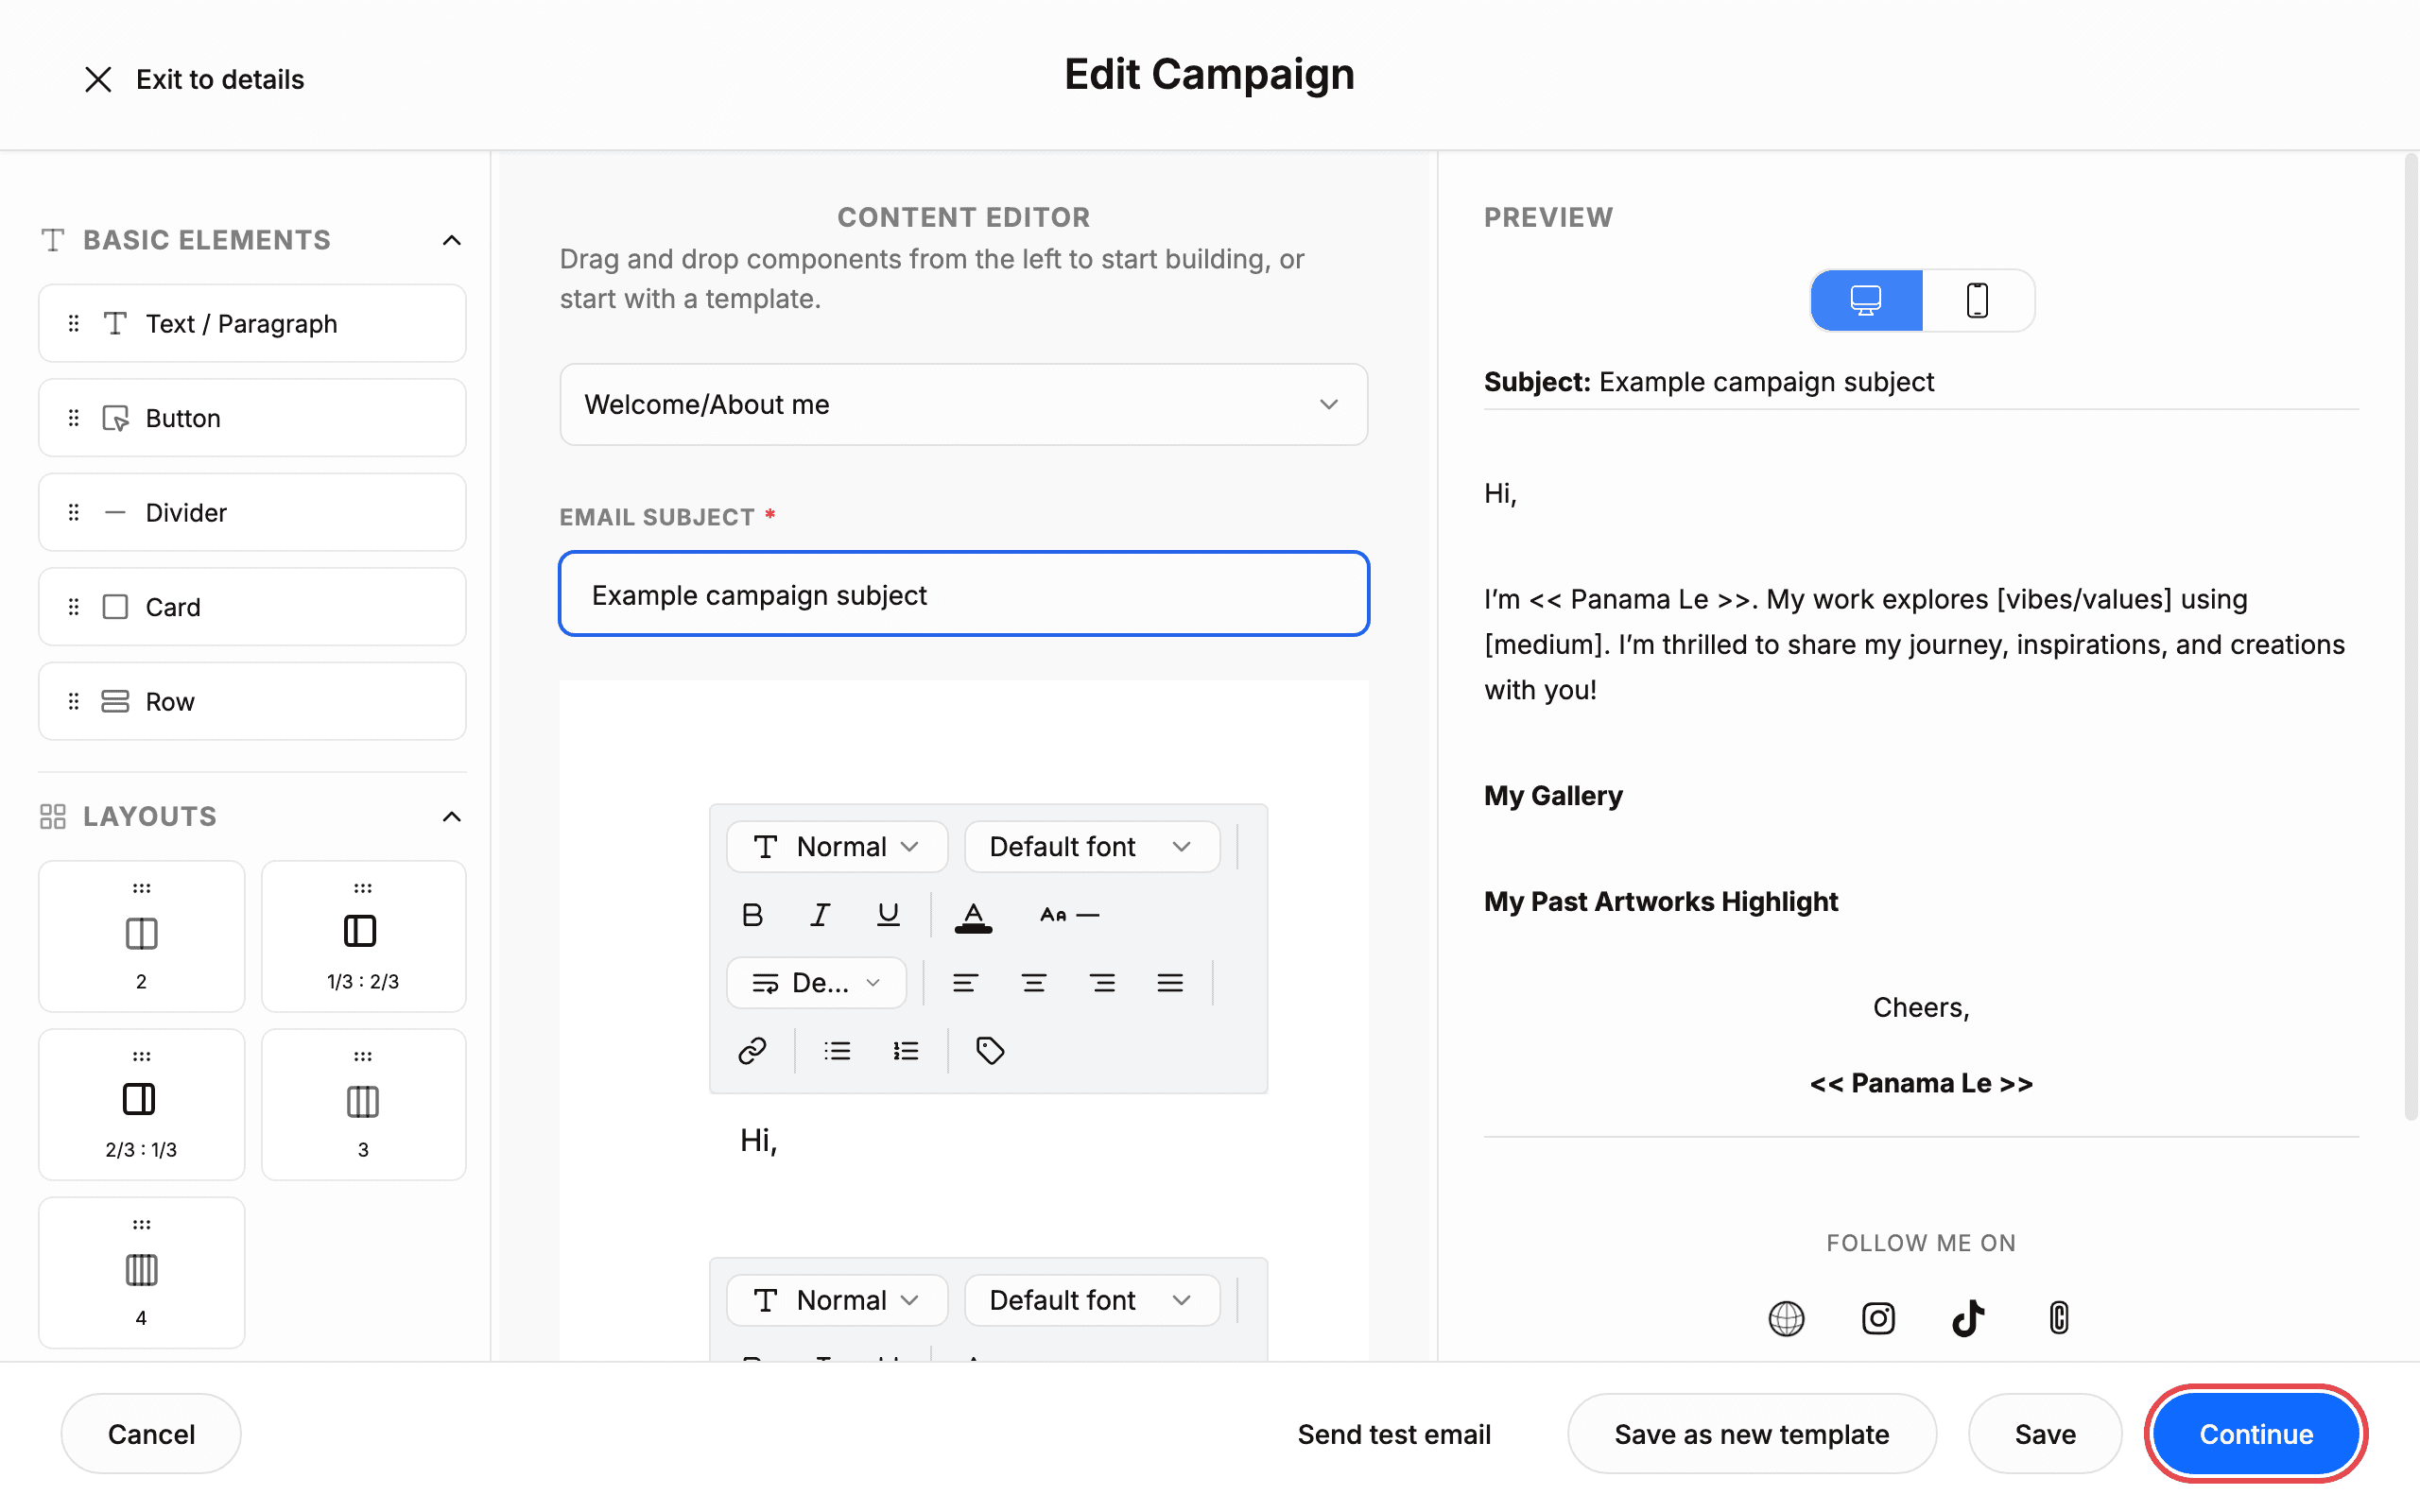
In the CONTENT EDITOR, fill in the EMAIL SUBJECT field (marked with *, required). The editor starts from the Welcome/About me template. Build the body by dragging blocks from the left panel: BASIC ELEMENTS (Text / Paragraph, Button, Divider, Card, Row), LAYOUTS (2, 1/3 : 2/3, 2/3 : 1/3, 3, 4), IMAGES (Upload image), and ARTWORKS (Search artwork). The PREVIEW panel on the right shows the Subject: line and the rendered email, with desktop and mobile toggles. The footer offers Cancel, Send test email, Save as new template, Save, and Continue.
5. Click Continue
Click Continue at the bottom right. The SEND CAMPAIGN panel opens.
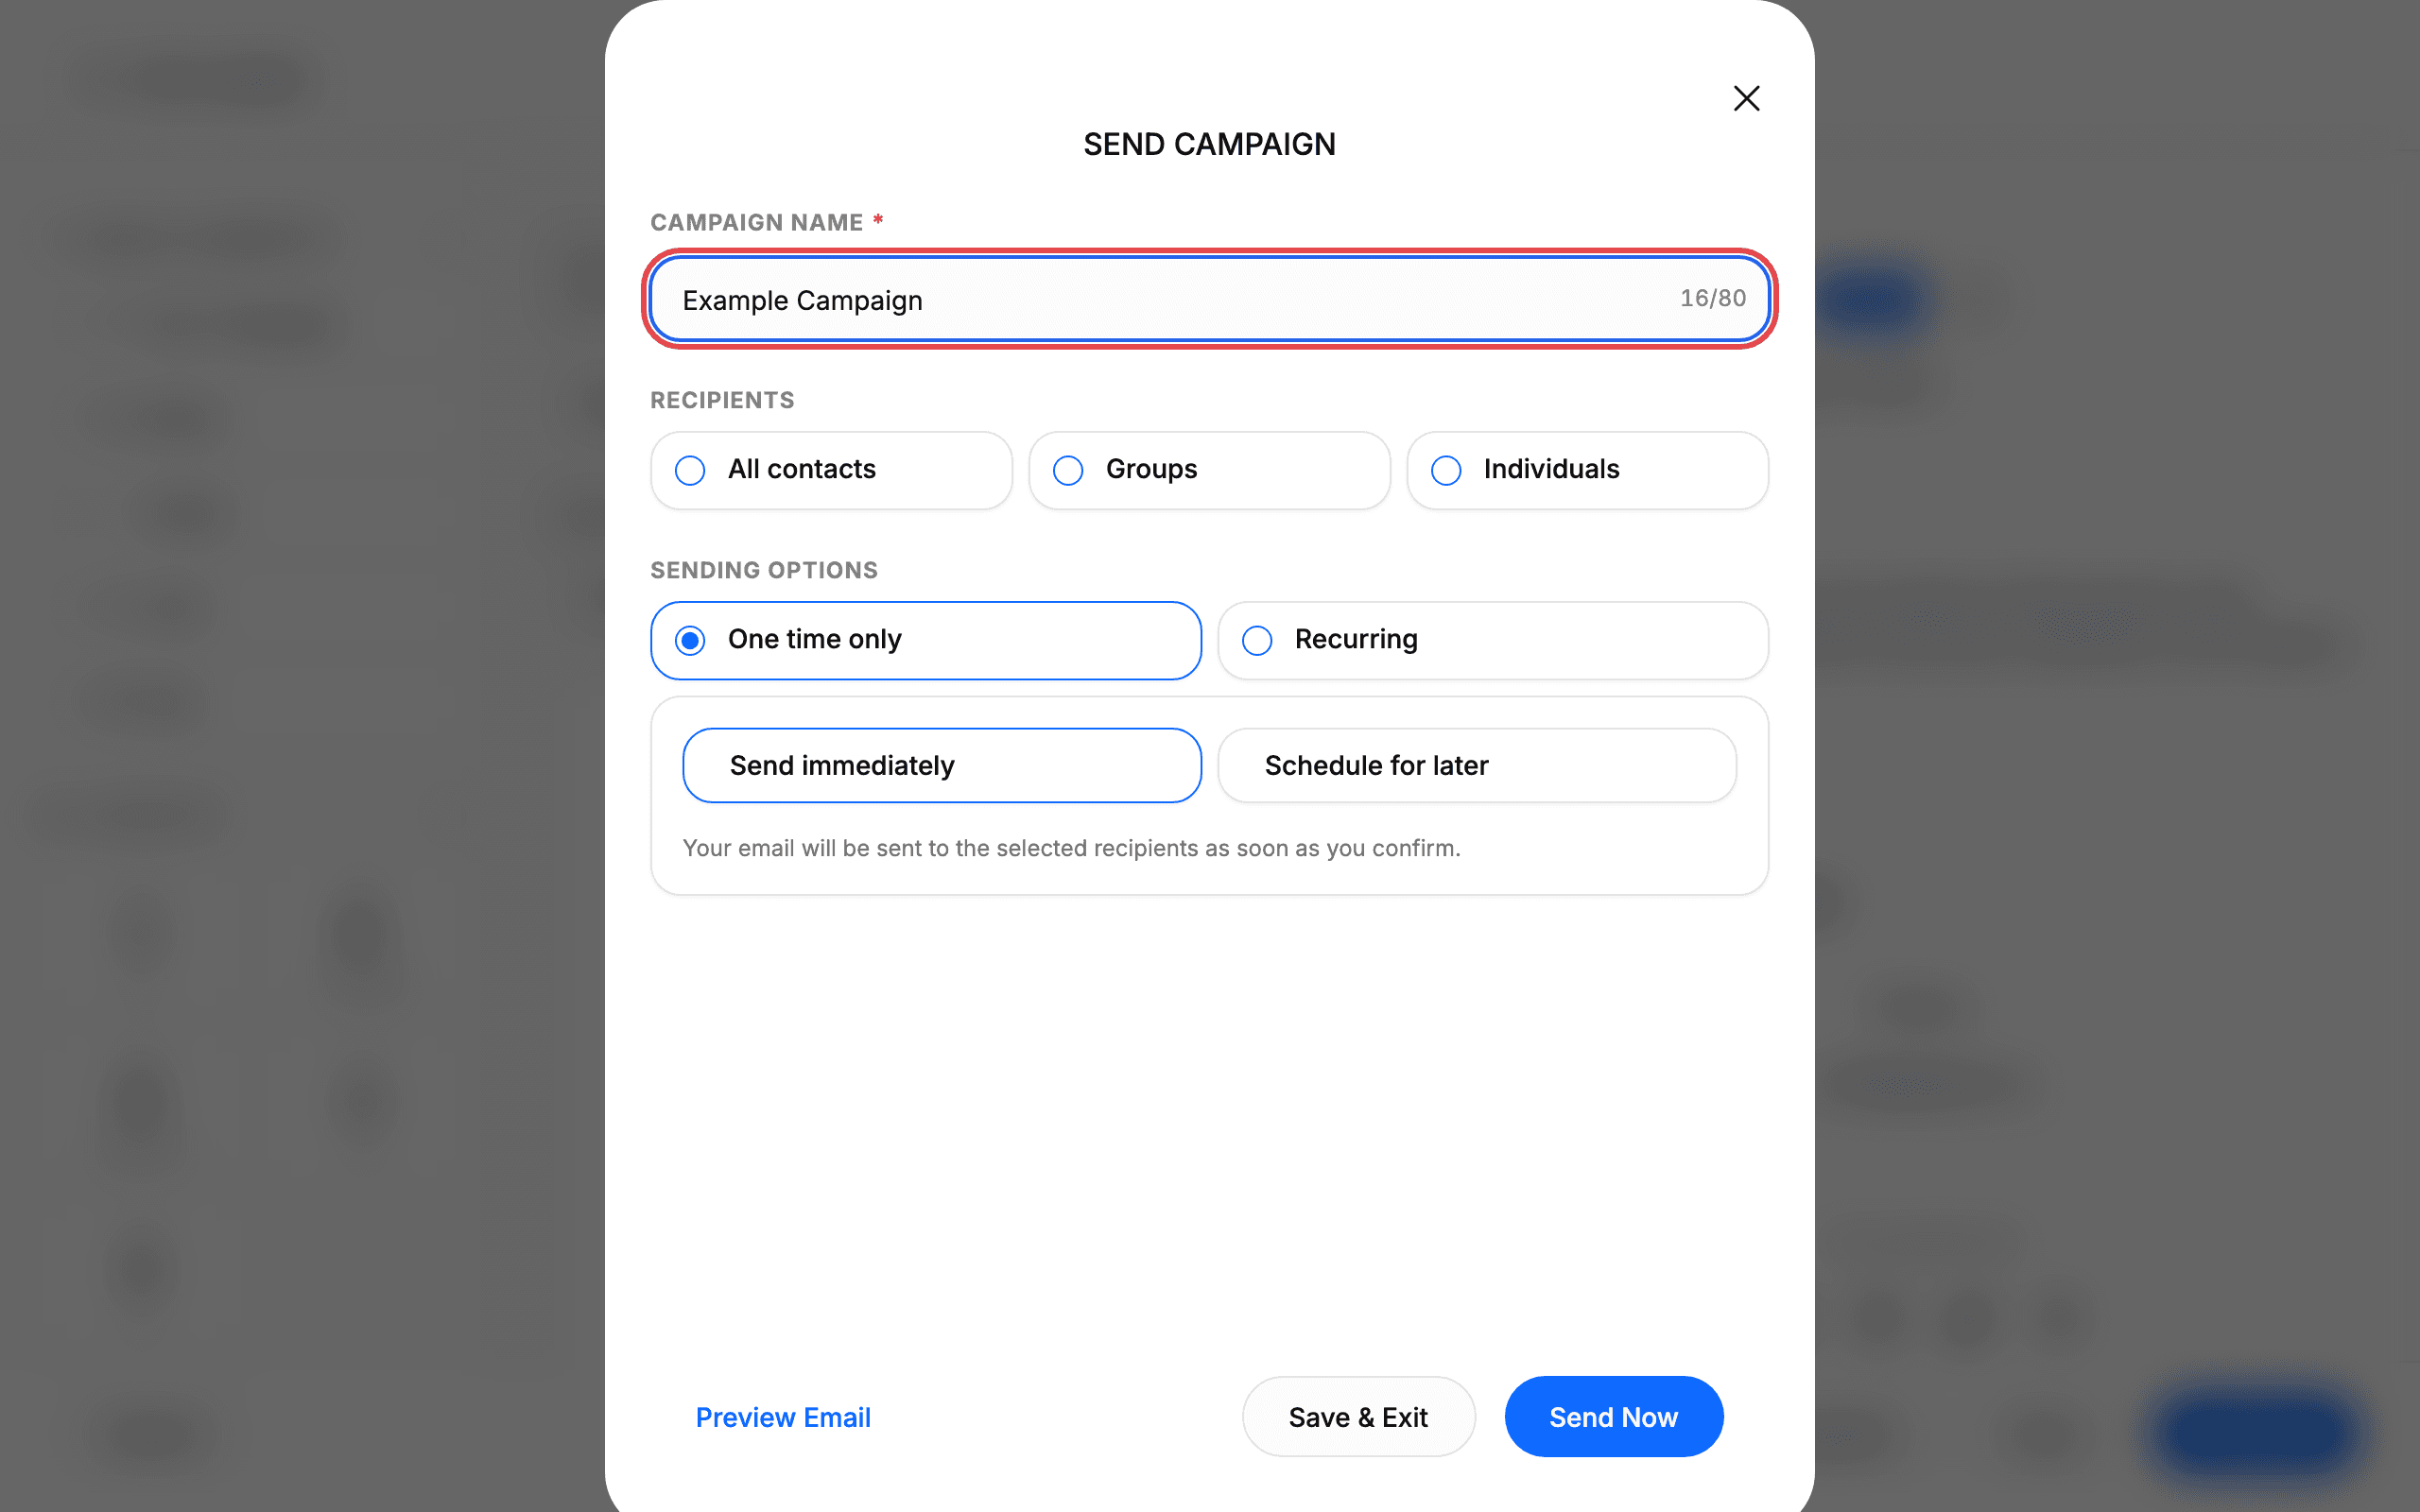
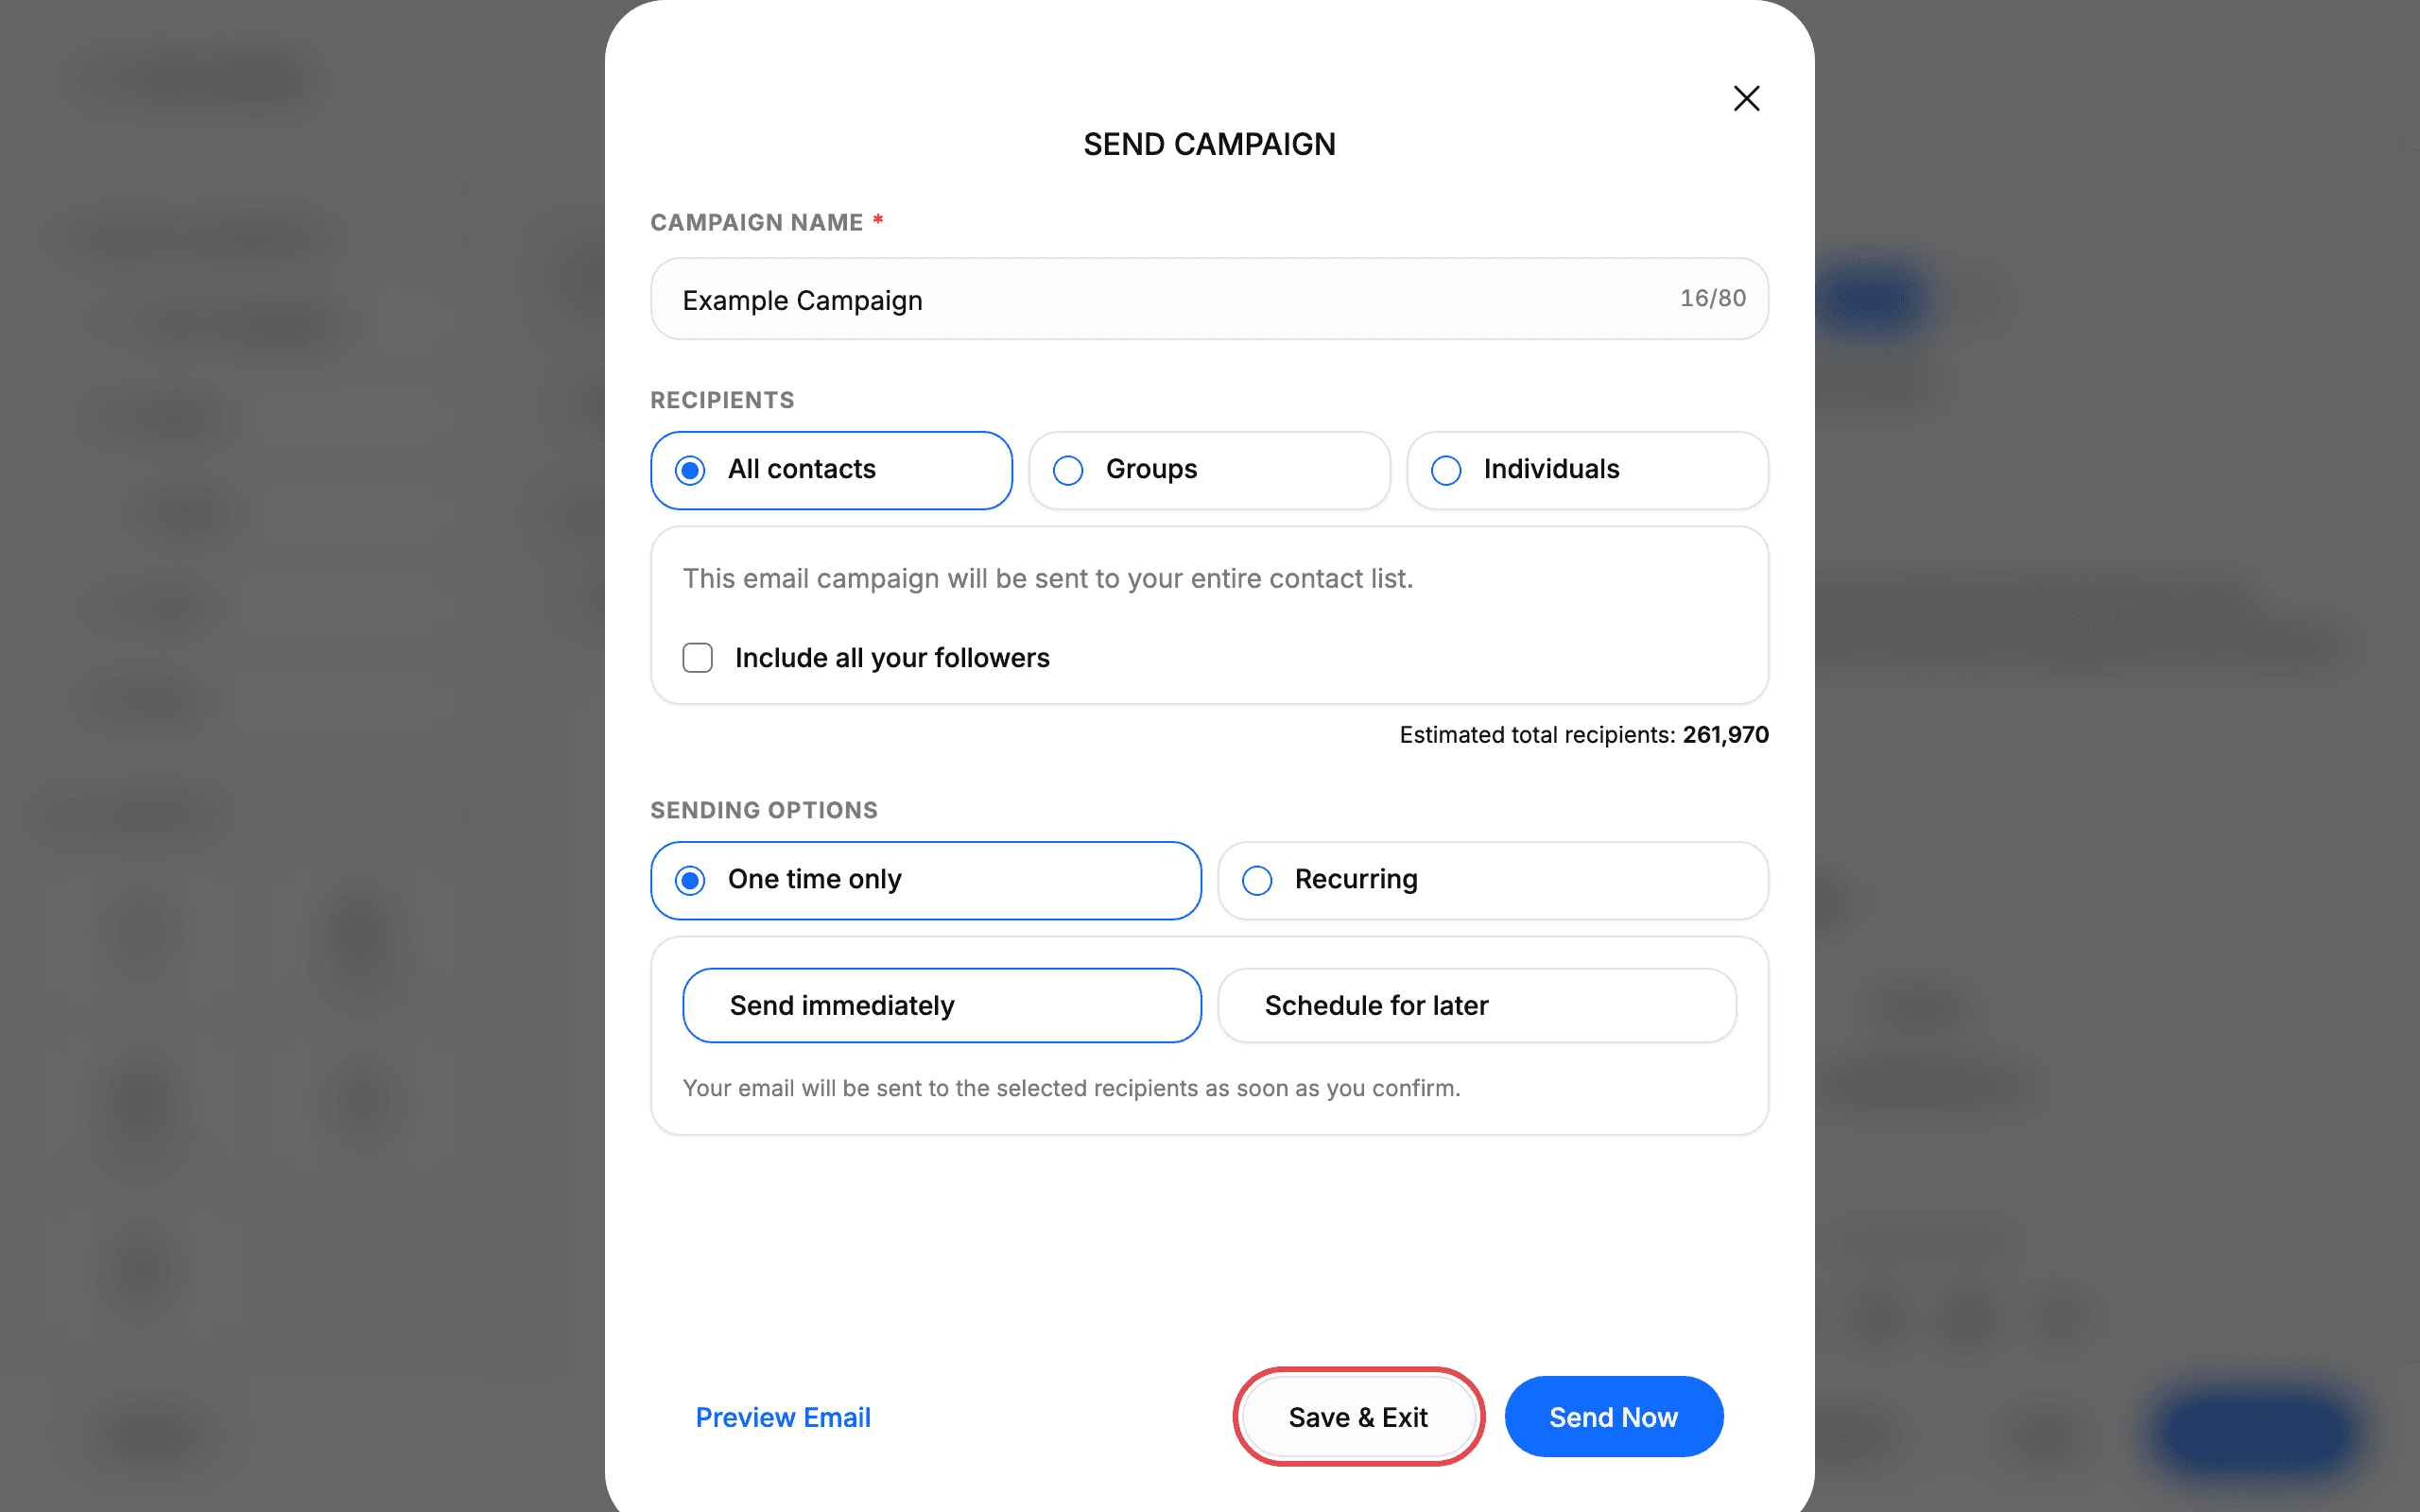
6. Enter a CAMPAIGN NAME
In the SEND CAMPAIGN panel, fill in CAMPAIGN NAME (marked with *, max 80 characters, counter shown as 0/80). This name is internal and helps you find the campaign in the Email Campaigns list.
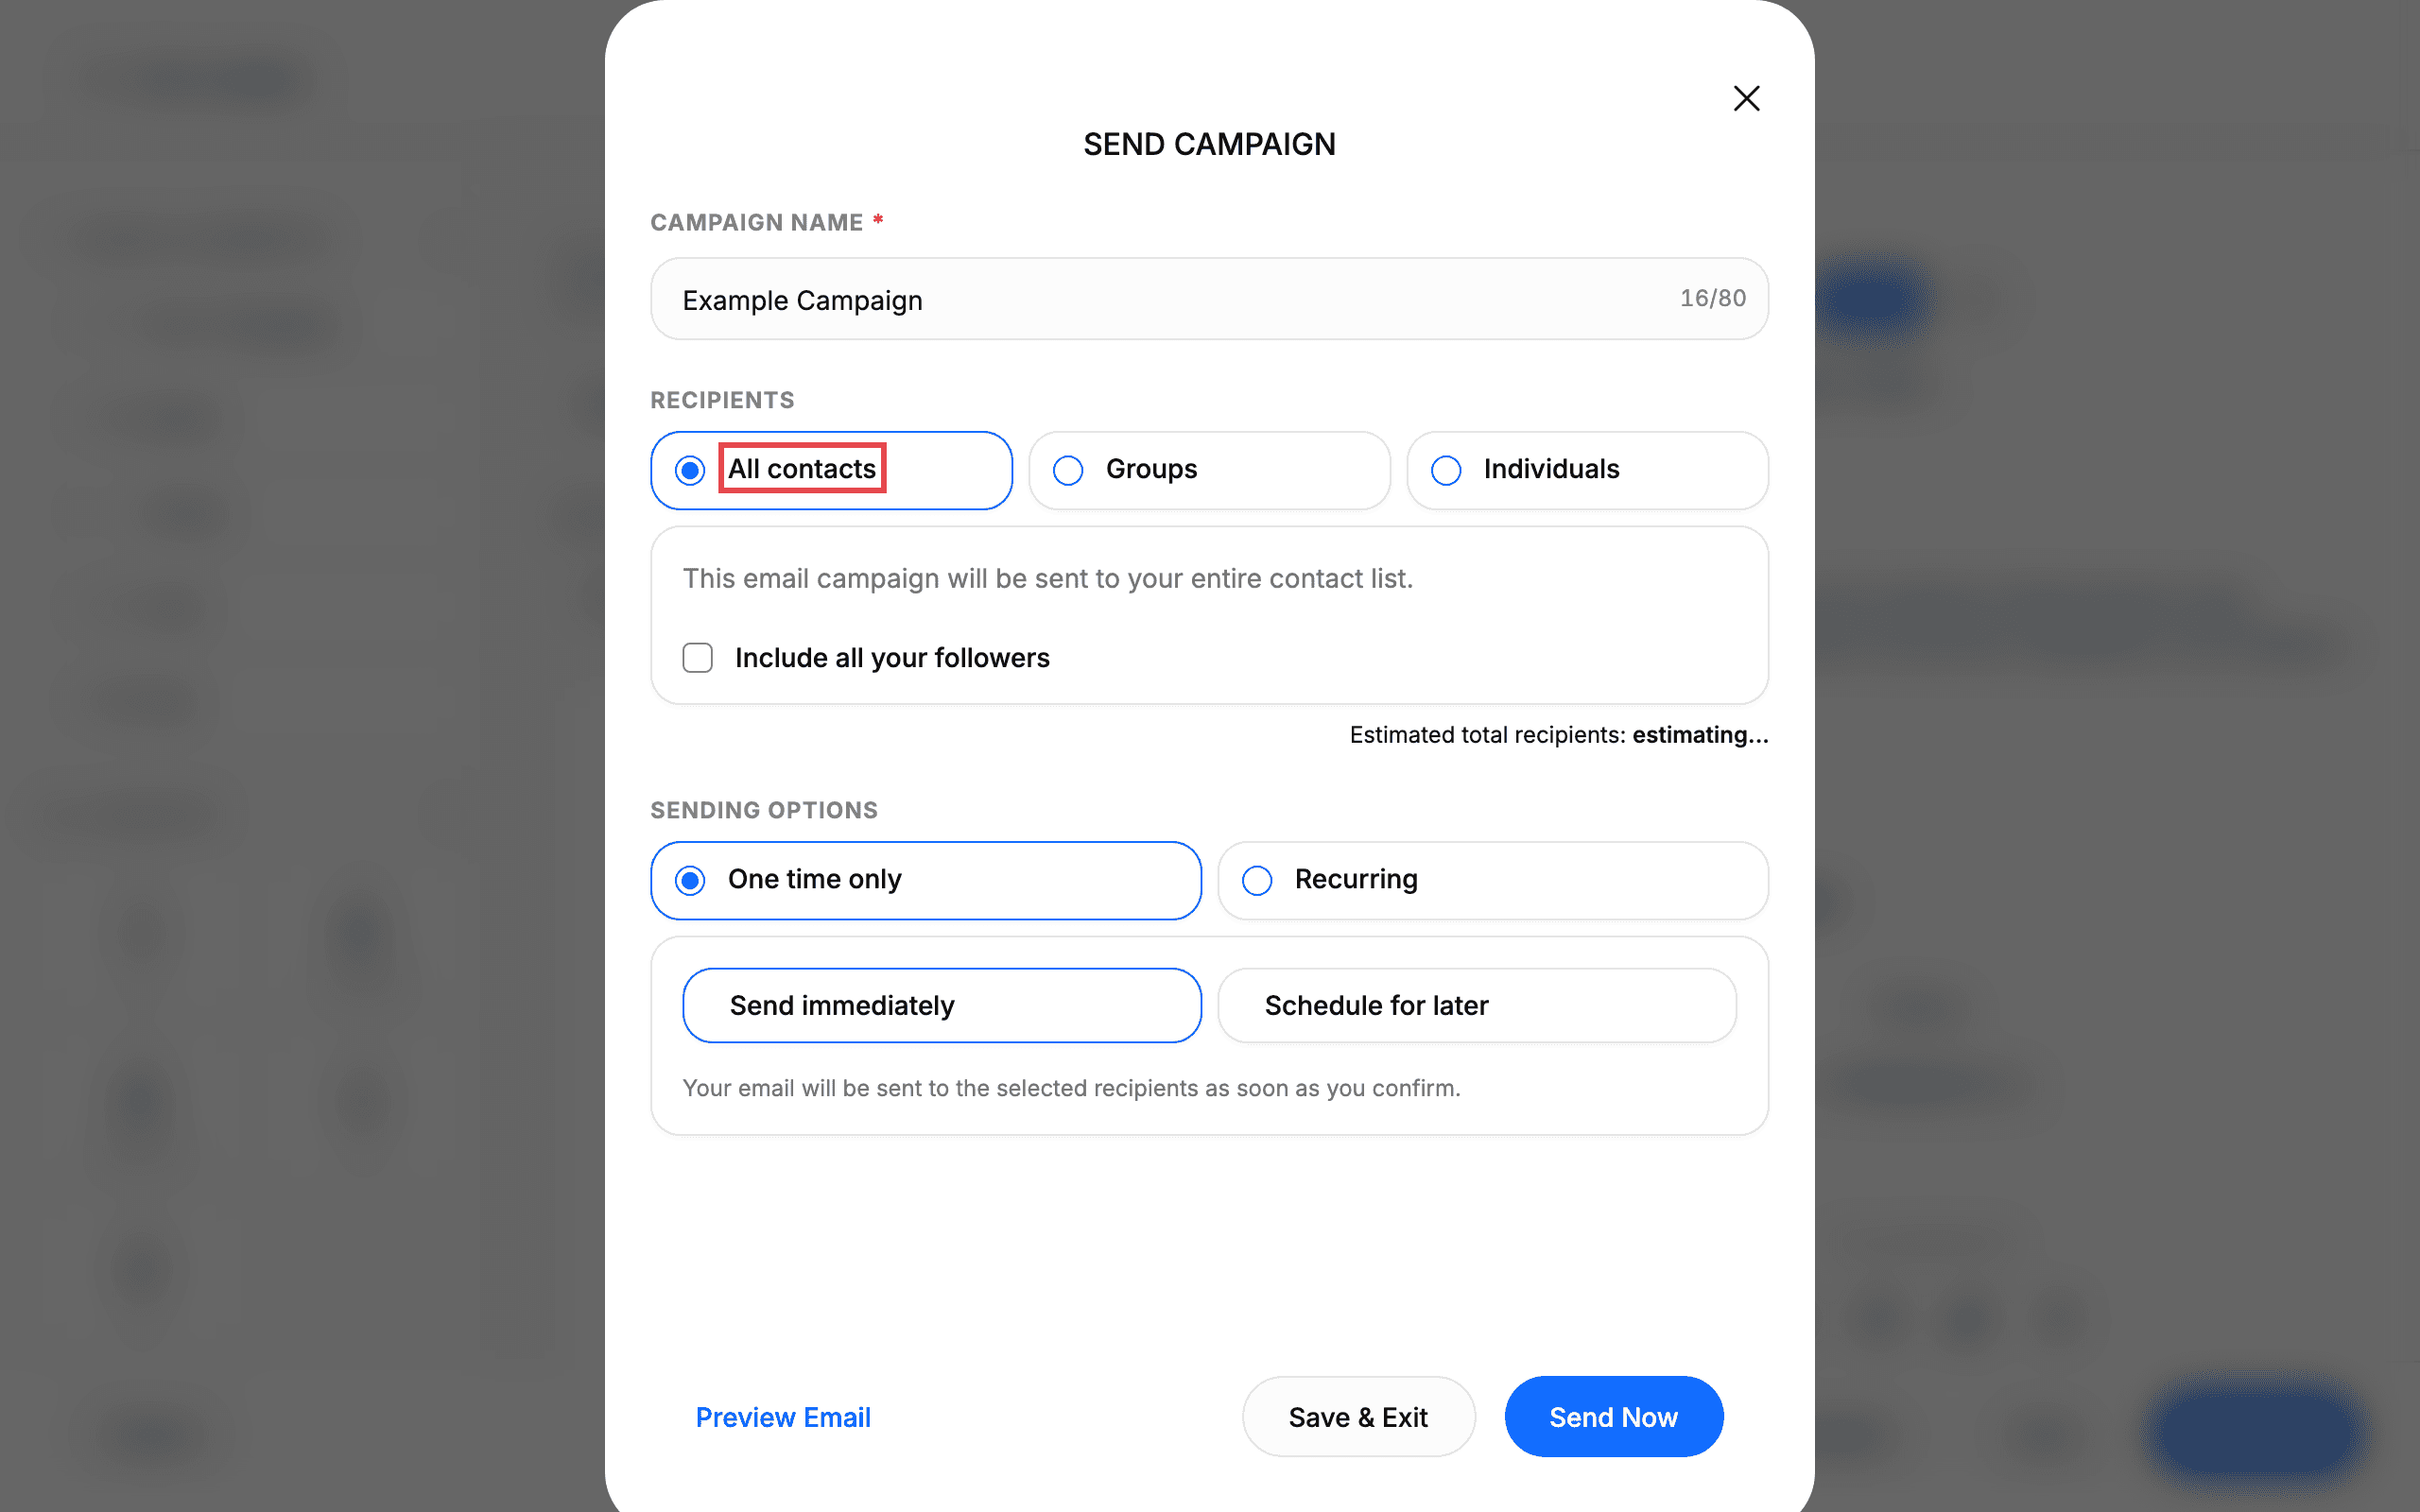
7. Choose your recipients
Under RECIPIENTS, select one option: All contacts, Groups, or Individuals. If you select All contacts, the panel states “This email campaign will be sent to your entire contact list.” and shows Include all your followers plus Estimated total recipients:. If you select Groups, a SELECT GROUPS dropdown with Select options appears. If you select Individuals, a SELECT CONTACTS dropdown with Select options appears.
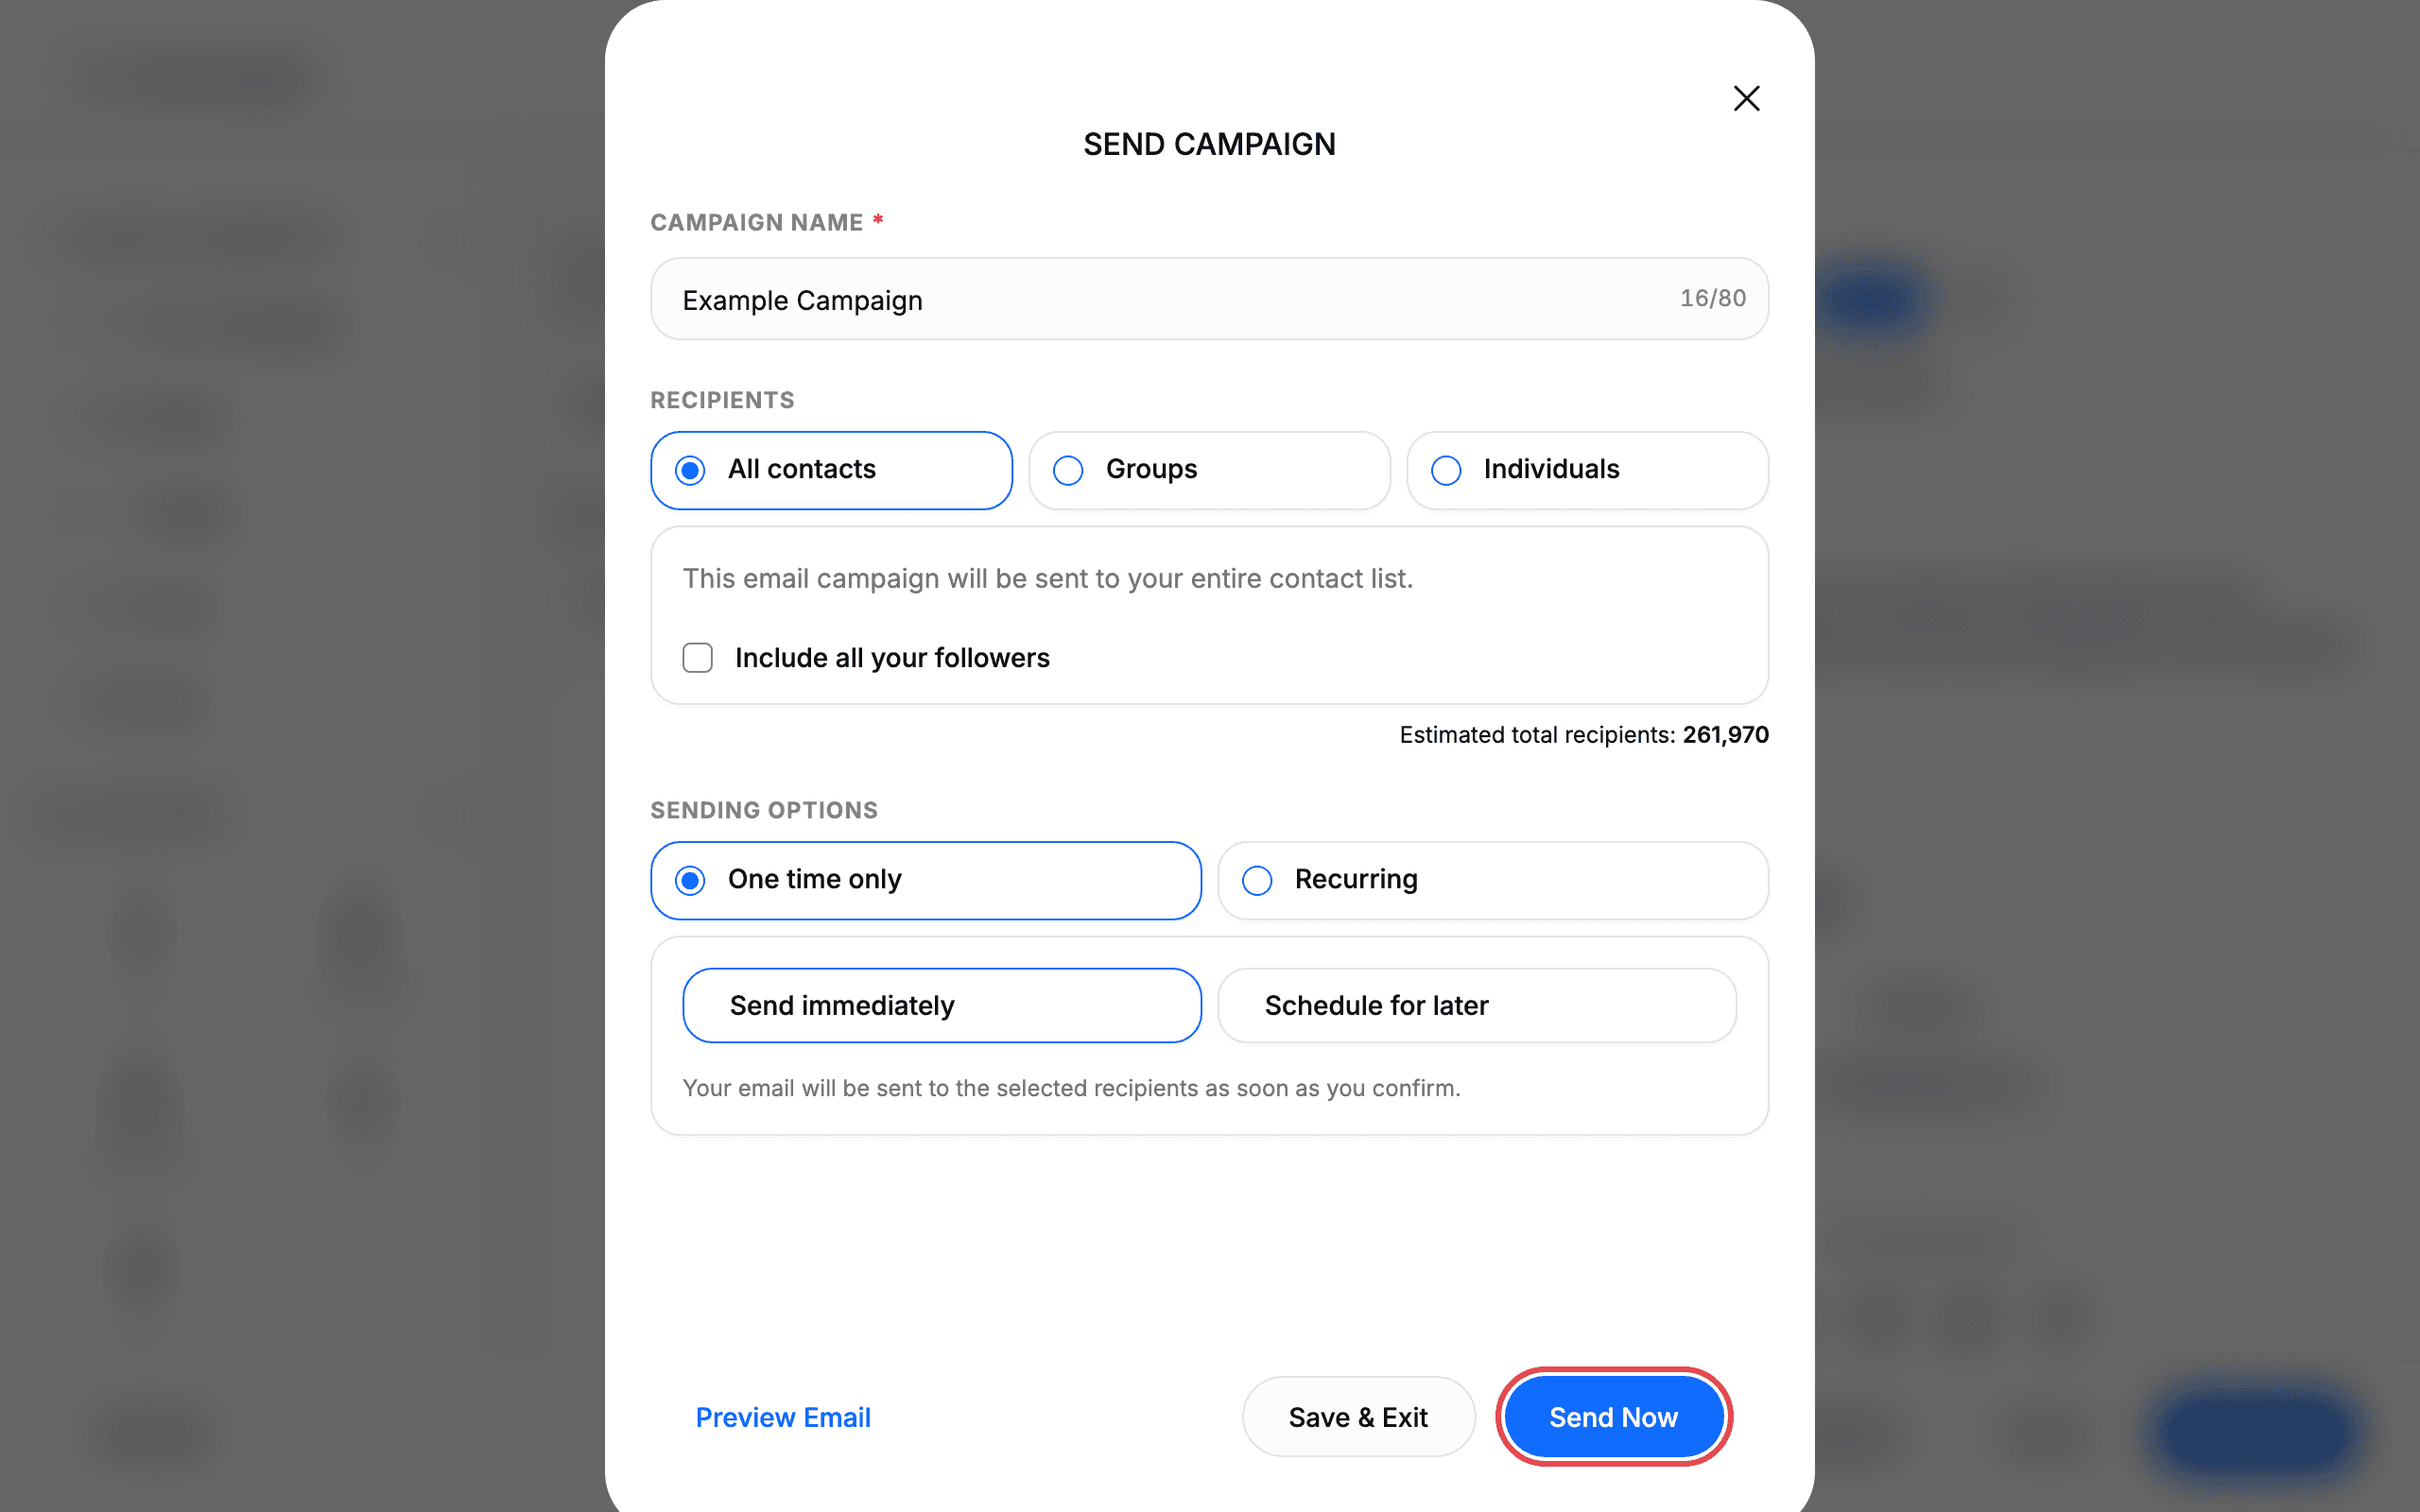
8. Review the SENDING OPTIONS
Under SENDING OPTIONS, choose One time only or Recurring, and Send immediately or Schedule for later. With One time only + Send immediately, the panel states “Your email will be sent to the selected recipients as soon as you confirm.” and the confirm button reads Send Now. With Recurring, you pick a frequency (Daily, Weekly, Monthly), a TIME, and a Time Zone, and the button reads Start Campaign. With Schedule for later, you pick a DATE and TIME, and the button reads Schedule Send. Check Estimated total recipients: before confirming. Only click Send Now when you are ready to email real recipients.
9. Save the campaign as a draft
Click Save & Exit to keep the campaign without sending it. Use Preview Email first if you want to review the email. The draft stays on the Edit Campaign page so you can return via Exit to details or the Email Campaigns list later.
Tips
- EMAIL SUBJECT and CAMPAIGN NAME are required. Both labels carry a
*. - Each click of Create new campaign creates a new draft. A “Campaign created!” message appears and the campaign editor opens. If you click twice, you get two drafts.
- Sending costs email credits. The sidebar shows Email sent usage (for example
0/0) and a Buy credits button. If sending is blocked, check your credit balance. - Do not use Send Now for testing. It sends to the selected recipients immediately. Use Send test email or Save & Exit instead.
- Preview Email closes the SEND CAMPAIGN panel. There is no separate preview dialog. Your live preview is the PREVIEW panel on the right of the editor.
Troubleshooting
- Estimated total recipients shows “estimating…” or an unexpected number → the count can take a moment and may change between visits → wait for it to resolve and confirm it looks right before sending.
- ARTWORKS shows “No artwork available” → the artwork list can take a few seconds to load → wait a moment and try the Search artwork field again.