How to Bulk Upload Contacts
Overview
When you already have a mailing list somewhere else, Bulk upload moves it into Contact Management in one step instead of making you retype each address. This is for sellers with an artist or gallery account who want existing collectors, followers, or newsletter subscribers available for campaigns, groups, and purchase lookups. The upload writes directly to your Contacts list: new addresses become contacts, and rows whose email already exists update the matching contact instead of creating a duplicate. The result dialog reports exactly what happened with Updated and Skipped counts, so you can fix problem rows and upload again. By the end, your imported contacts appear in the Contacts list with their names, emails, phone numbers, and notes, ready to search, filter, and email.
Before you start
- A Cohart artist or gallery account with access to Contact Management.
- A
.csvfile whose values are separated by Comma (,) or Semicolon (;), with columns such asFirst Name,Last Name,Email,Phone Number, andNote. If you are unsure of the layout, open Bulk upload and click download CSV template for a ready-made file to fill in. - Every row needs a valid email address — rows without one are reported as Skipped.
- Re-uploading is safe: matching emails are updated, not duplicated. Keep a copy of your original file so you can fix Skipped rows and upload again.
- To create a single contact instead of importing a file, see How to Add a Contact.
Steps
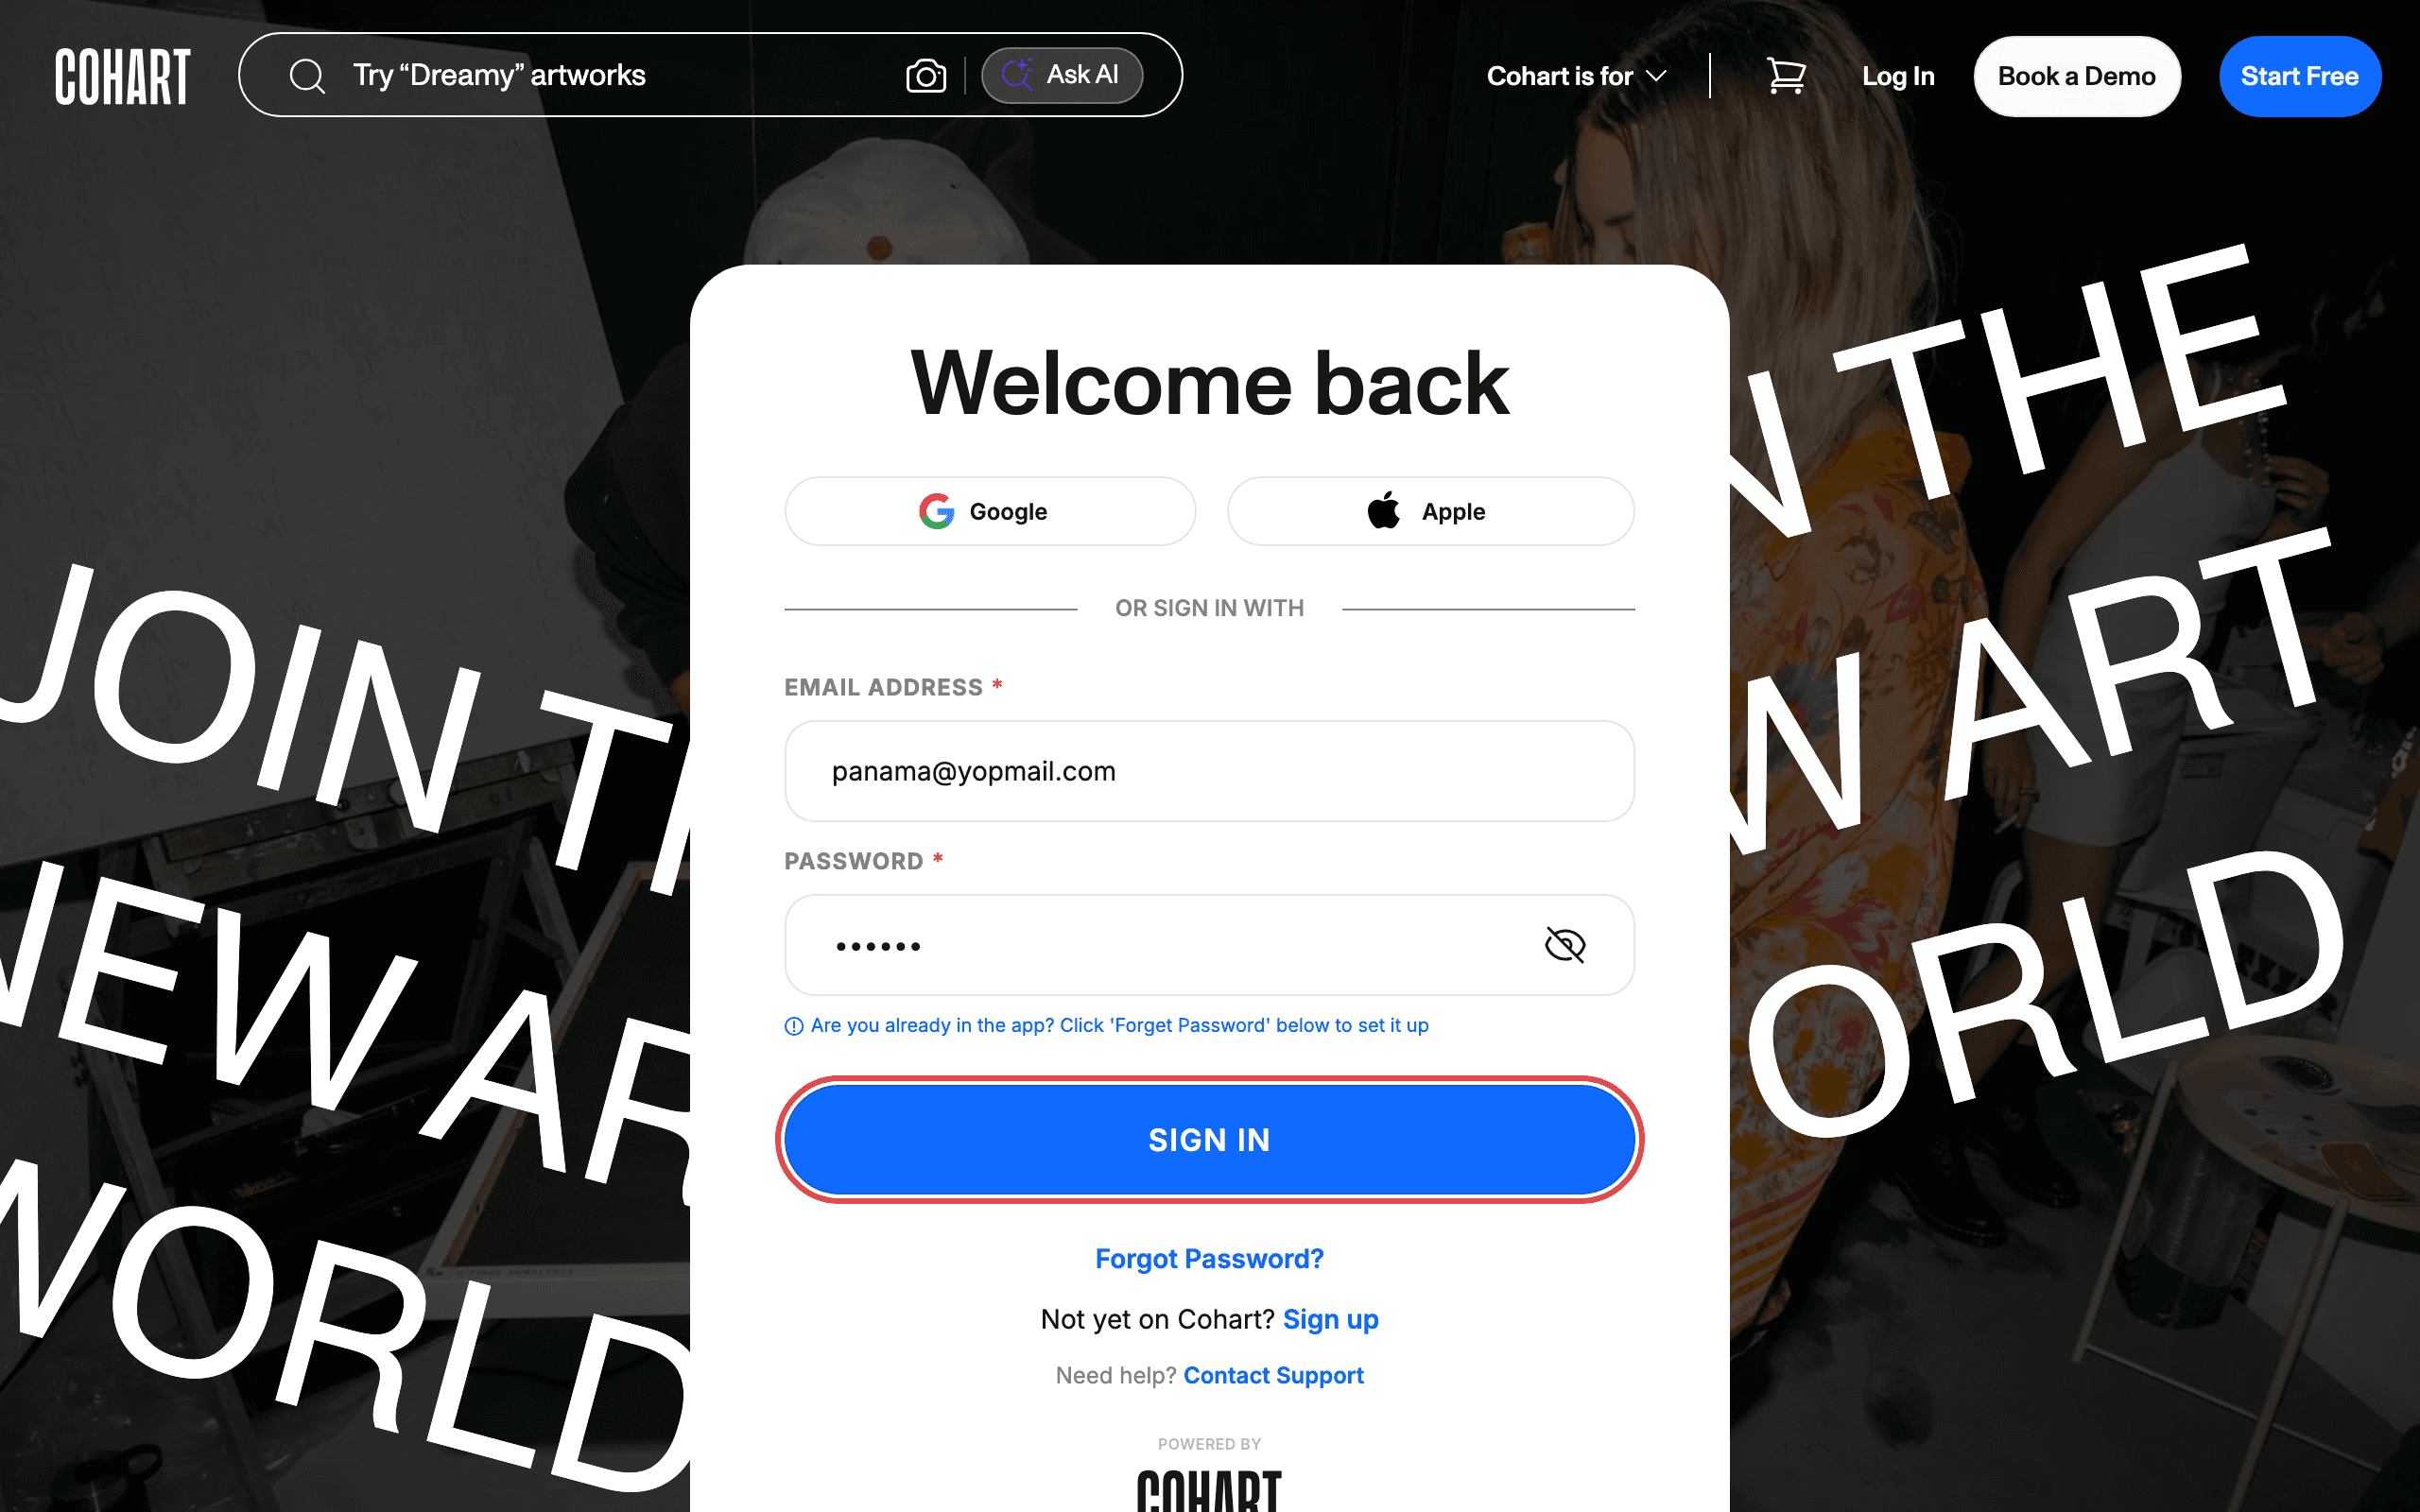
1. Sign in to Cohart
Sign in with your email address and password, or use Google or Apple.
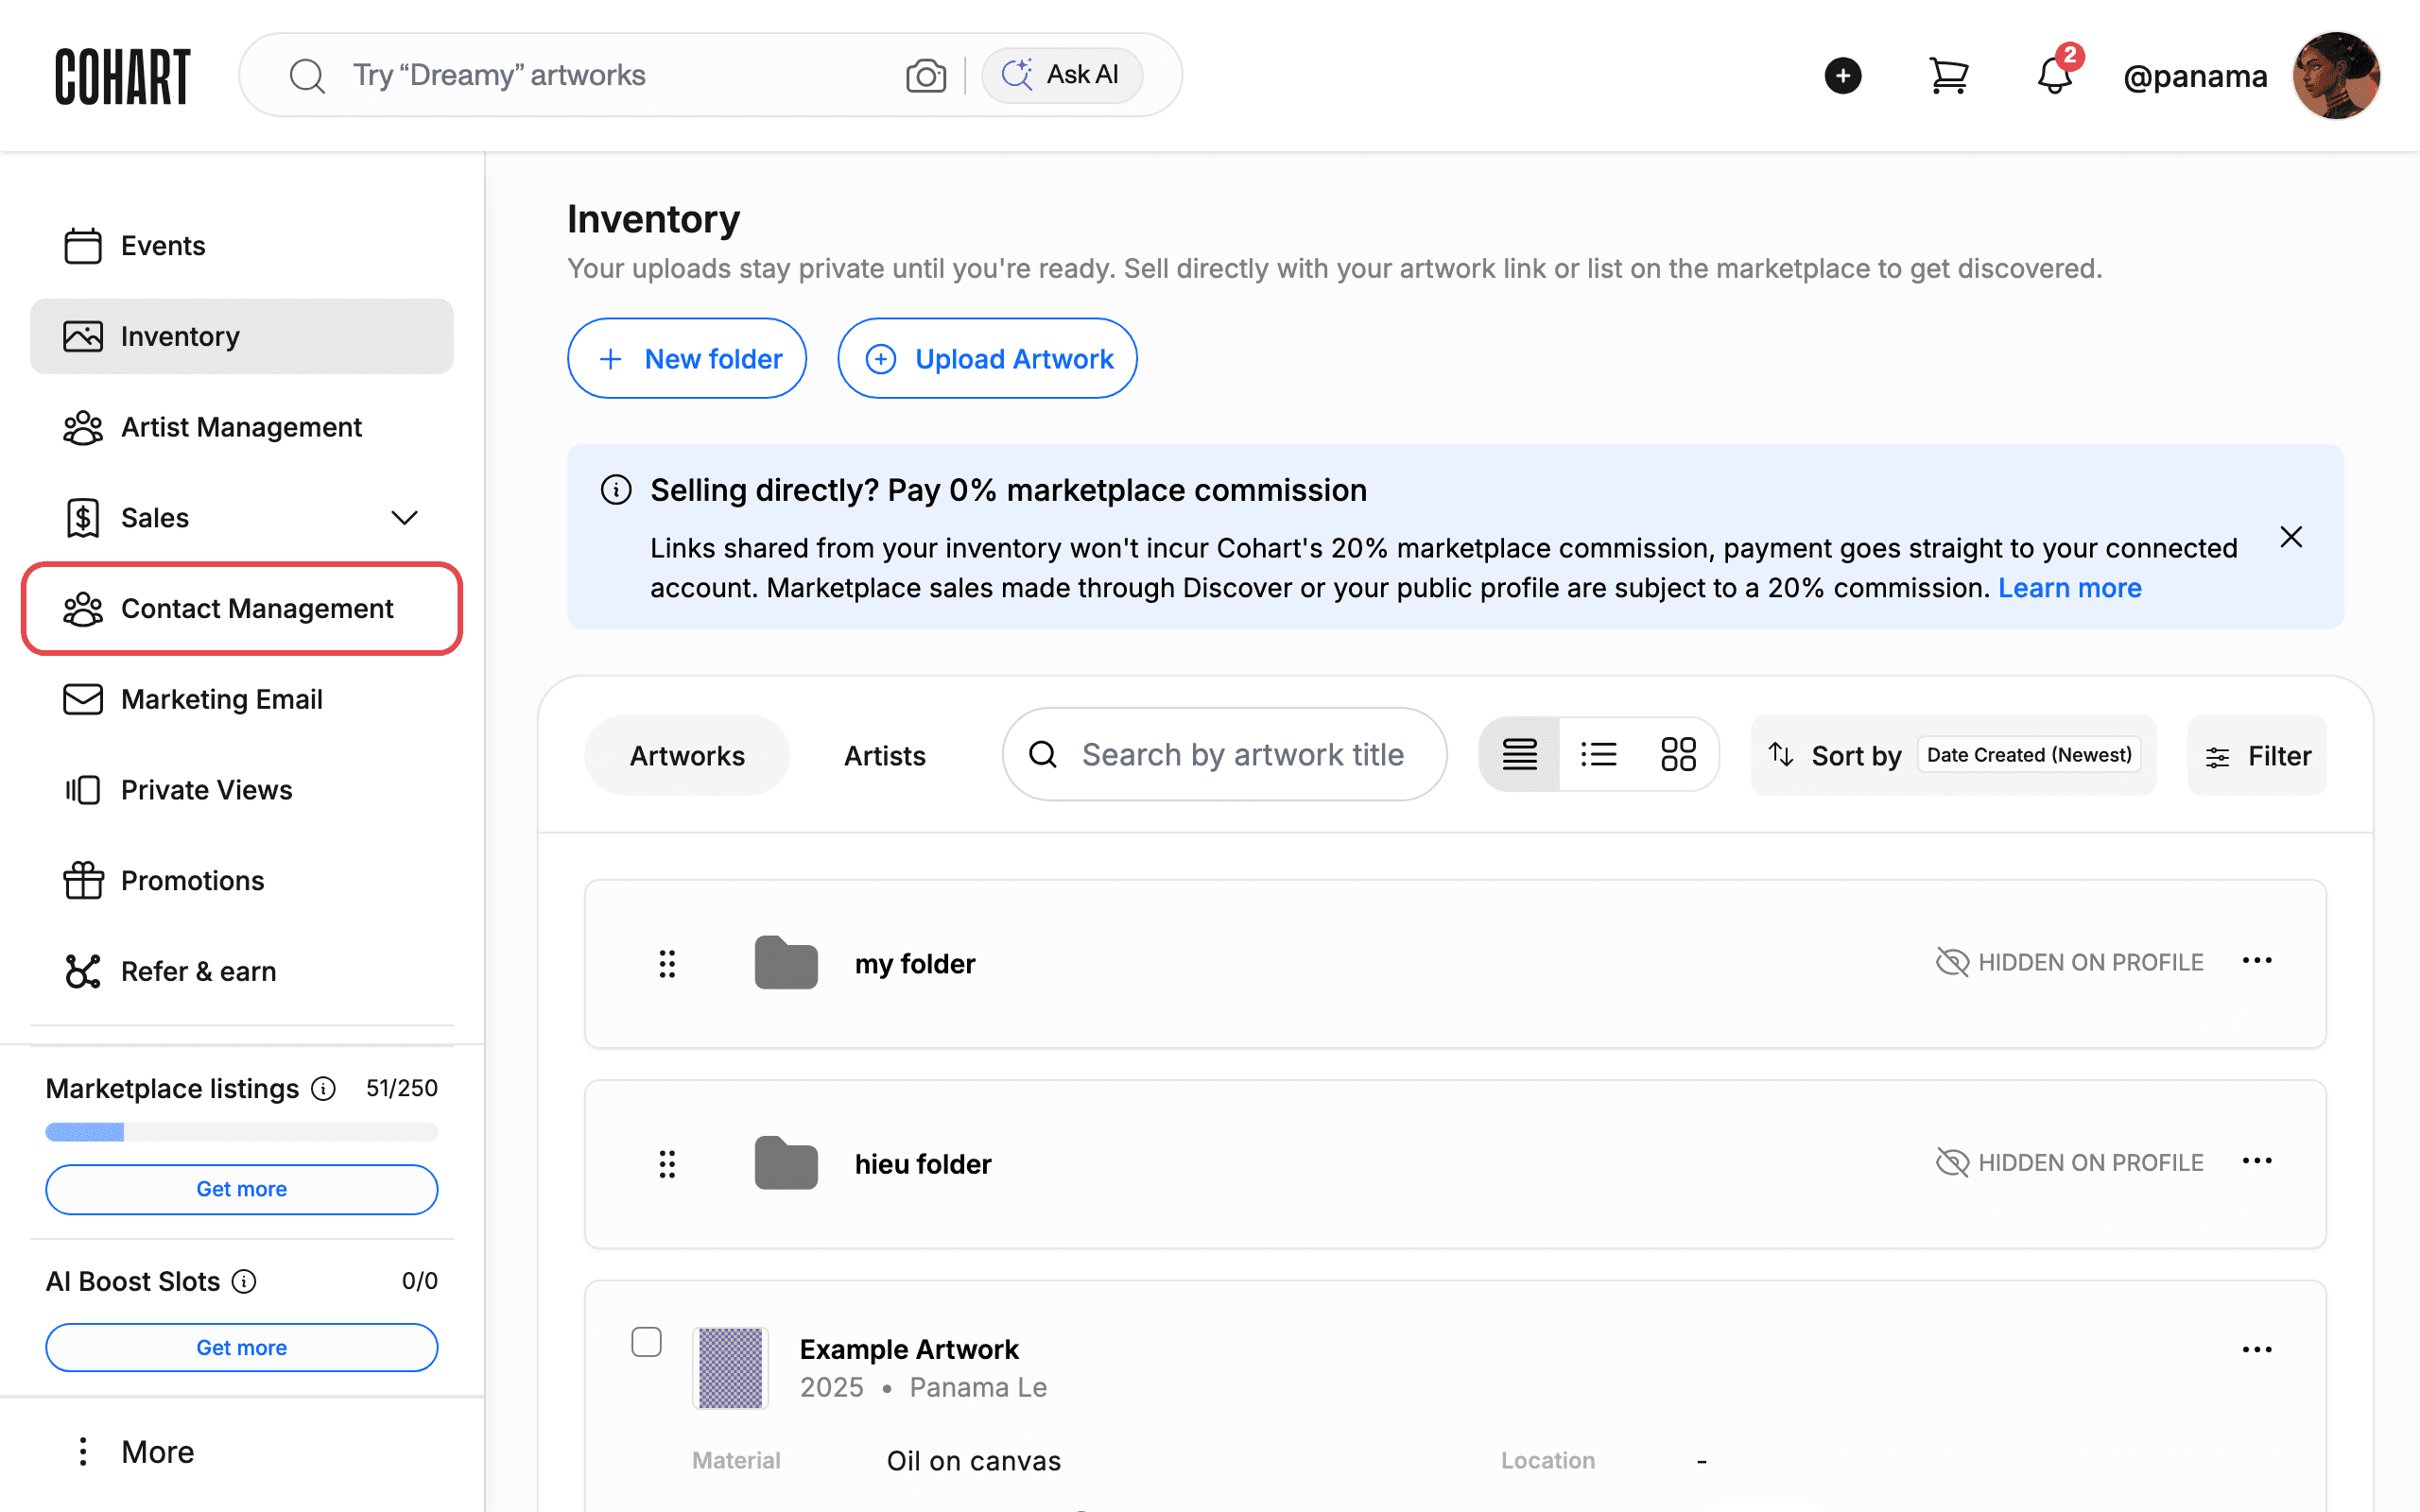
2. Open Contact Management
In the left sidebar, click Contact Management.
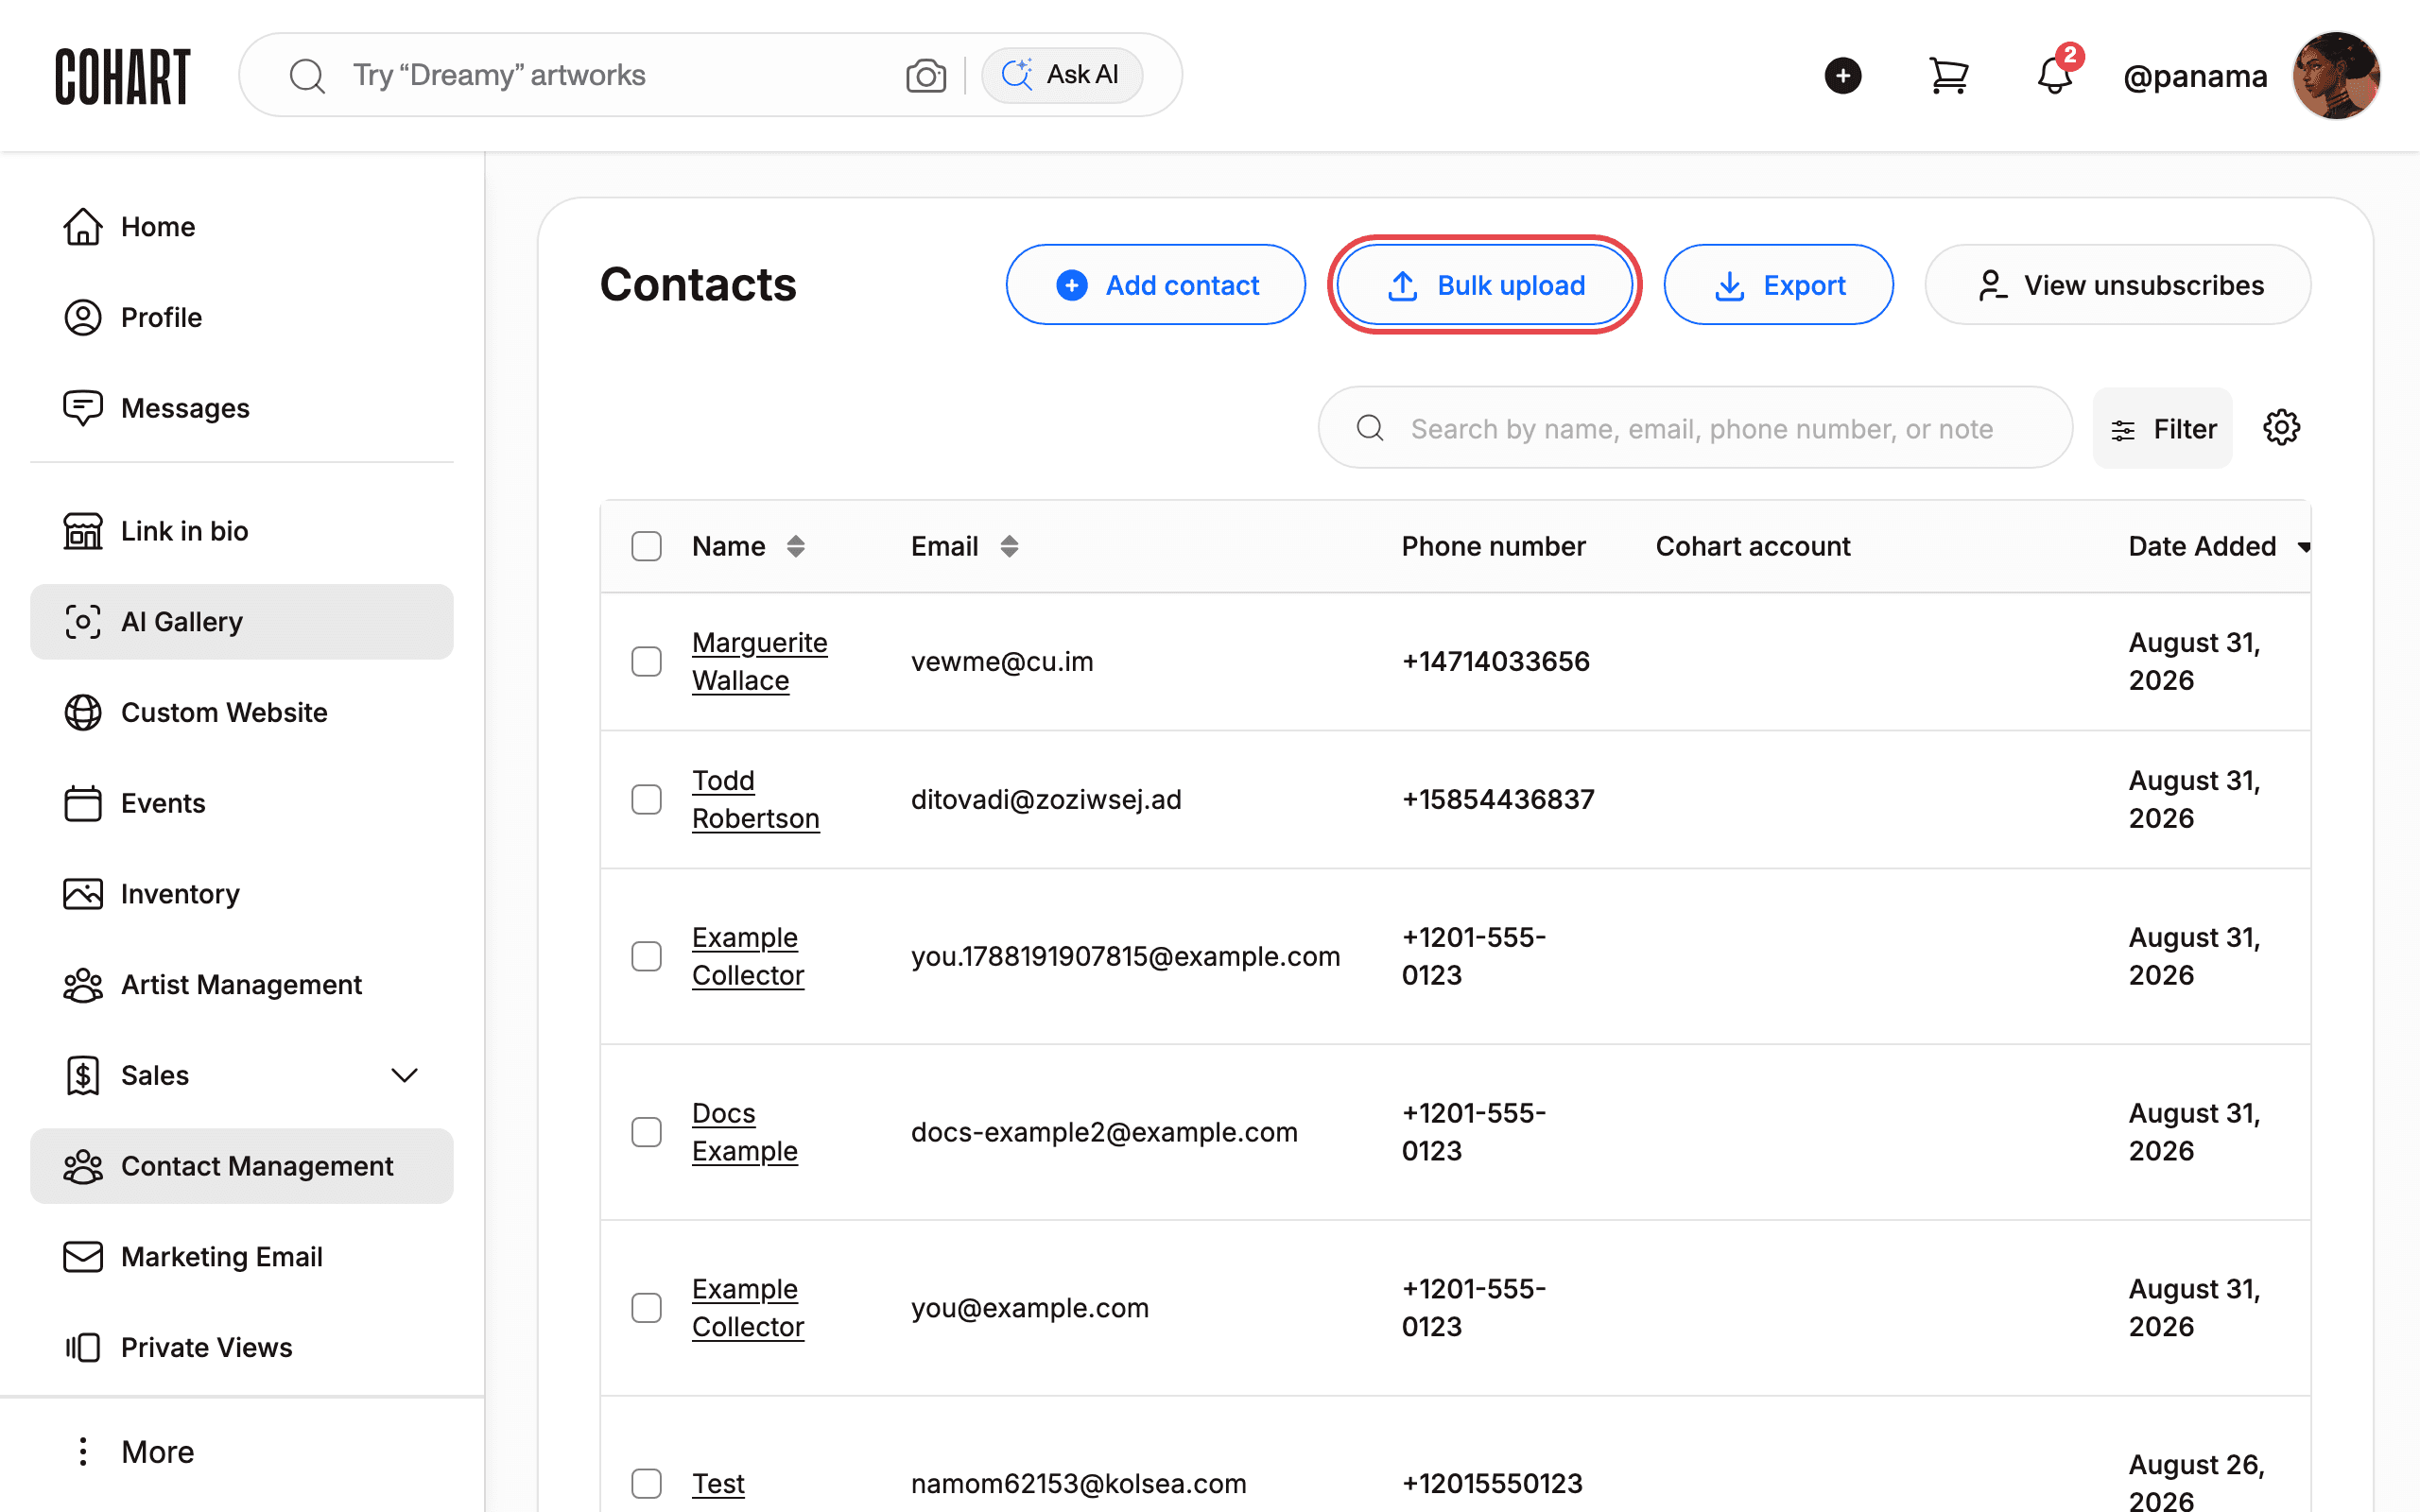
3. Click Bulk upload
On the Contacts page, click Bulk upload (next to Add contact and Export).
4. Check the CSV format
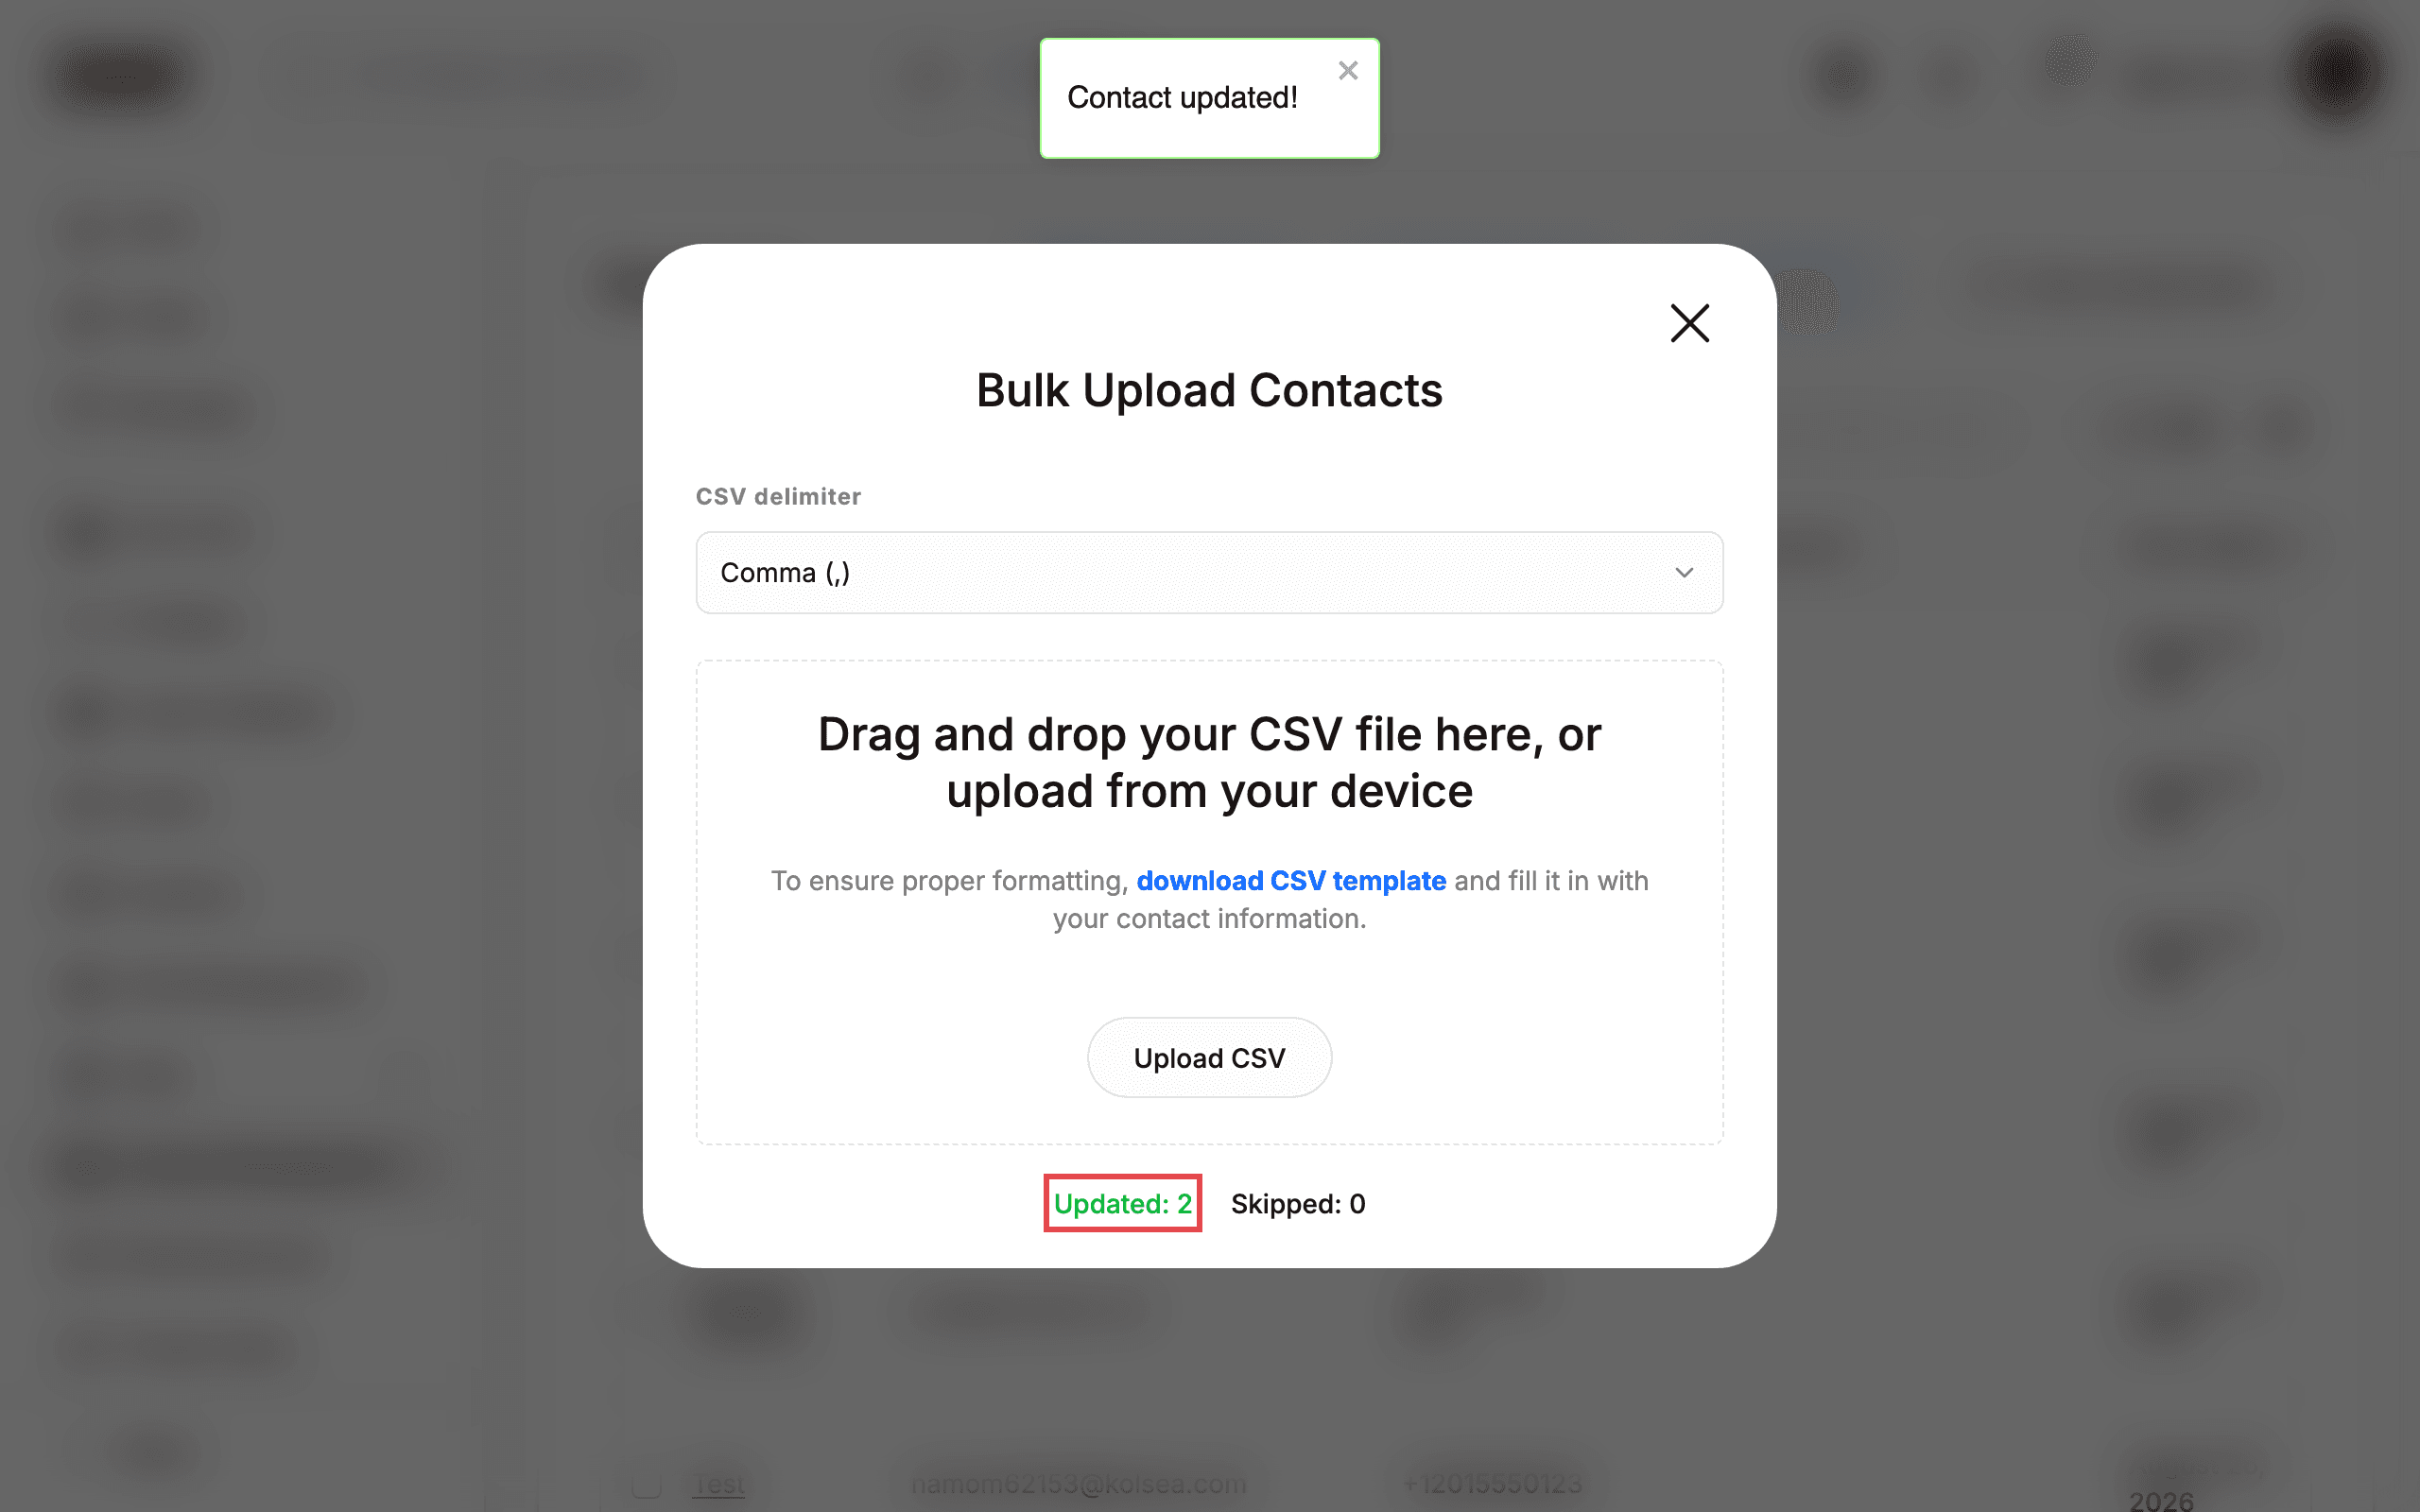
The Bulk Upload Contacts dialog opens. The CSV delimiter setting tells Cohart which character separates the values in your file. It is set to Comma (,) by default; if your file uses semicolons, open the dropdown and pick Semicolon (;).
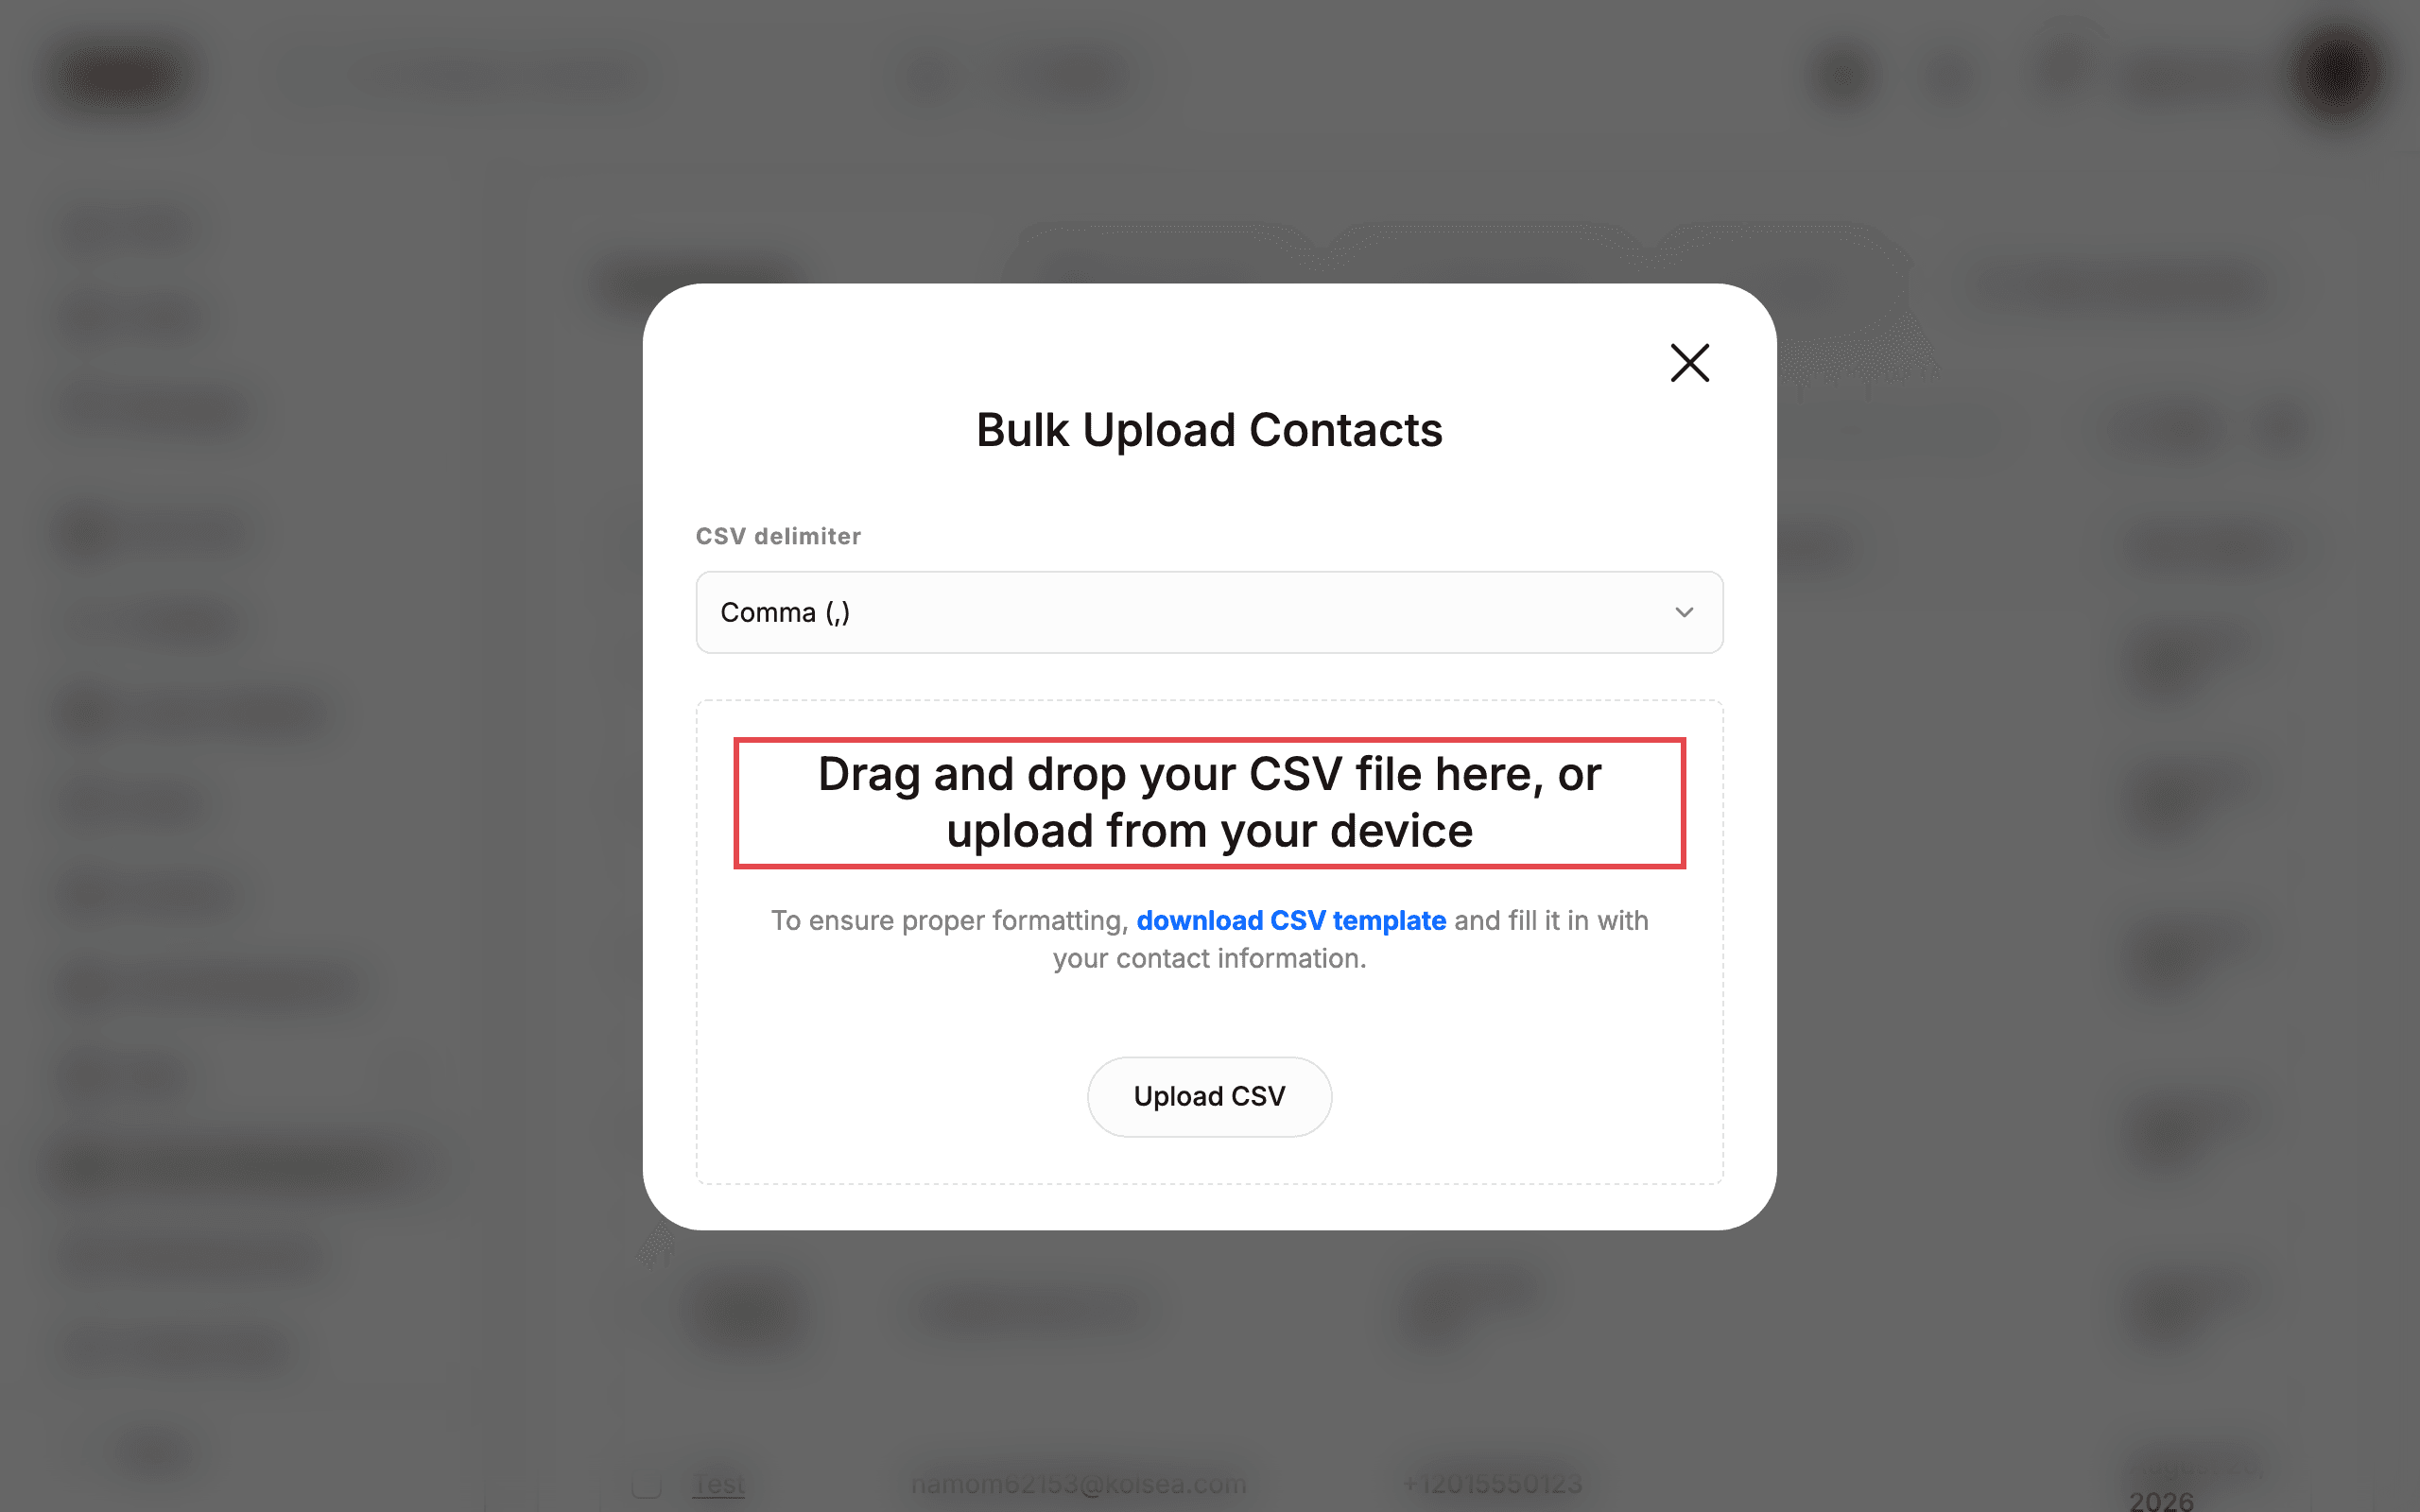
5. Upload your CSV file
Drag and drop your CSV file into the drop zone, or click Upload CSV and pick the file from your device. The upload starts as soon as the file is selected — there is no separate confirm button.
When it finishes, the dialog shows the result: Updated: 2 means two contacts were created or updated, Skipped: 0 means no rows had problems.
6. Check your contacts
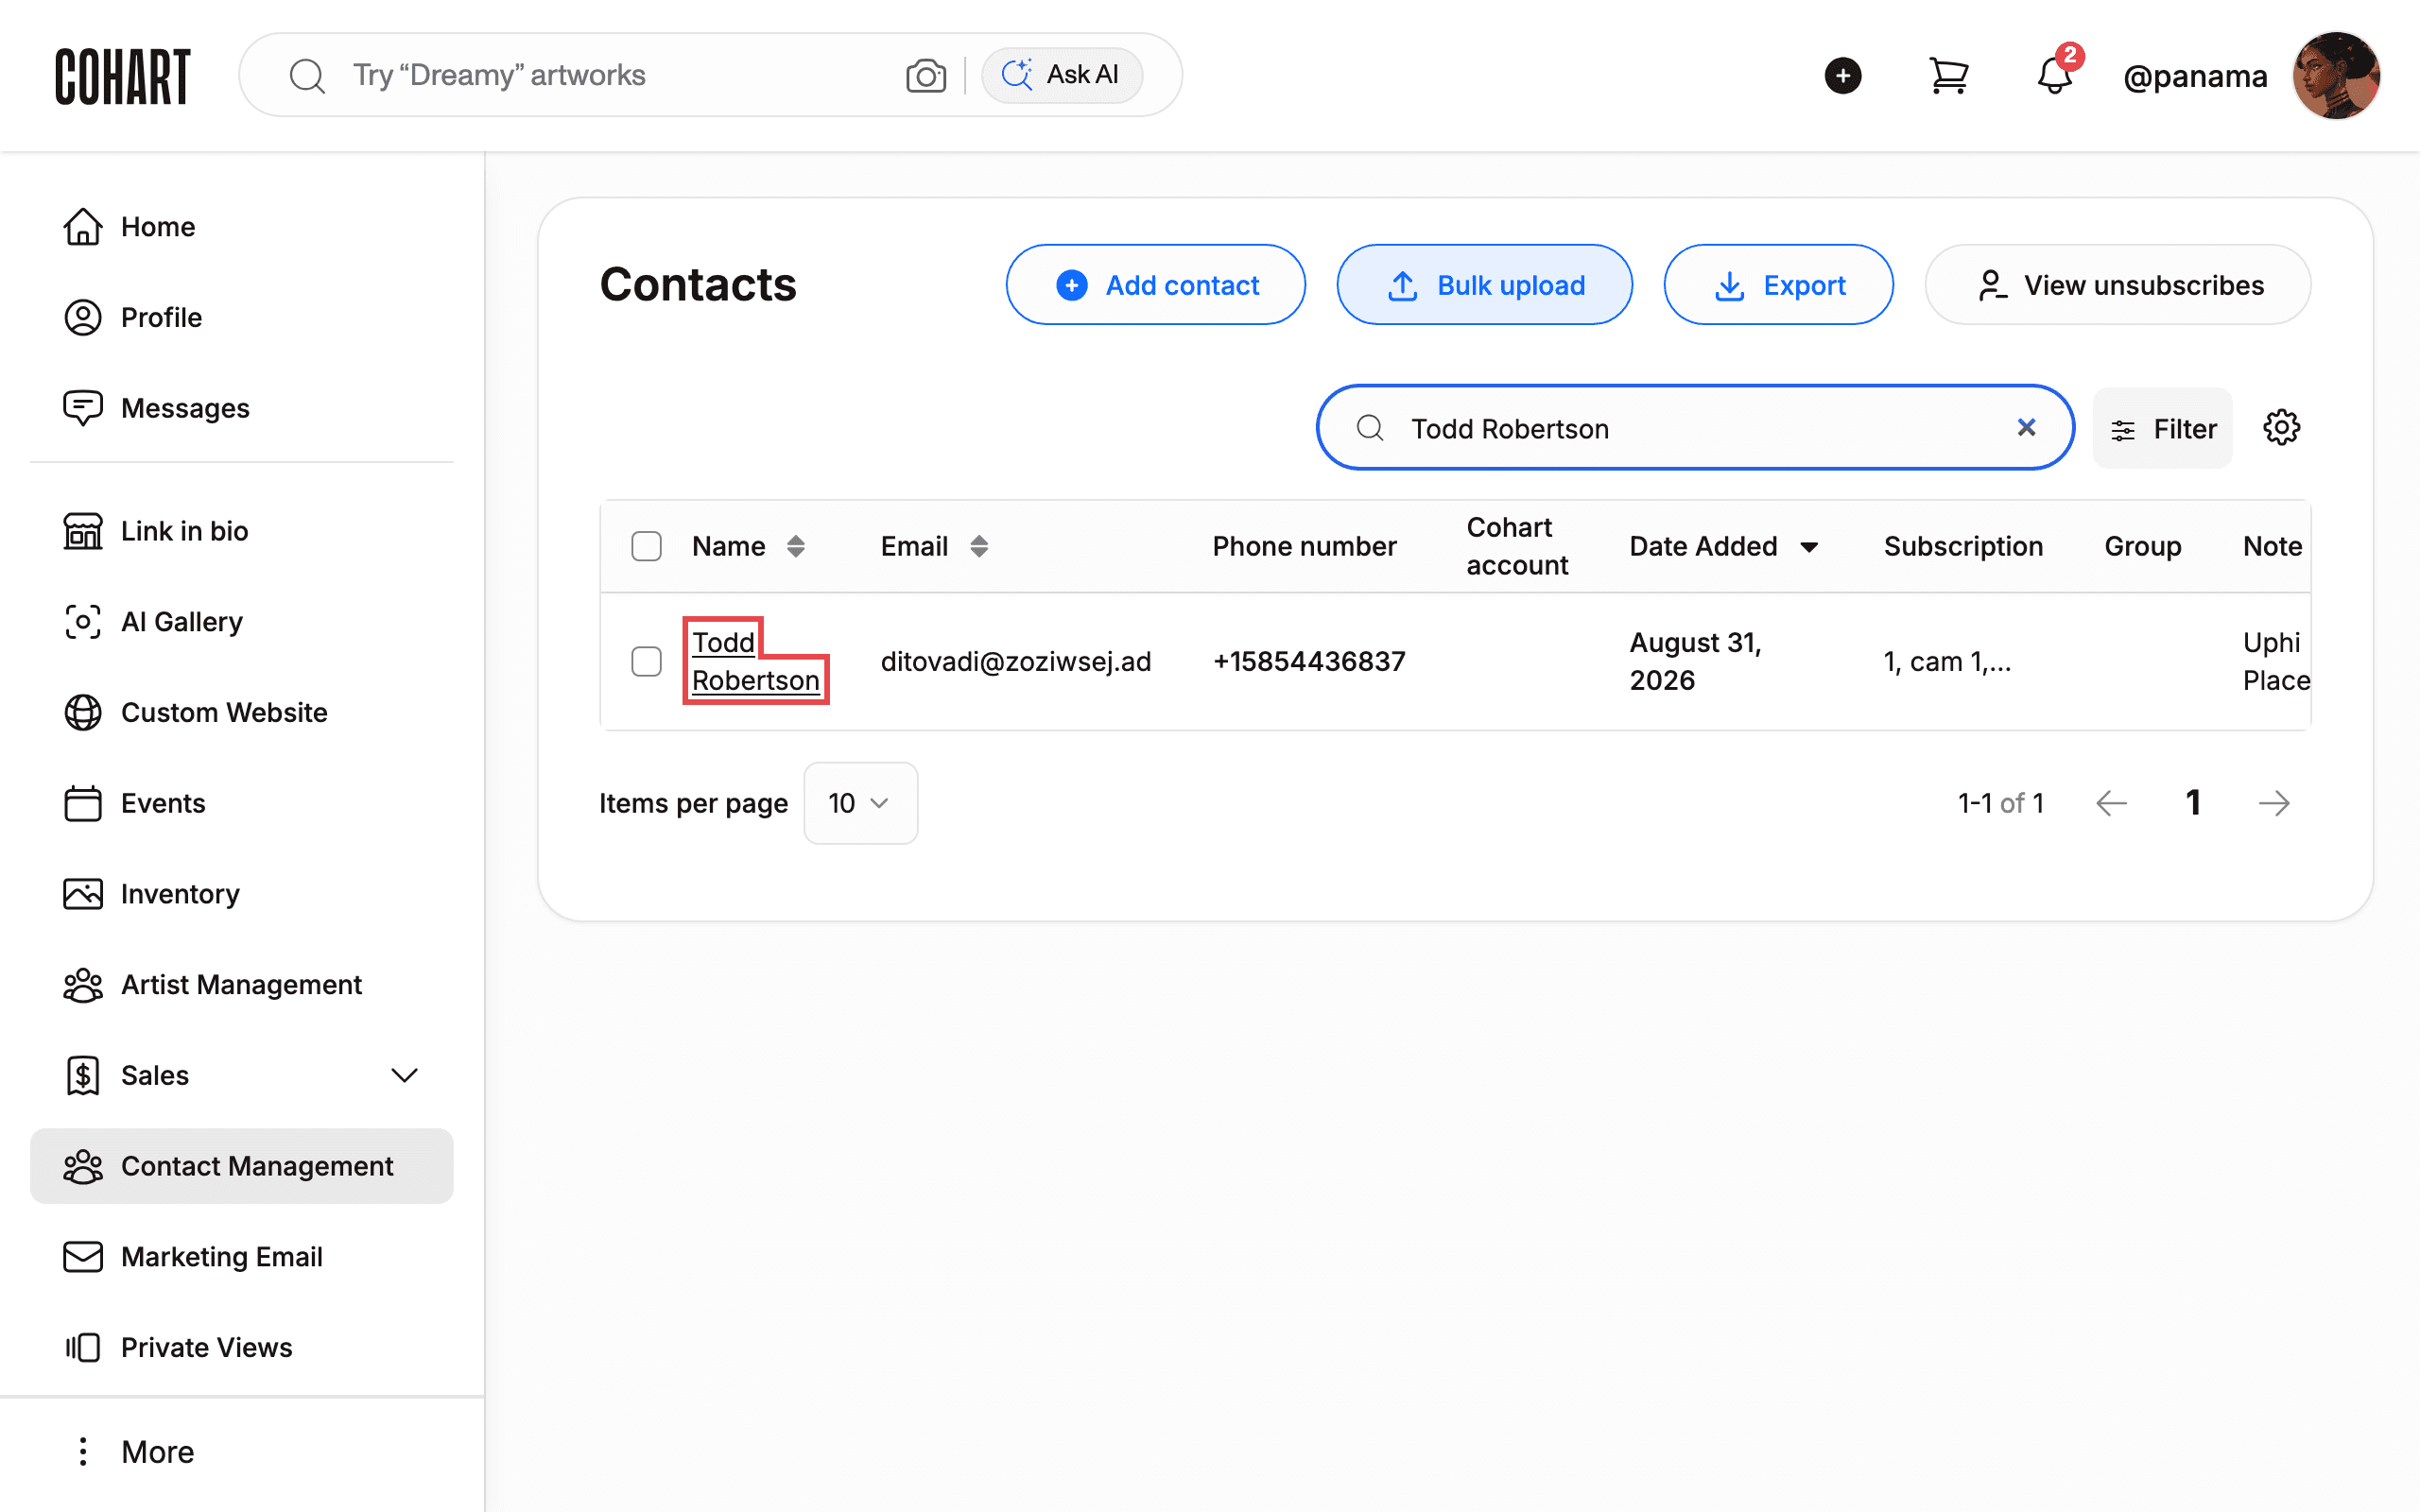
Close the dialog (click X in the top-right corner of the dialog or press Escape). Your imported contacts now appear in the Contacts list. Use the search box (“Search by name, email, phone number, or note”) to find one quickly.
Tips
- Re-uploading is safe. If a contact with the same email already exists, Cohart updates it instead of creating a duplicate.
- The upload only accepts
.csvfiles whose values are separated by Comma (,) or Semicolon (;). If your file uses another separator (for example a tab), re-save it in one of the supported formats first. - Phone numbers are reformatted on import — for example,
(585) 443-6837is stored as+15854436837. - After an import you may see a “Contact updated!” confirmation at the bottom of the screen.
- On the same page you can also use Add contact to create a single contact, Export to download your contacts, View unsubscribes to see who opted out of emails, and Filter to narrow the list.
Troubleshooting
- Summary shows “Skipped” with a number greater than 0 → those rows usually have a missing email or malformed data → check those rows in your CSV, fix them, and upload again.
- Imported columns look merged or split → the CSV delimiter setting doesn’t match your file → reopen Bulk upload, pick the other option, and upload again.