How to Create an Invoice on Cohart
Overview
An invoice is a bill you build for a buyer, combining line items, a fulfillment method, and sales tax into one payable document. It exists so you can charge for artwork and related items without sending the buyer through the standard marketplace listing flow. This feature is for artists and galleries selling on the platform. Building an invoice updates your Invoices list, where each entry appears as a card with its number, items, totals, recipient, order status, and send history. Sending the invoice emails the buyer a secure link to a checkout page that mirrors the live Preview panel, including the order summary and any certificate note. Paid invoices later surface in your sales and transaction records, and your Total sales and Invoice creations counters move as you work. The fulfillment choice matters beyond delivery: invoice-only orders opt out of the platform’s shipping, insurance, and refund cover. By the end of this guide you will have an invoice that is saved, and optionally sent or taken to buyer checkout.
Before you start
- You need a seller account with the artist or gallery role; invoicing lives under Sales in the seller dashboard, and your plan’s Invoice creations counter (for example 0/2 on a limited plan) caps how many invoices you can create before an upgrade.
- Connect a financial account first: Save, Collect Payment, and Send stay disabled, with a “Connect a financial account to accept payments” note, until you complete the secure setup on the Financial Accounts page (see How to Manage Financial Accounts).
- Prepare the buyer and items: the buyer’s full name and email address (email is required before Send enables), an optional message to the buyer, plus each line item — either a typed custom item with price or an artwork pulled with Add item from inventory. Only single-quantity artworks listed as For Sale or Inquire to Purchase appear in the Select Artwork dialog.
- Decide fulfillment and tax up front: INVOICE ONLY, SHIP BY COHART, or PICK UP / SHIP BY SELLER (invoice-only opts out of the platform refund policy and platform-arranged shipping and insurance), and a ZIP code for automatic US sales-tax lookup — or check the self-managed-tax box if you handle tax yourself.
- Effects to know: Send and Collect Payment create a live payable invoice and, for Send, email the buyer immediately; also note the page’s per-sale fee disclosure and factor it into your pricing.
Steps
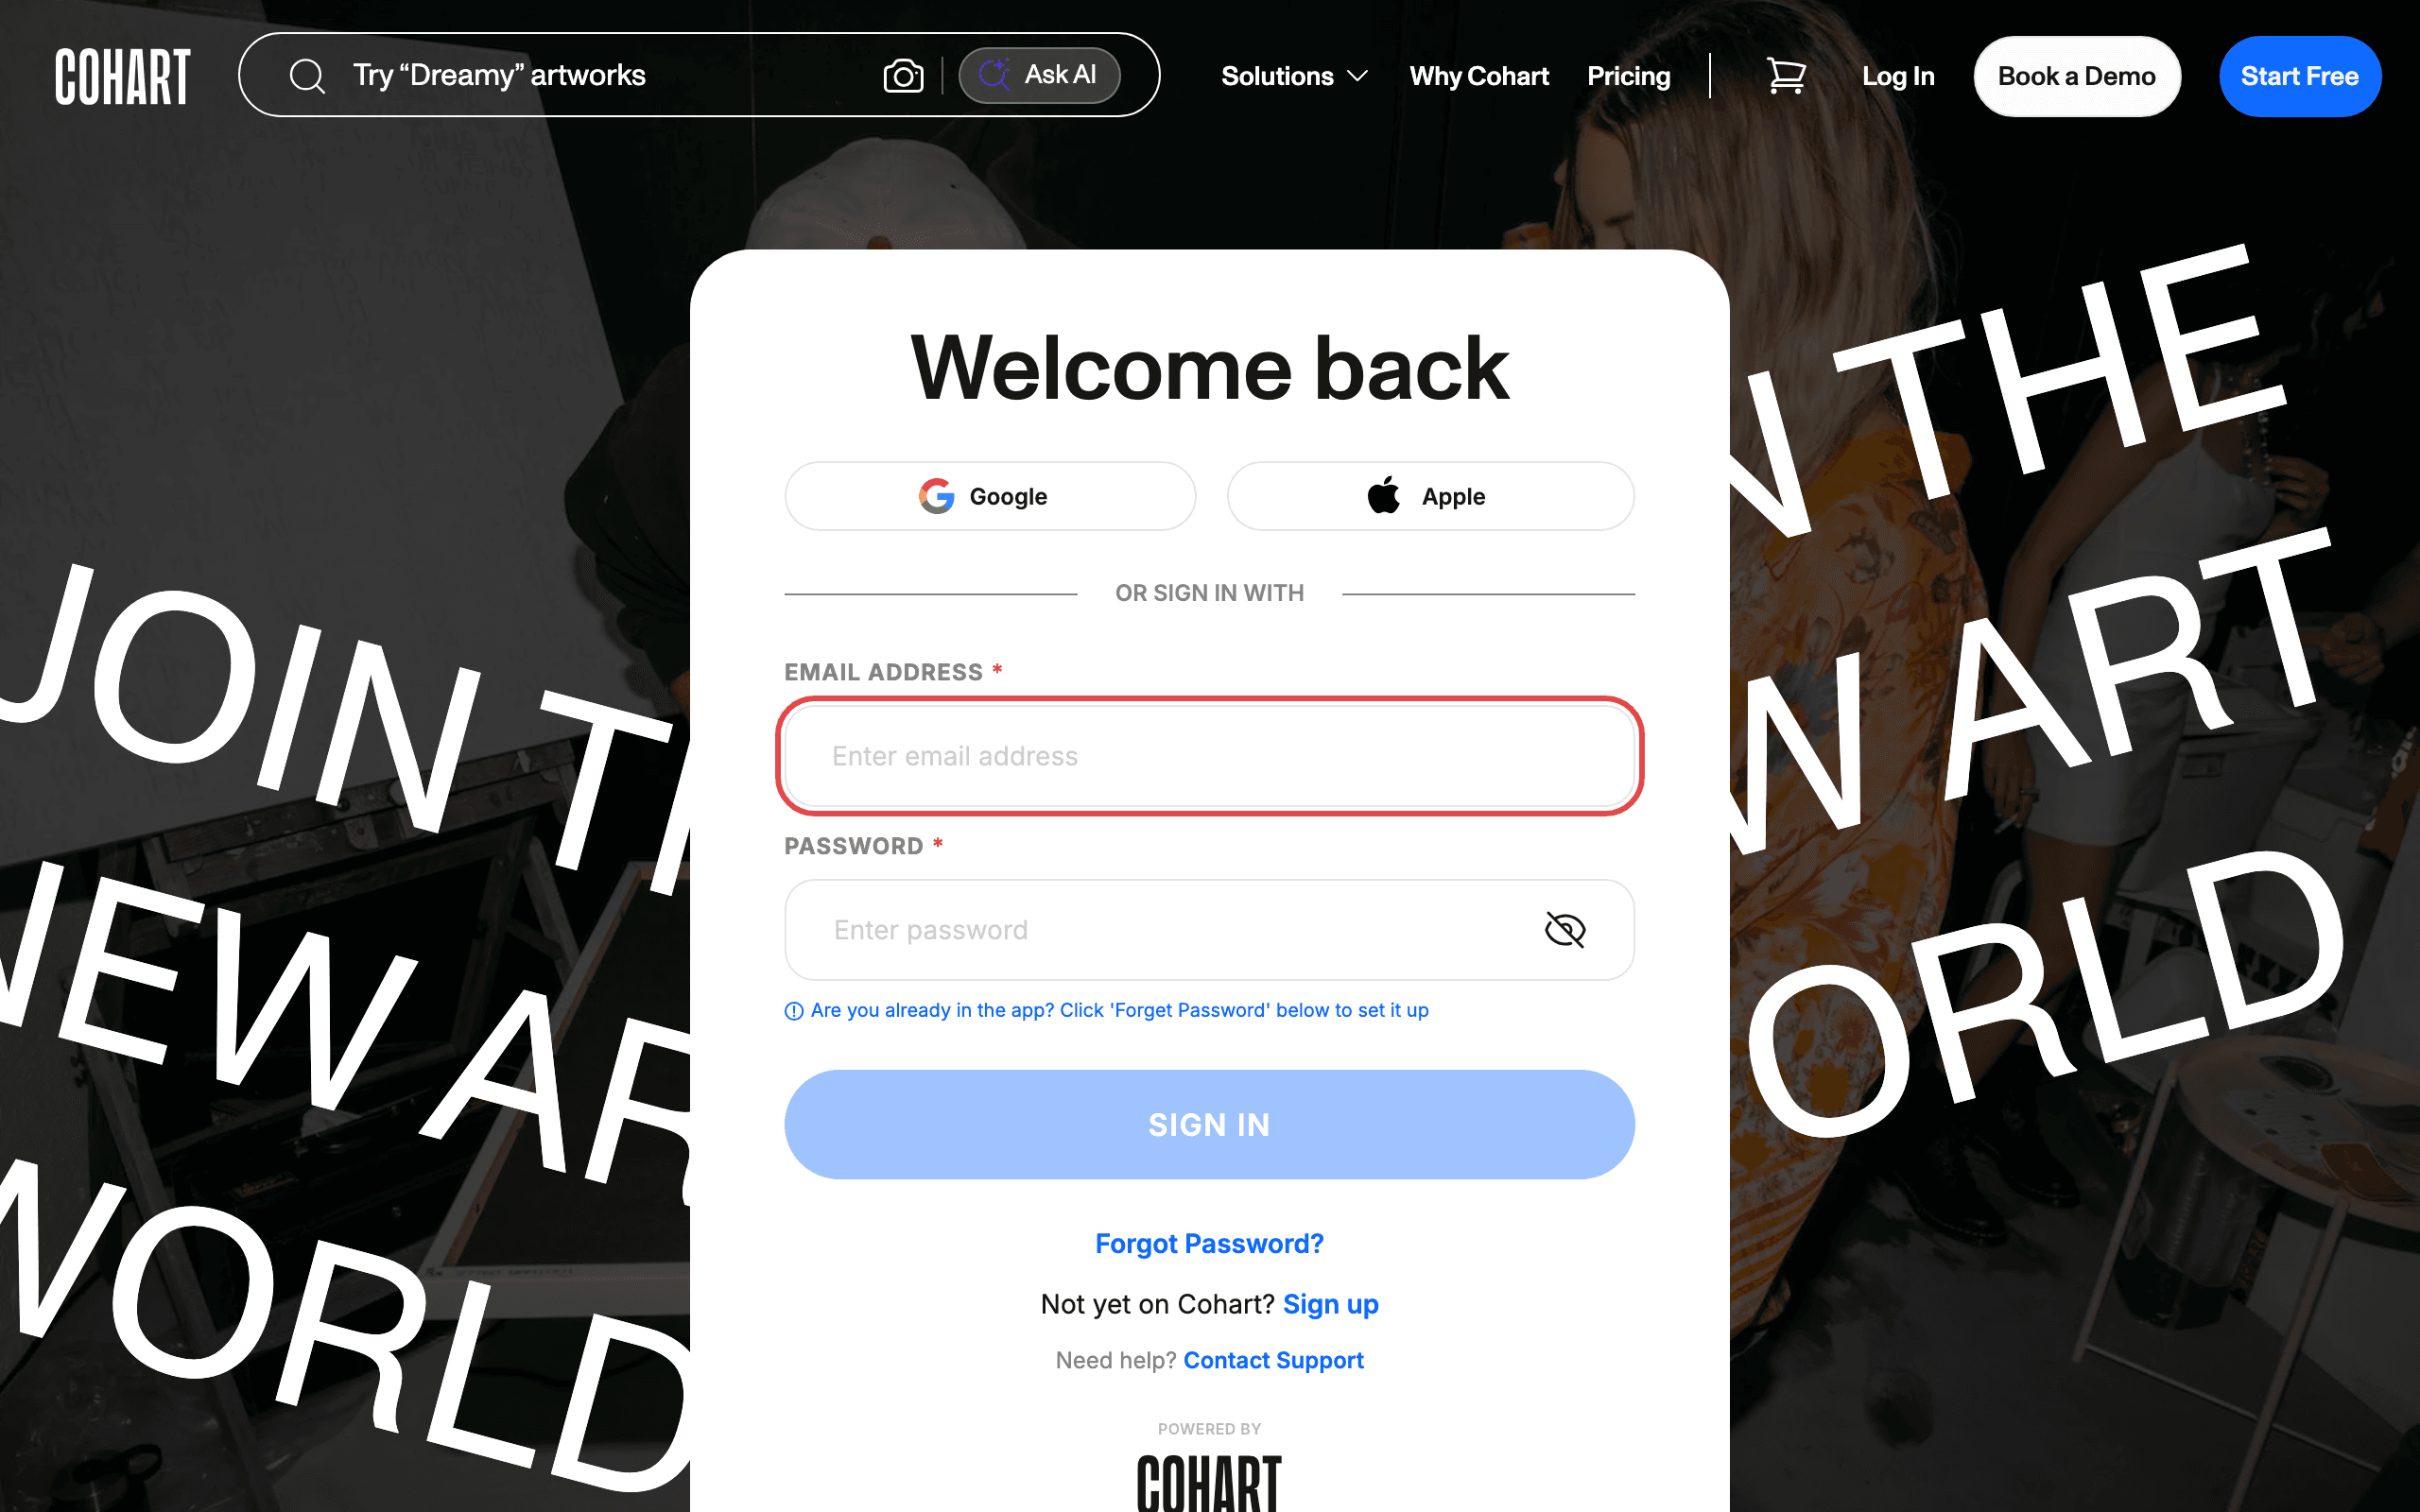
1. Sign in to Cohart
Sign in with your email address and password, or use Google or Apple.
2. Find the Sales section
After signing in you land on the Inventory page. The left sidebar is your artist dashboard menu: Home, Profile, Messages, Link in bio, AI Gallery, Custom Website, Events, Inventory, Artist Management, Contact Management, Marketing Email, Private Views, Promotions, Refer & earn, Artwork Views, Manage Plan, and Financial Accounts.
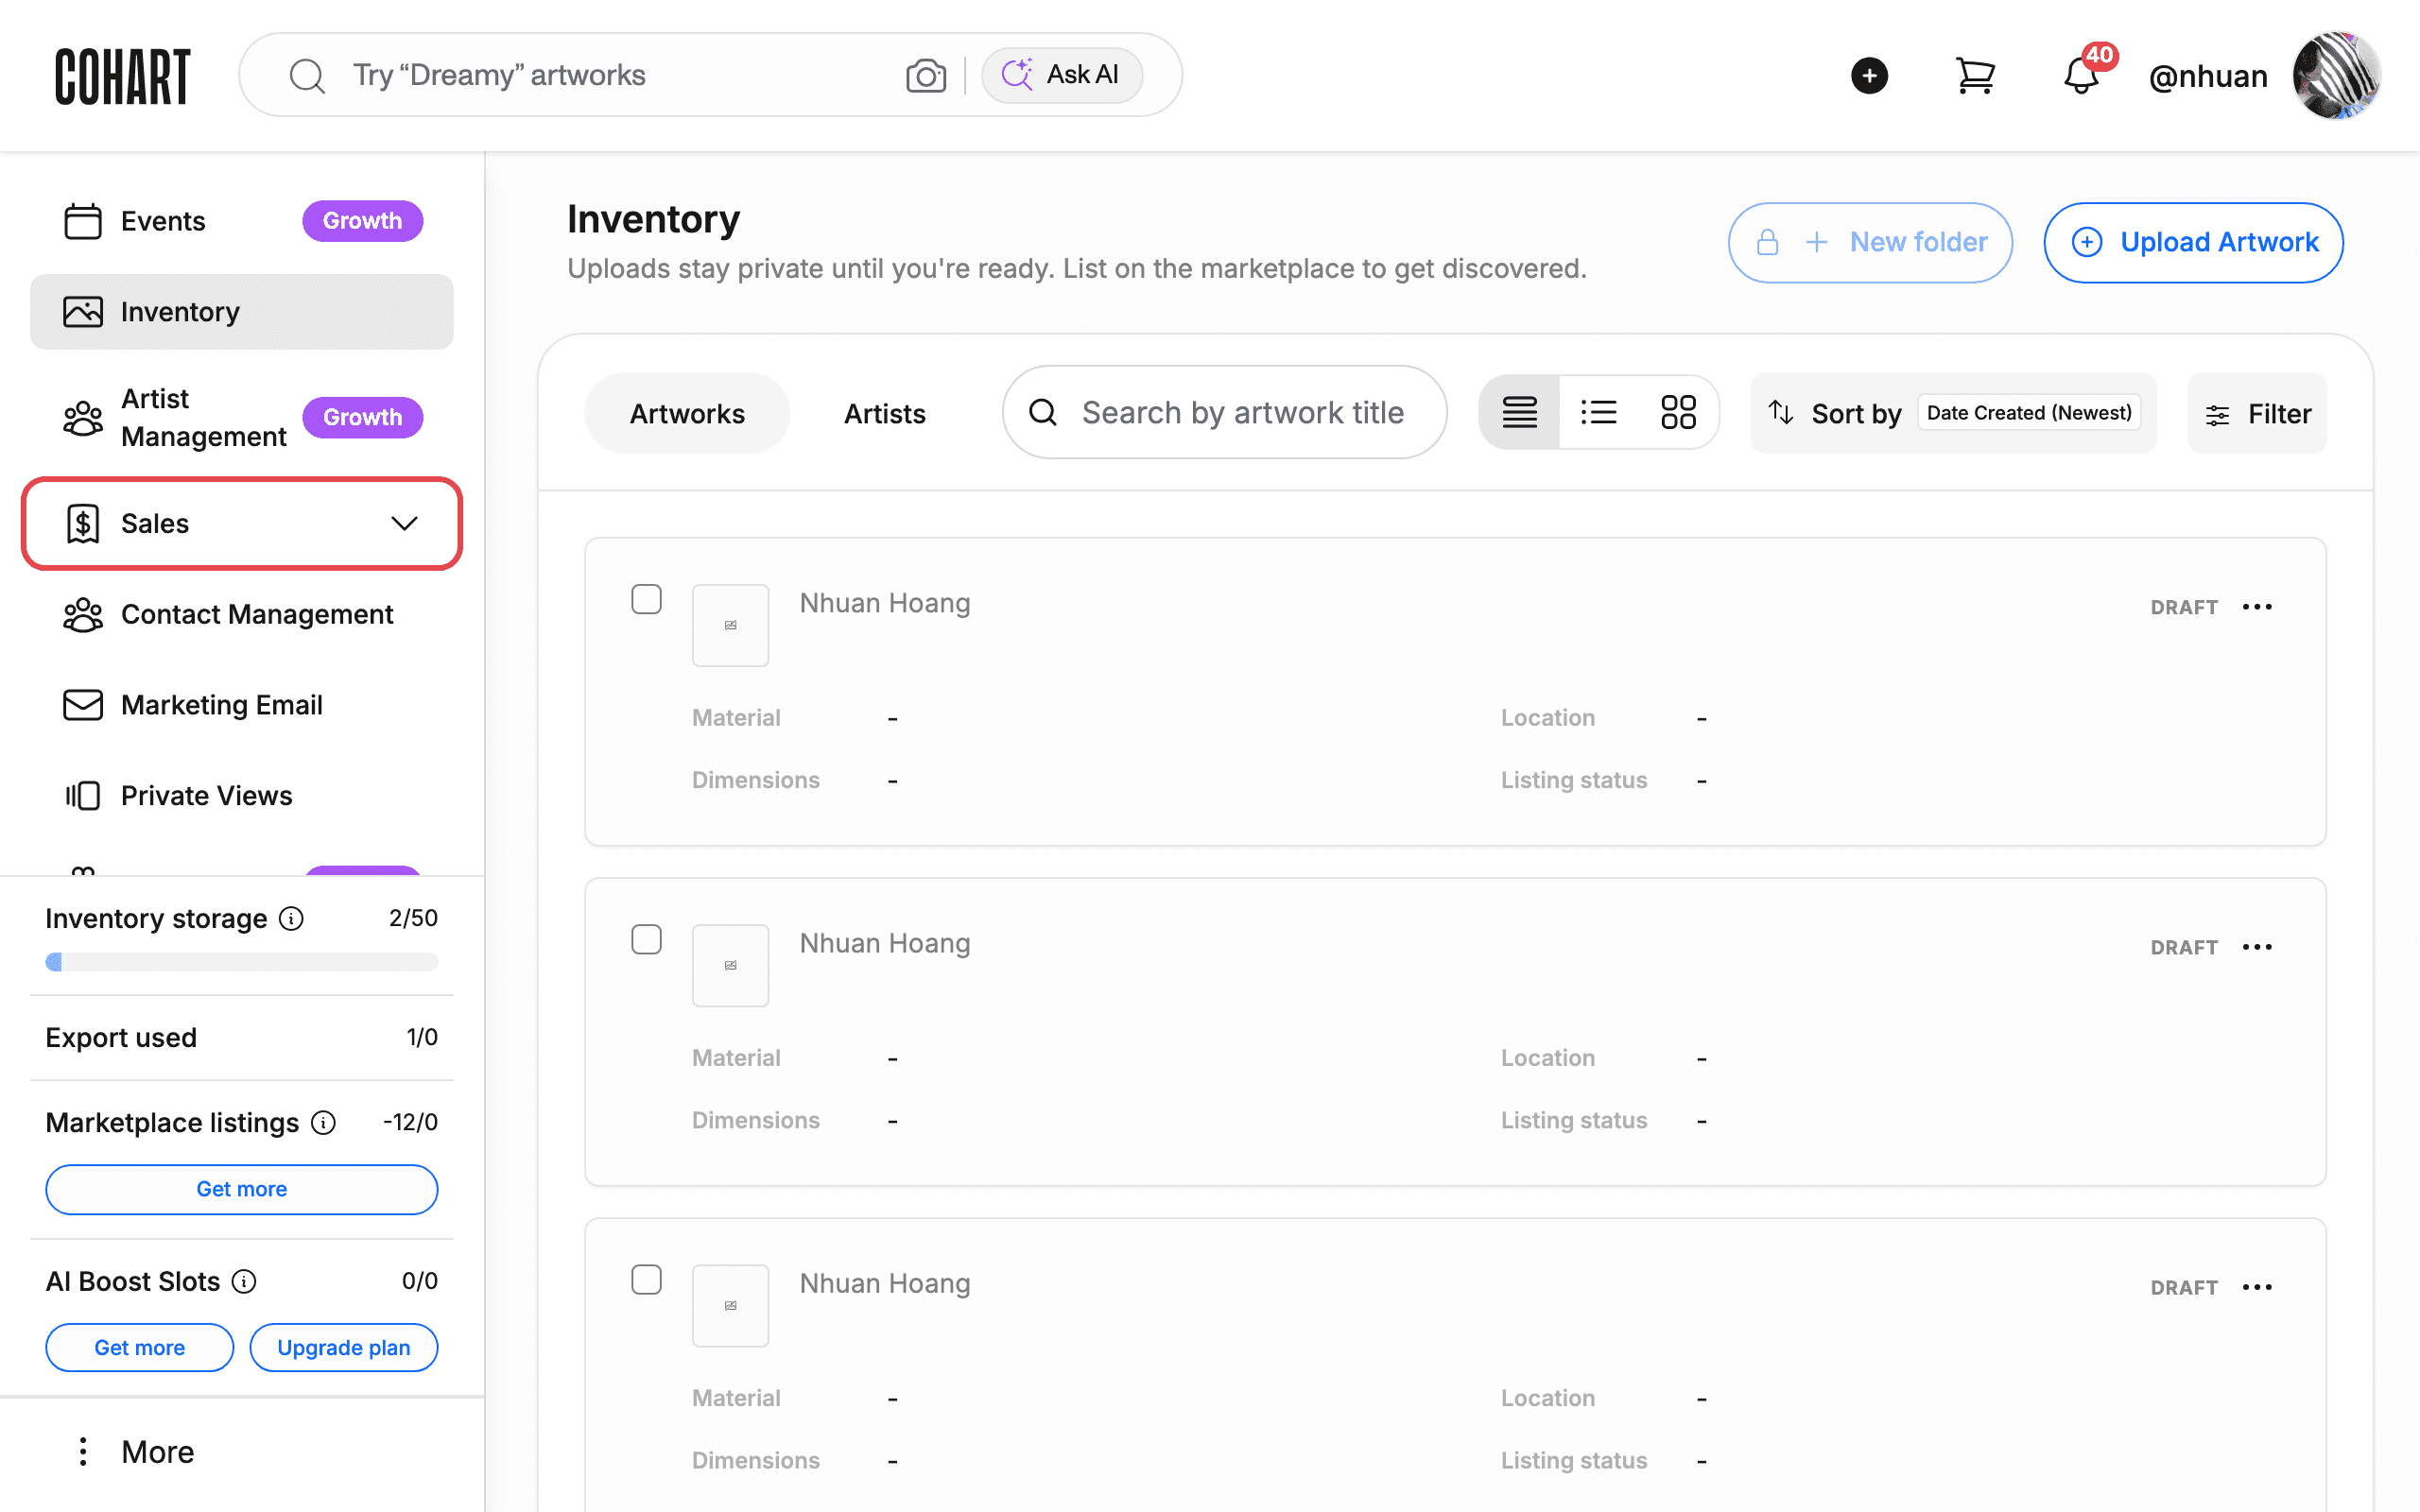
3. Open the Sales menu
Click Sales in the sidebar. The menu expands with Invoices, Sales Record, Shipping, Transactions, and Testimonials.
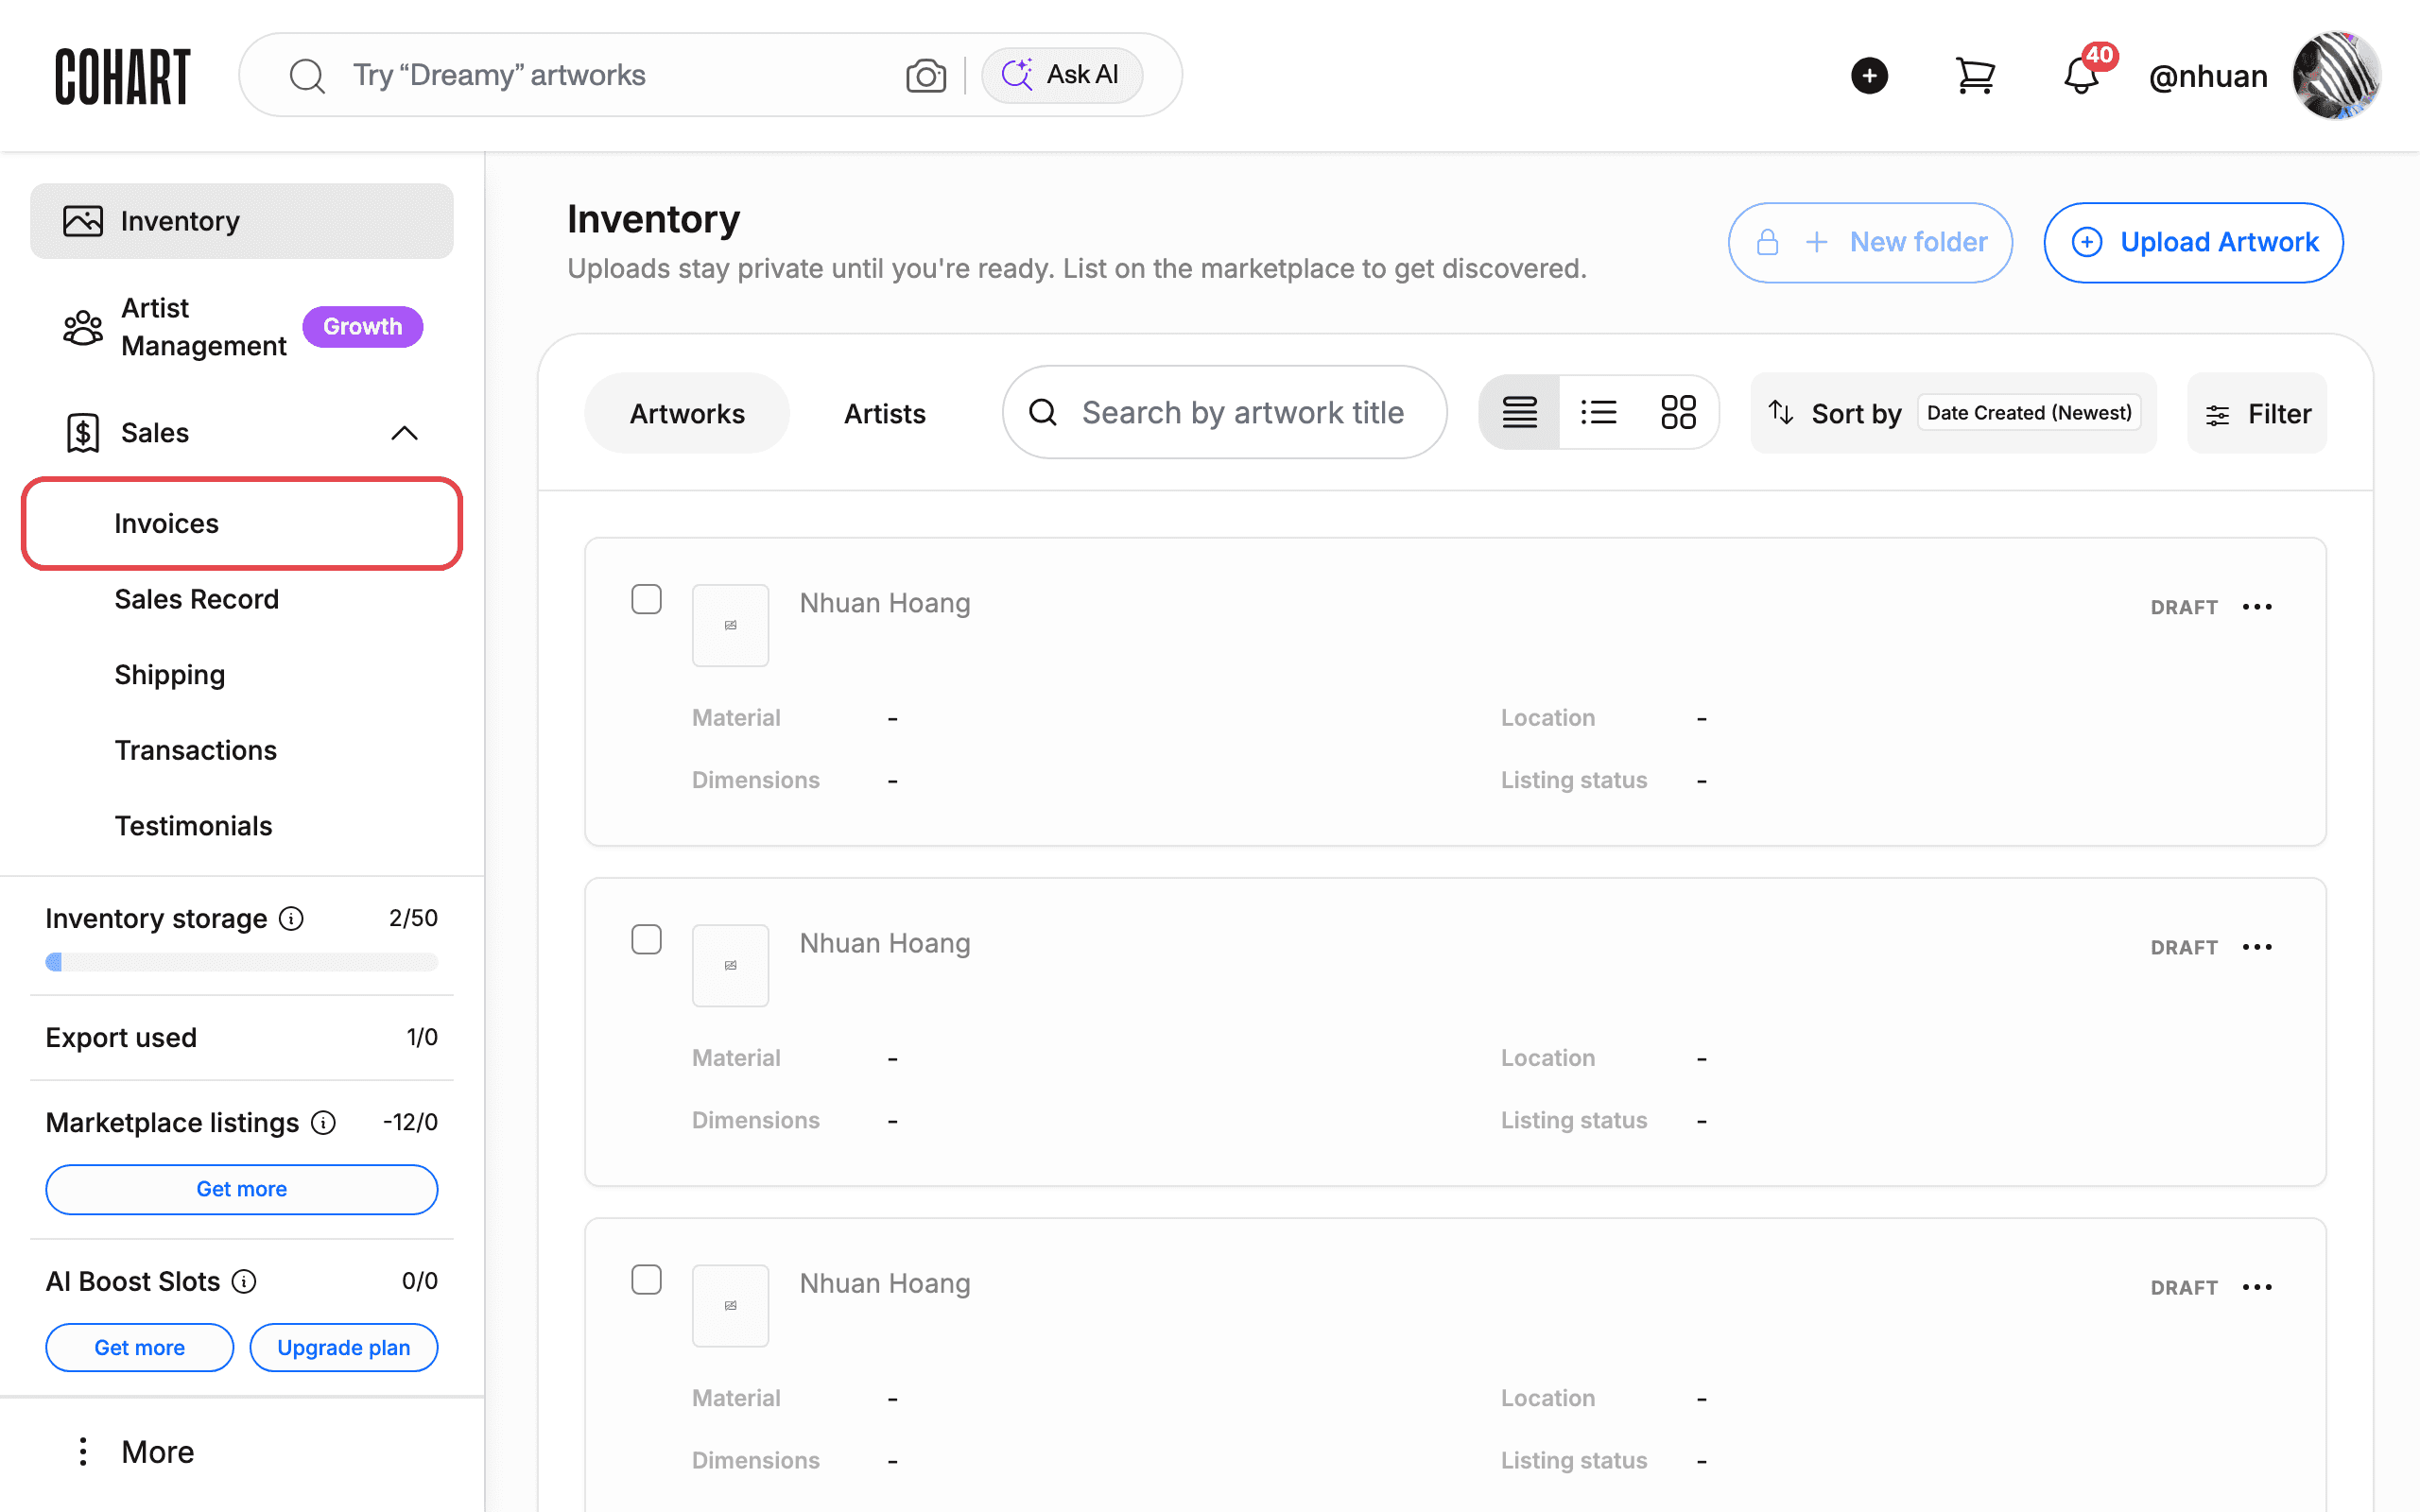
4. Open the Invoices page
Click Invoices to open your invoice list. The page shows your sales summary (Total sales), an invoice creation counter (Invoice creations 0/2), and an Upgrade plan button. Your existing invoices appear as cards with View, Edit, and Send Invoice options. Each card shows the Invoice #, Items, Created On, Total Order, Sent to, Order Status, and Last sent.
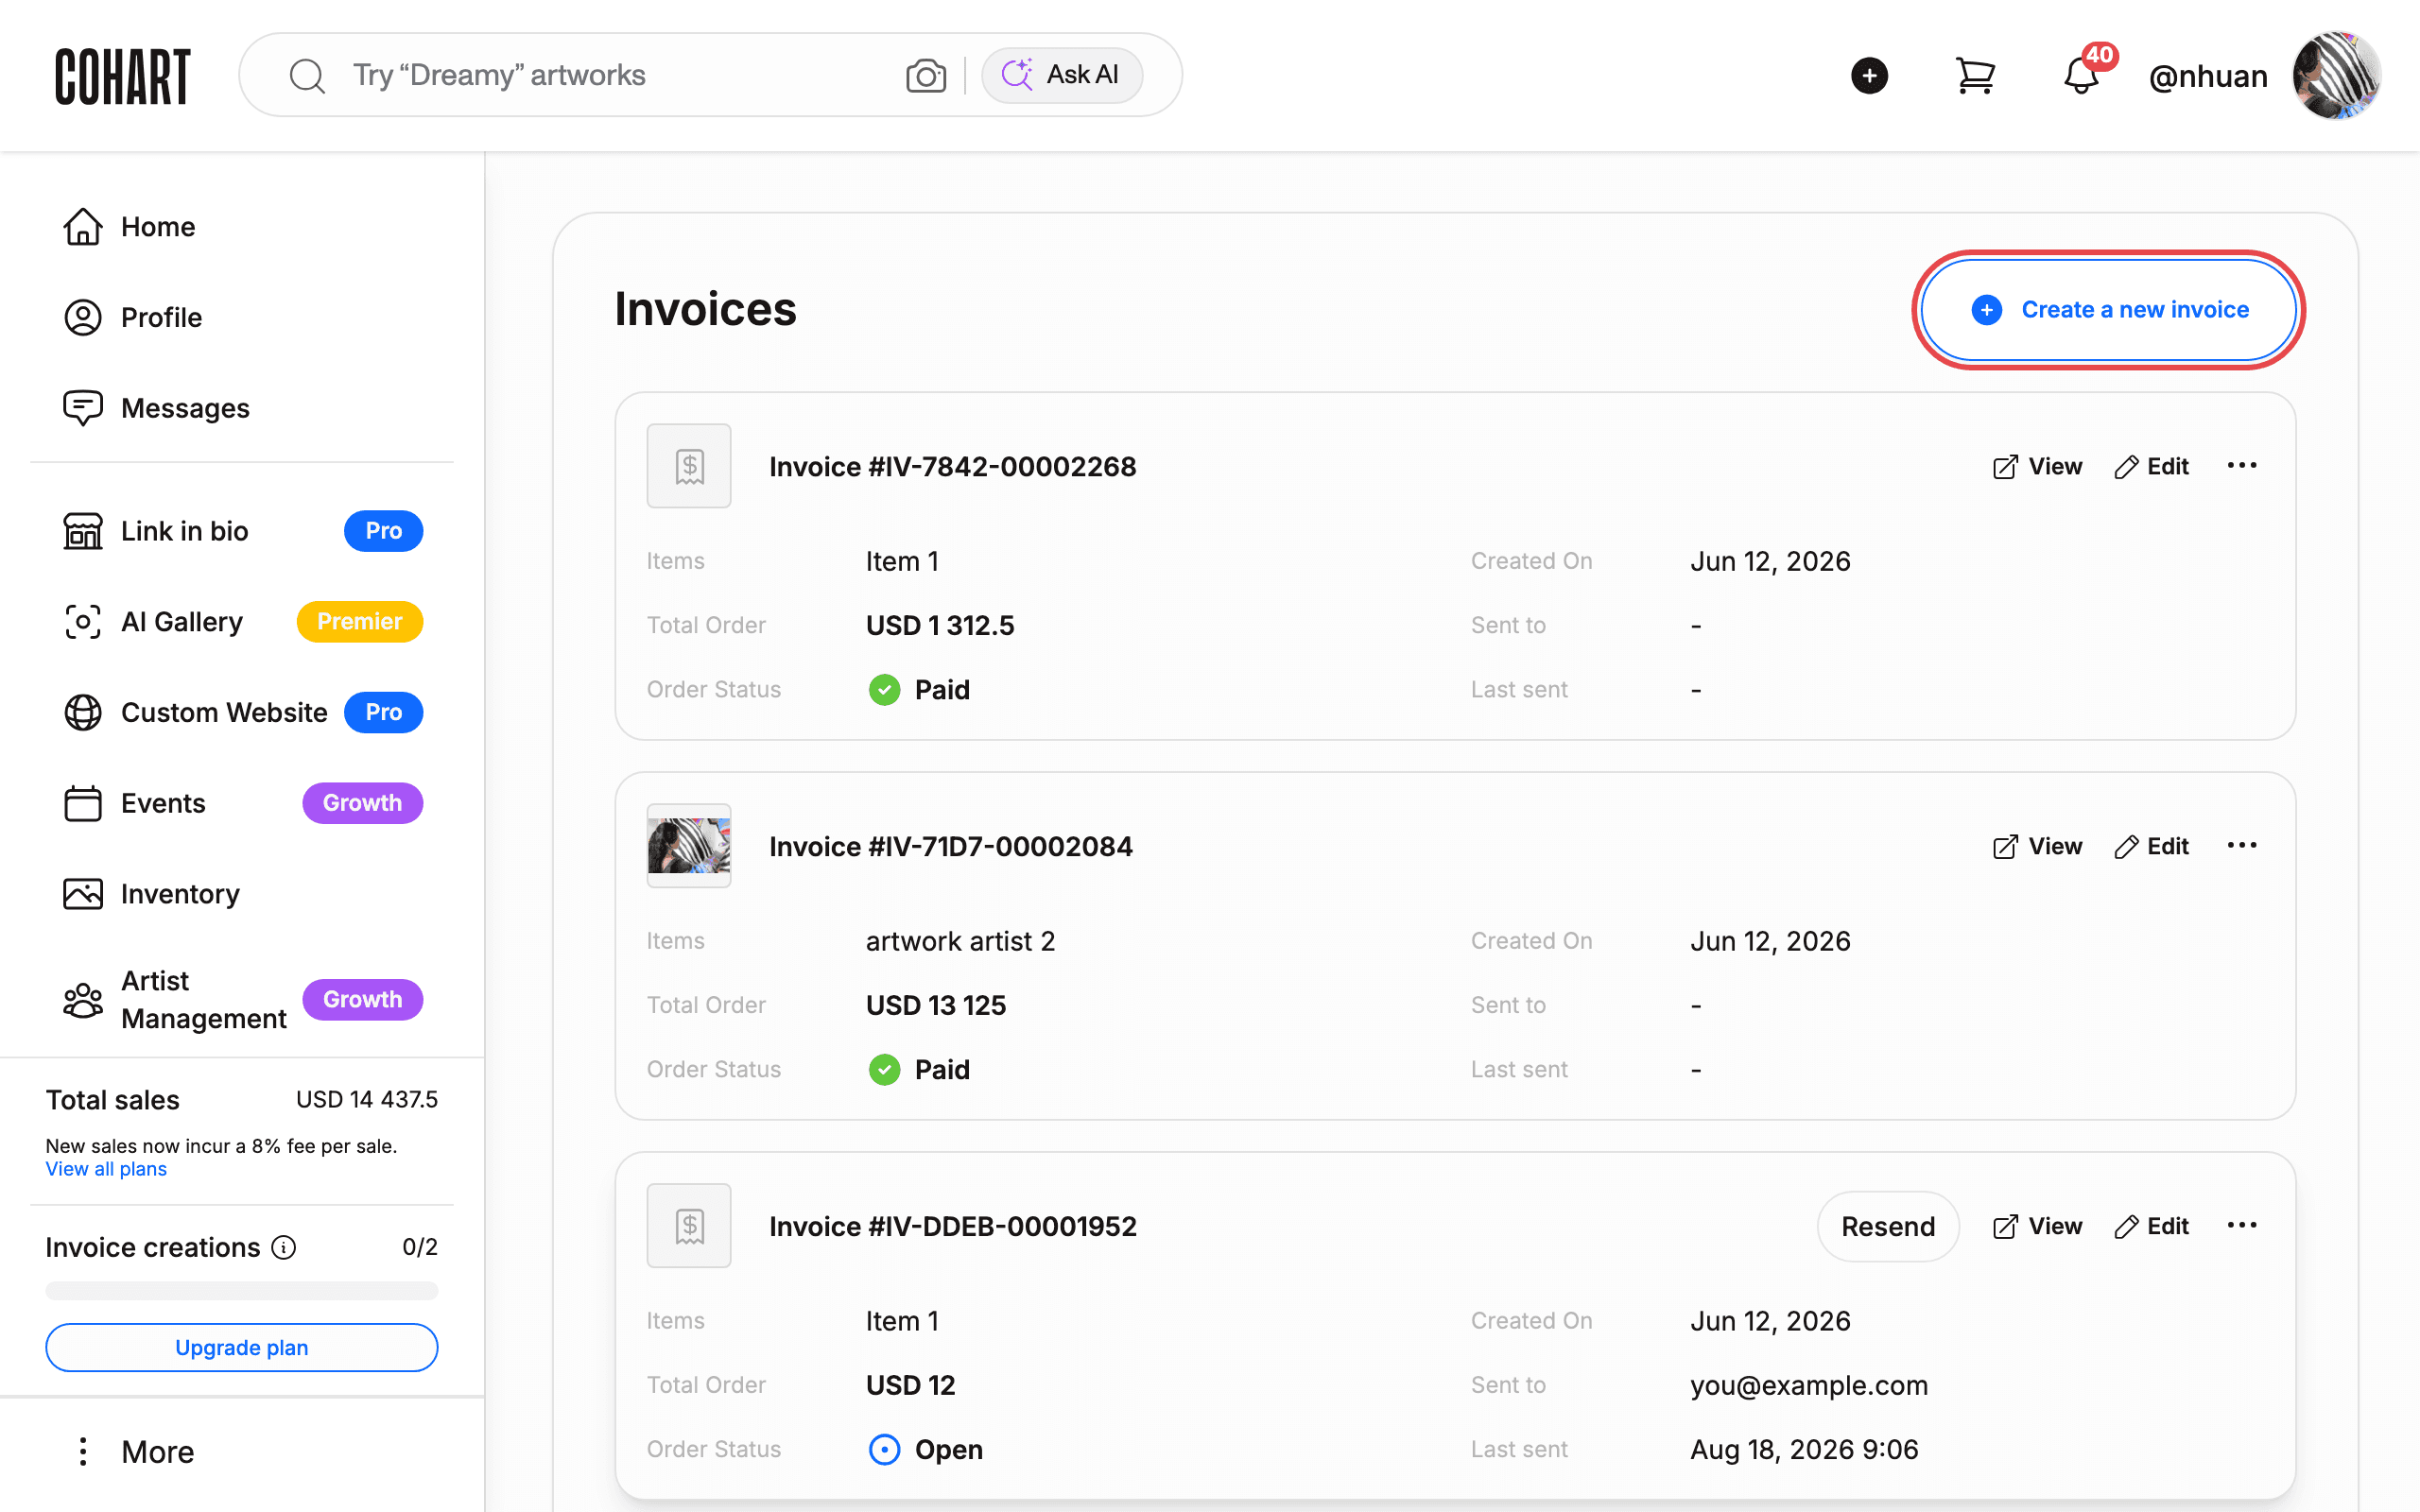
5. Start a new invoice
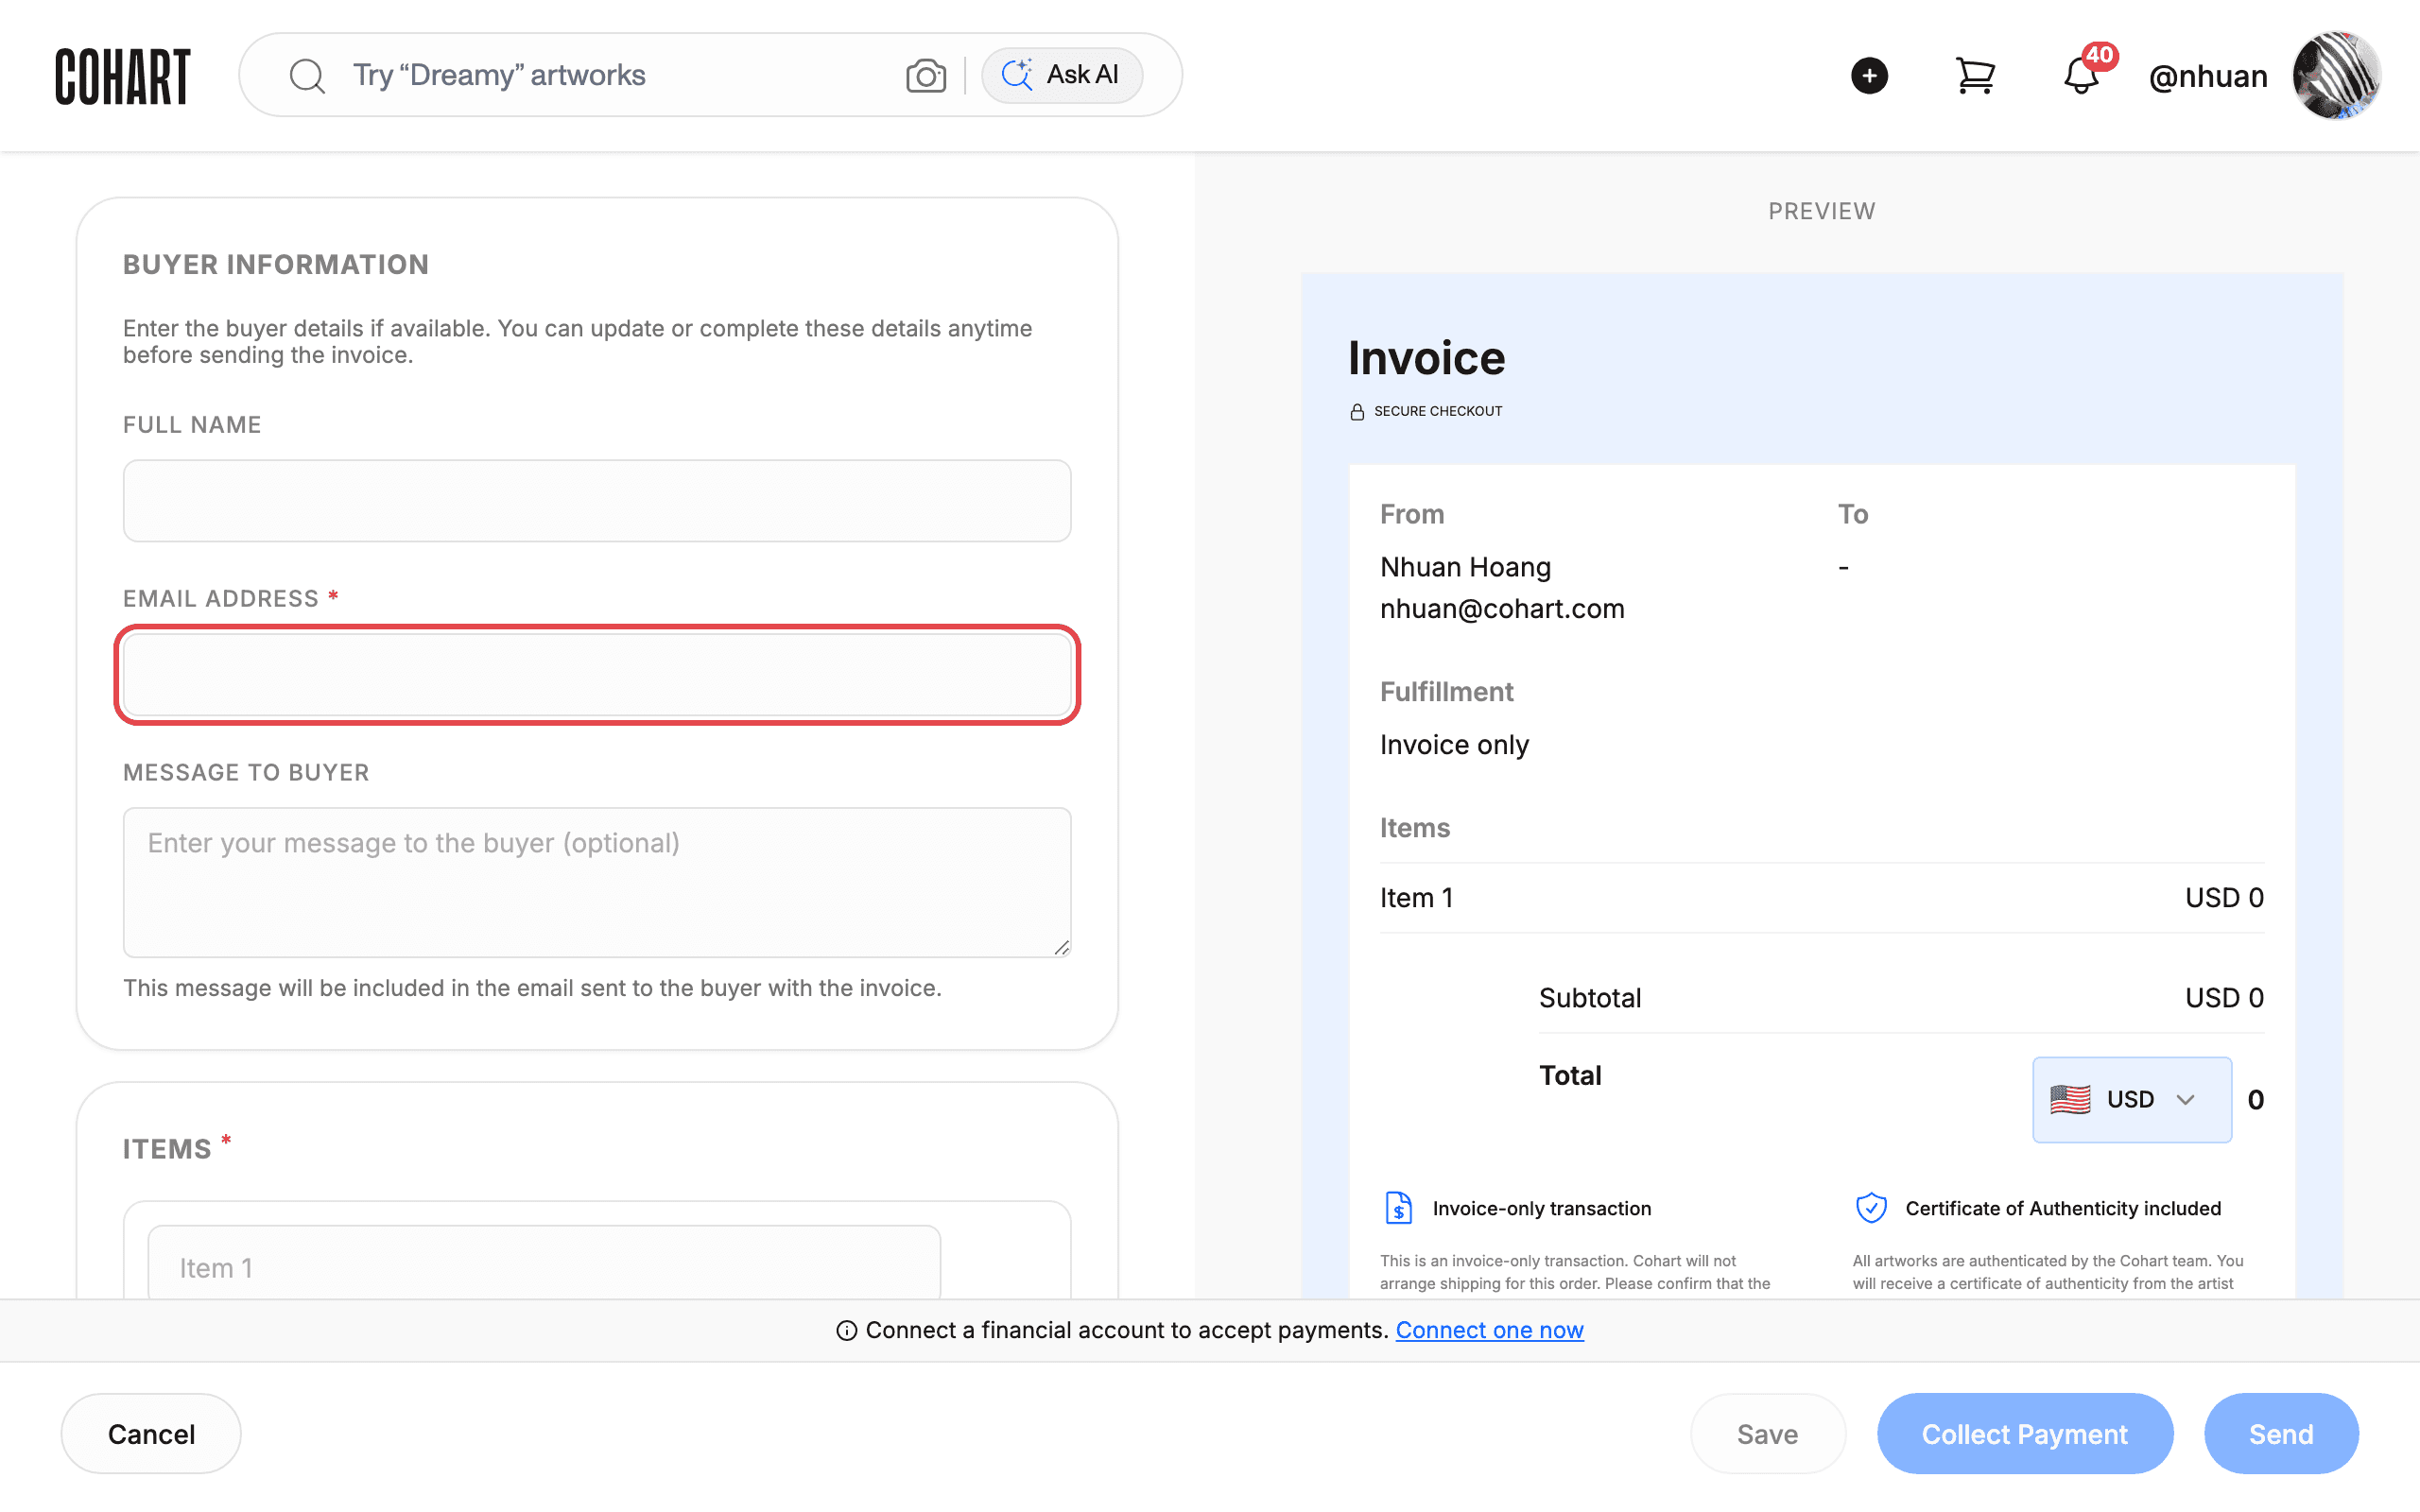
Click Create a new invoice to open the invoice builder. The form has four sections — Buyer Information, Items, Fulfillment, and Tax — with a live Preview panel on the right and the action buttons Cancel, Save, Collect Payment, and Send at the bottom.
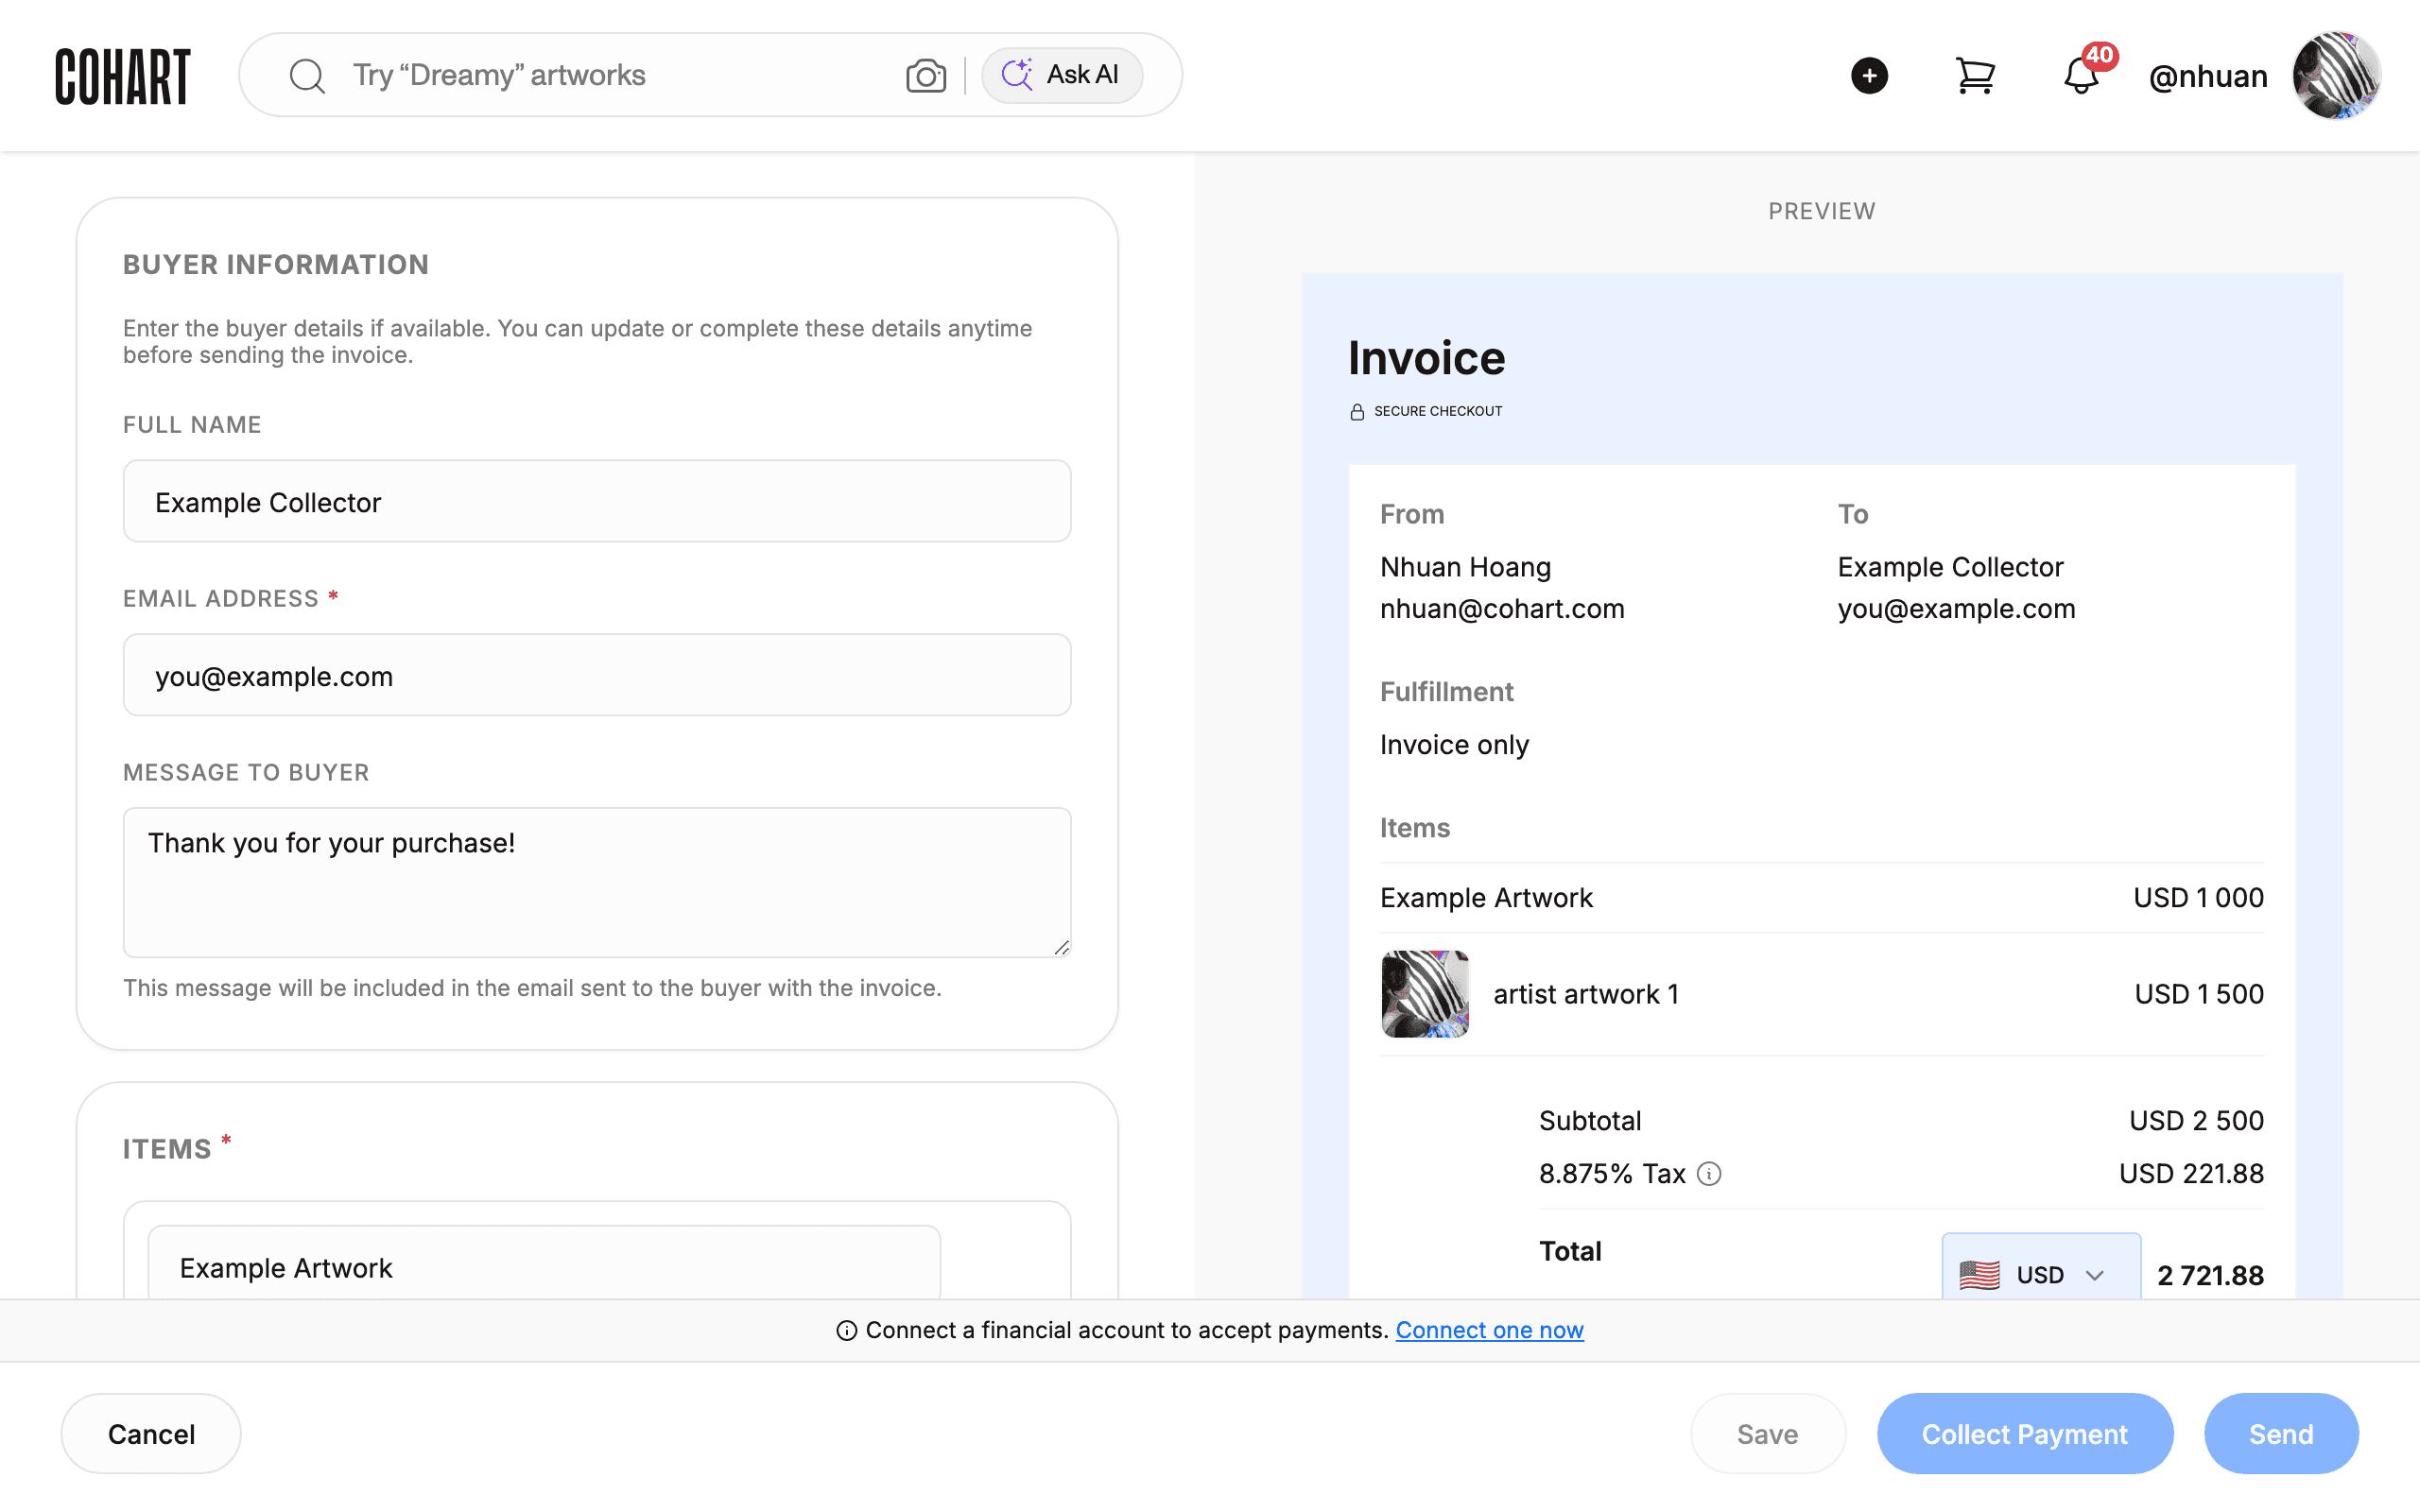
6. Fill in the buyer information
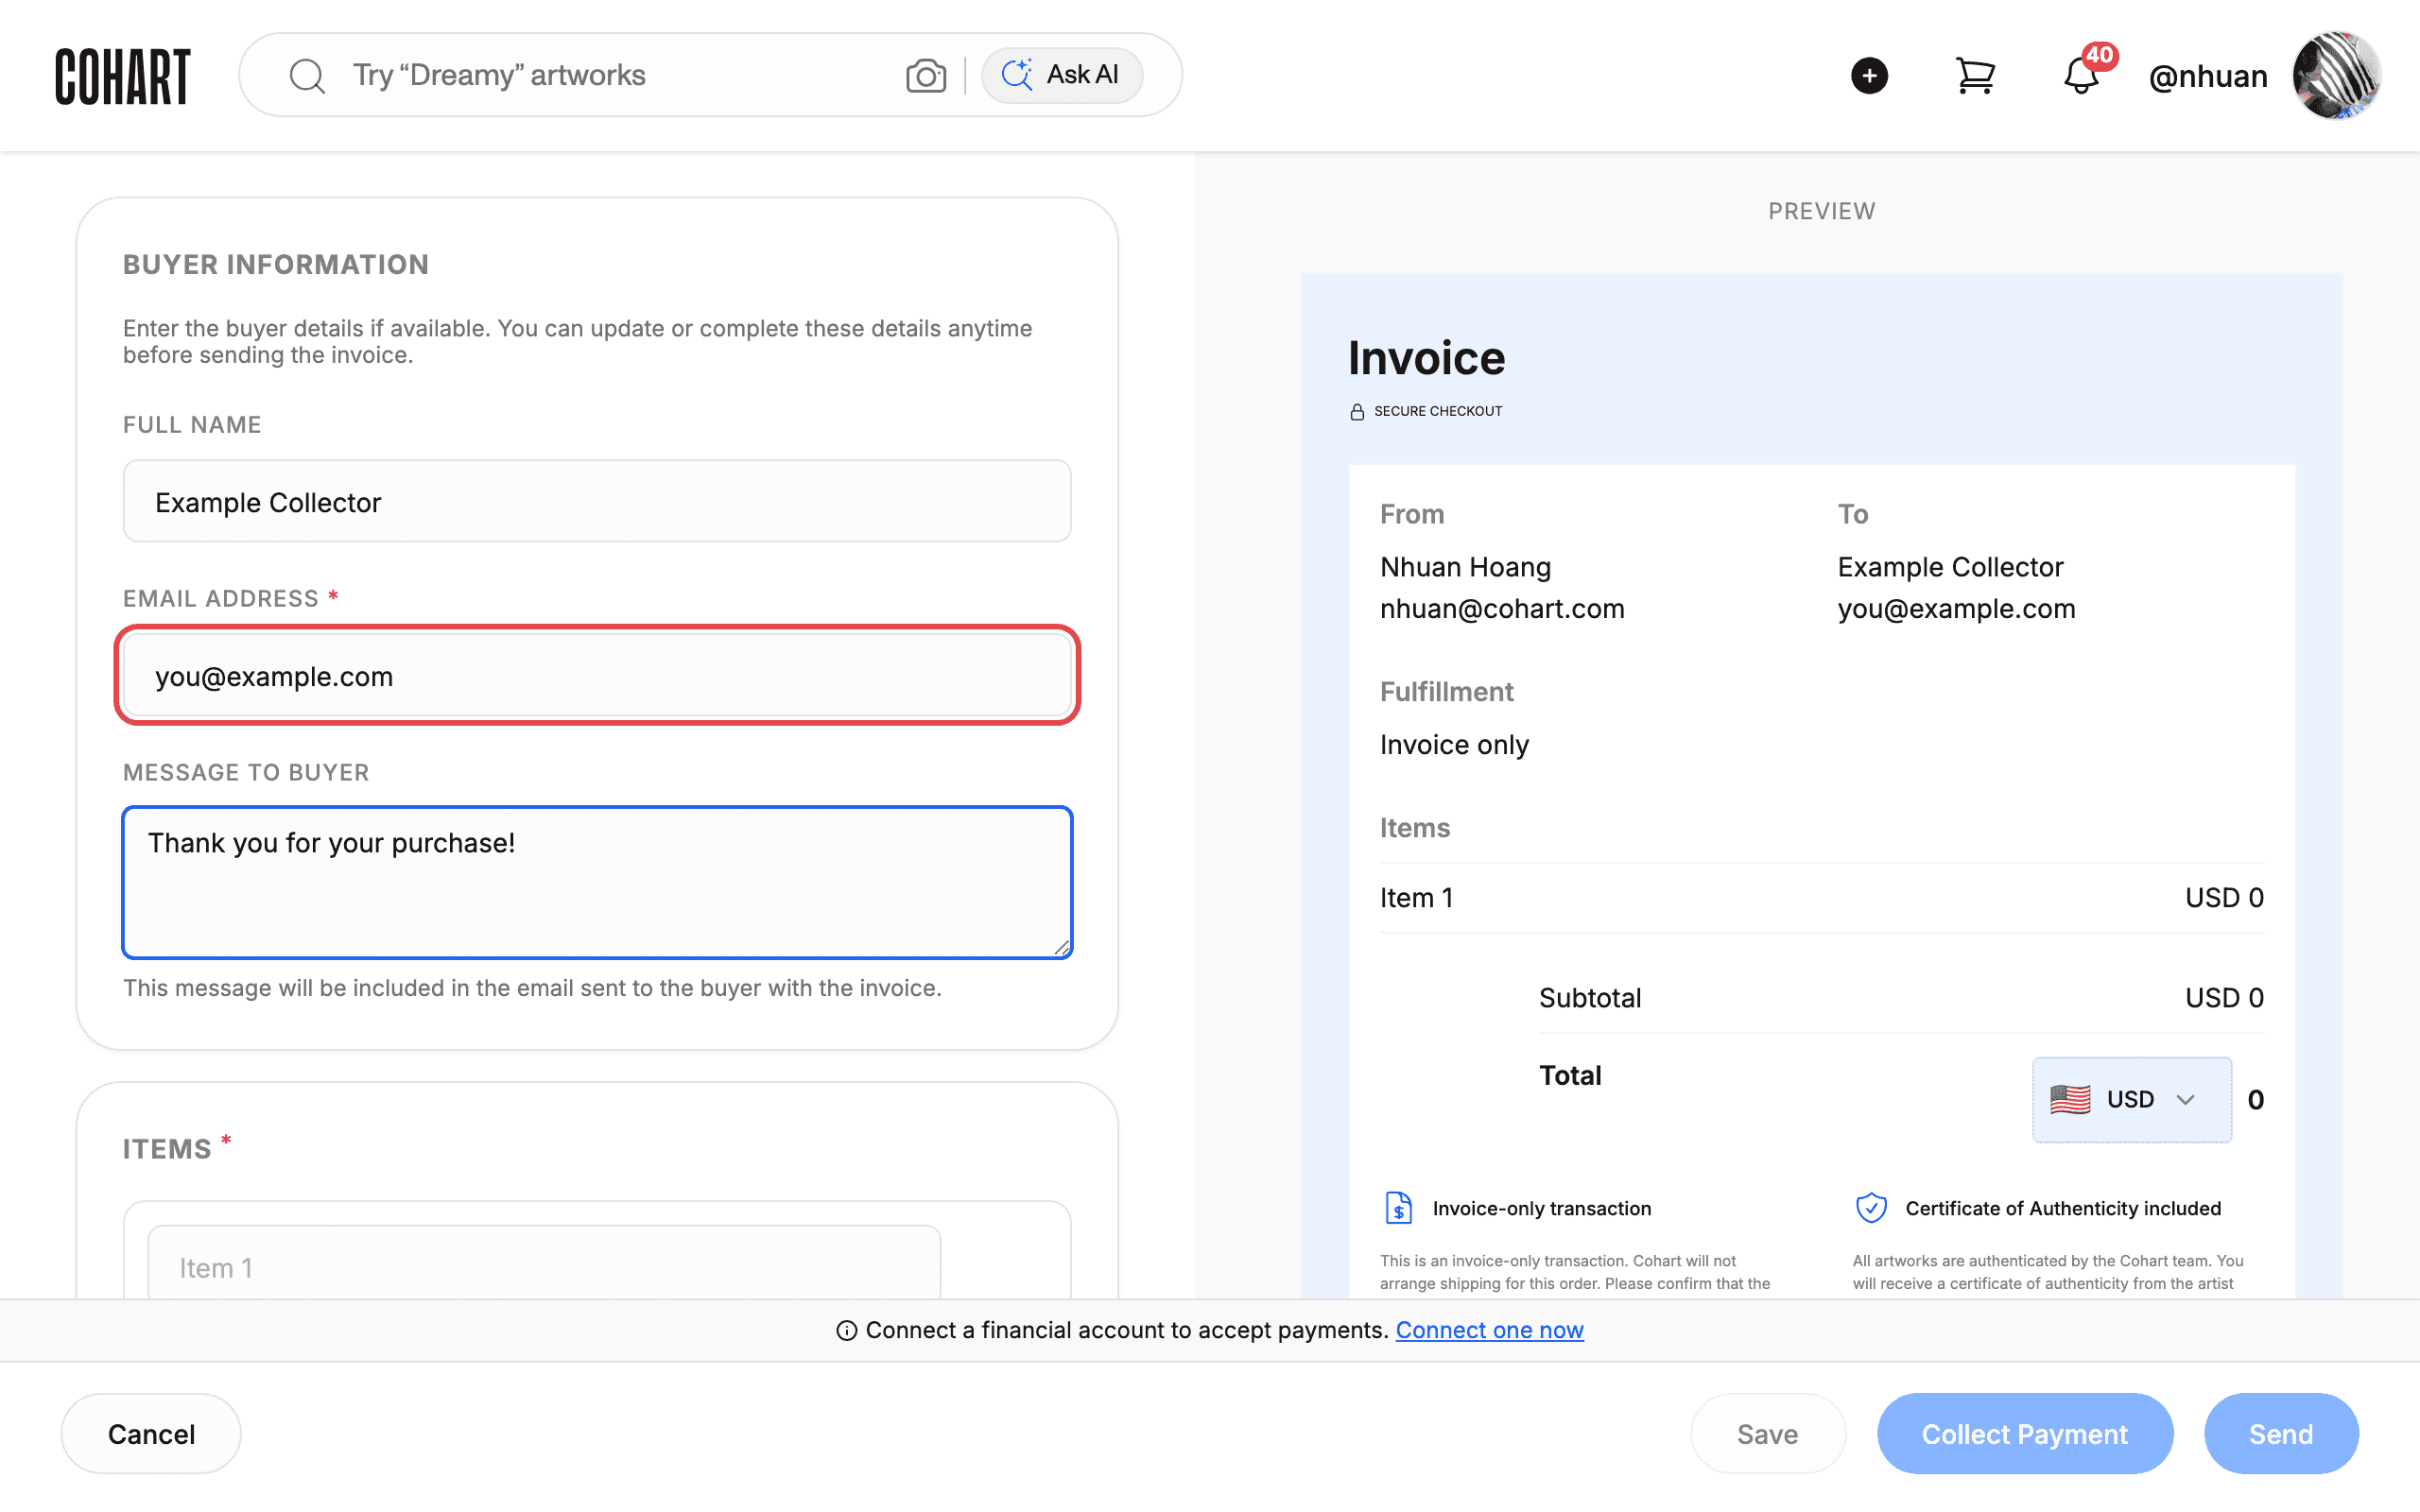
In the Buyer Information section, enter the buyer’s Full name and Email address (required). The Message to buyer field is optional — it will be included in the email sent to the buyer with the invoice.
7. Add your first item
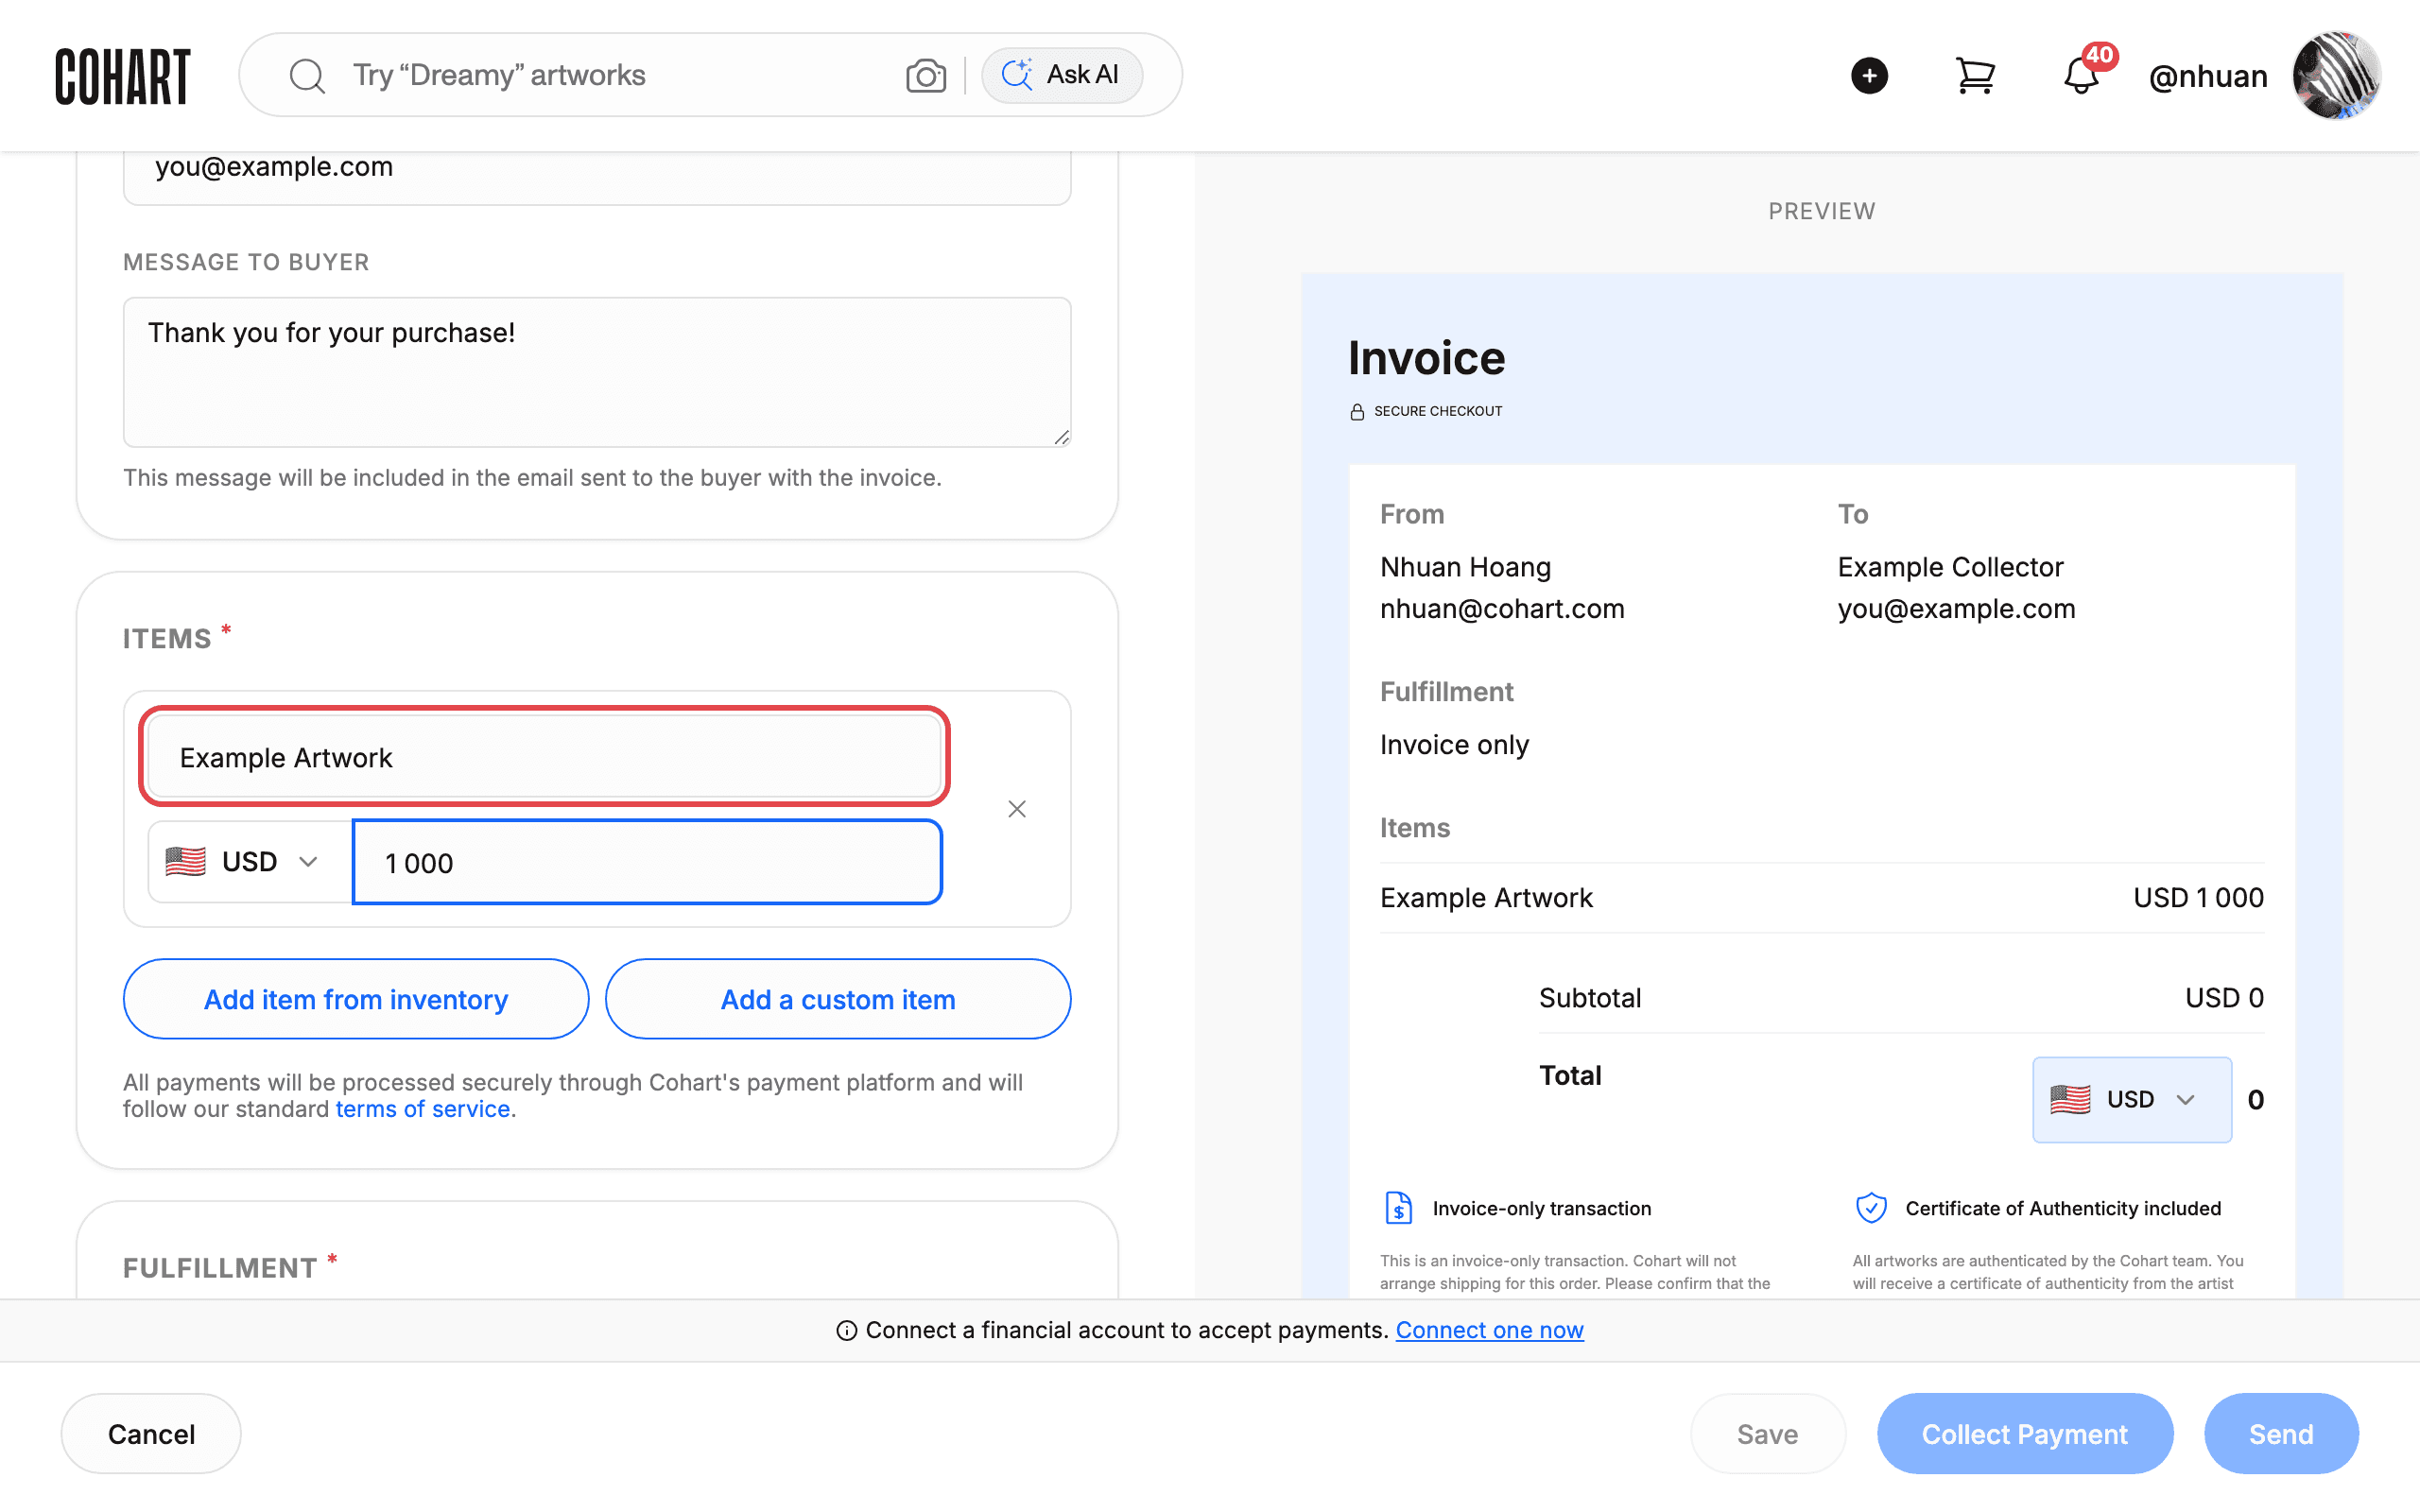
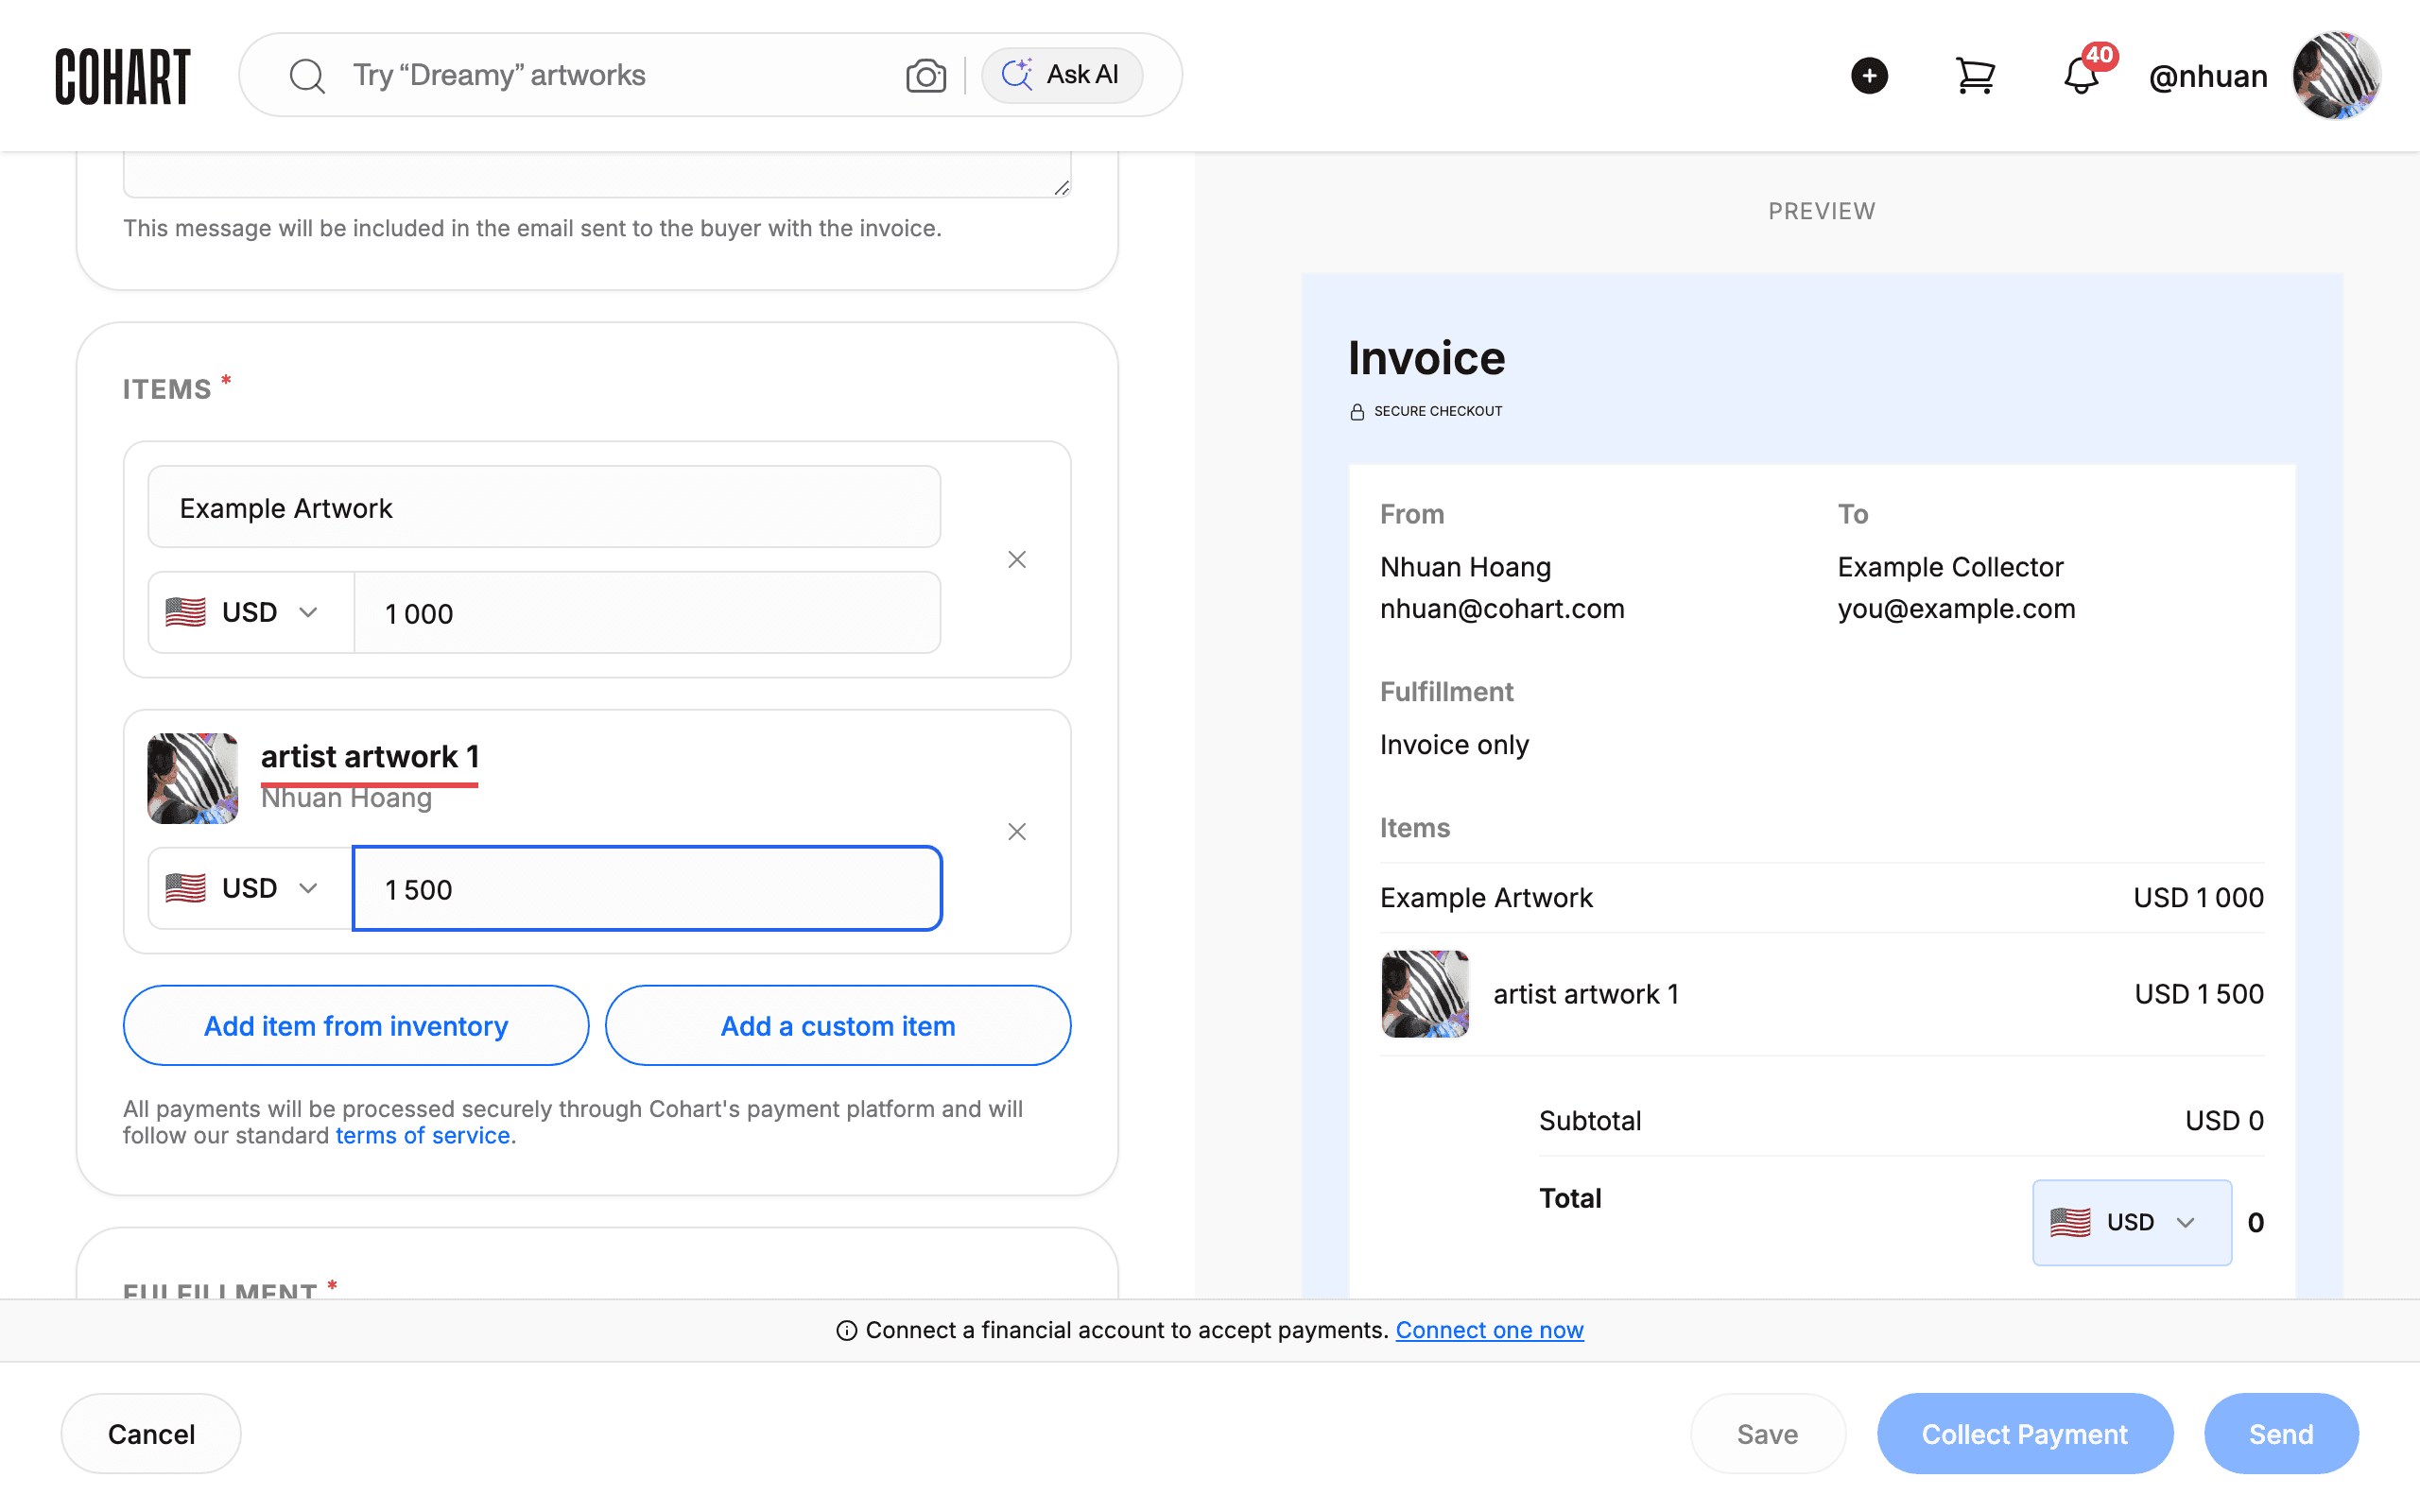
In the Items section, type the name of your first line item into the title field (the placeholder says “Item 1”) and enter the price. The currency defaults to your account currency (shown as USD here).
8. Add an artwork from your inventory
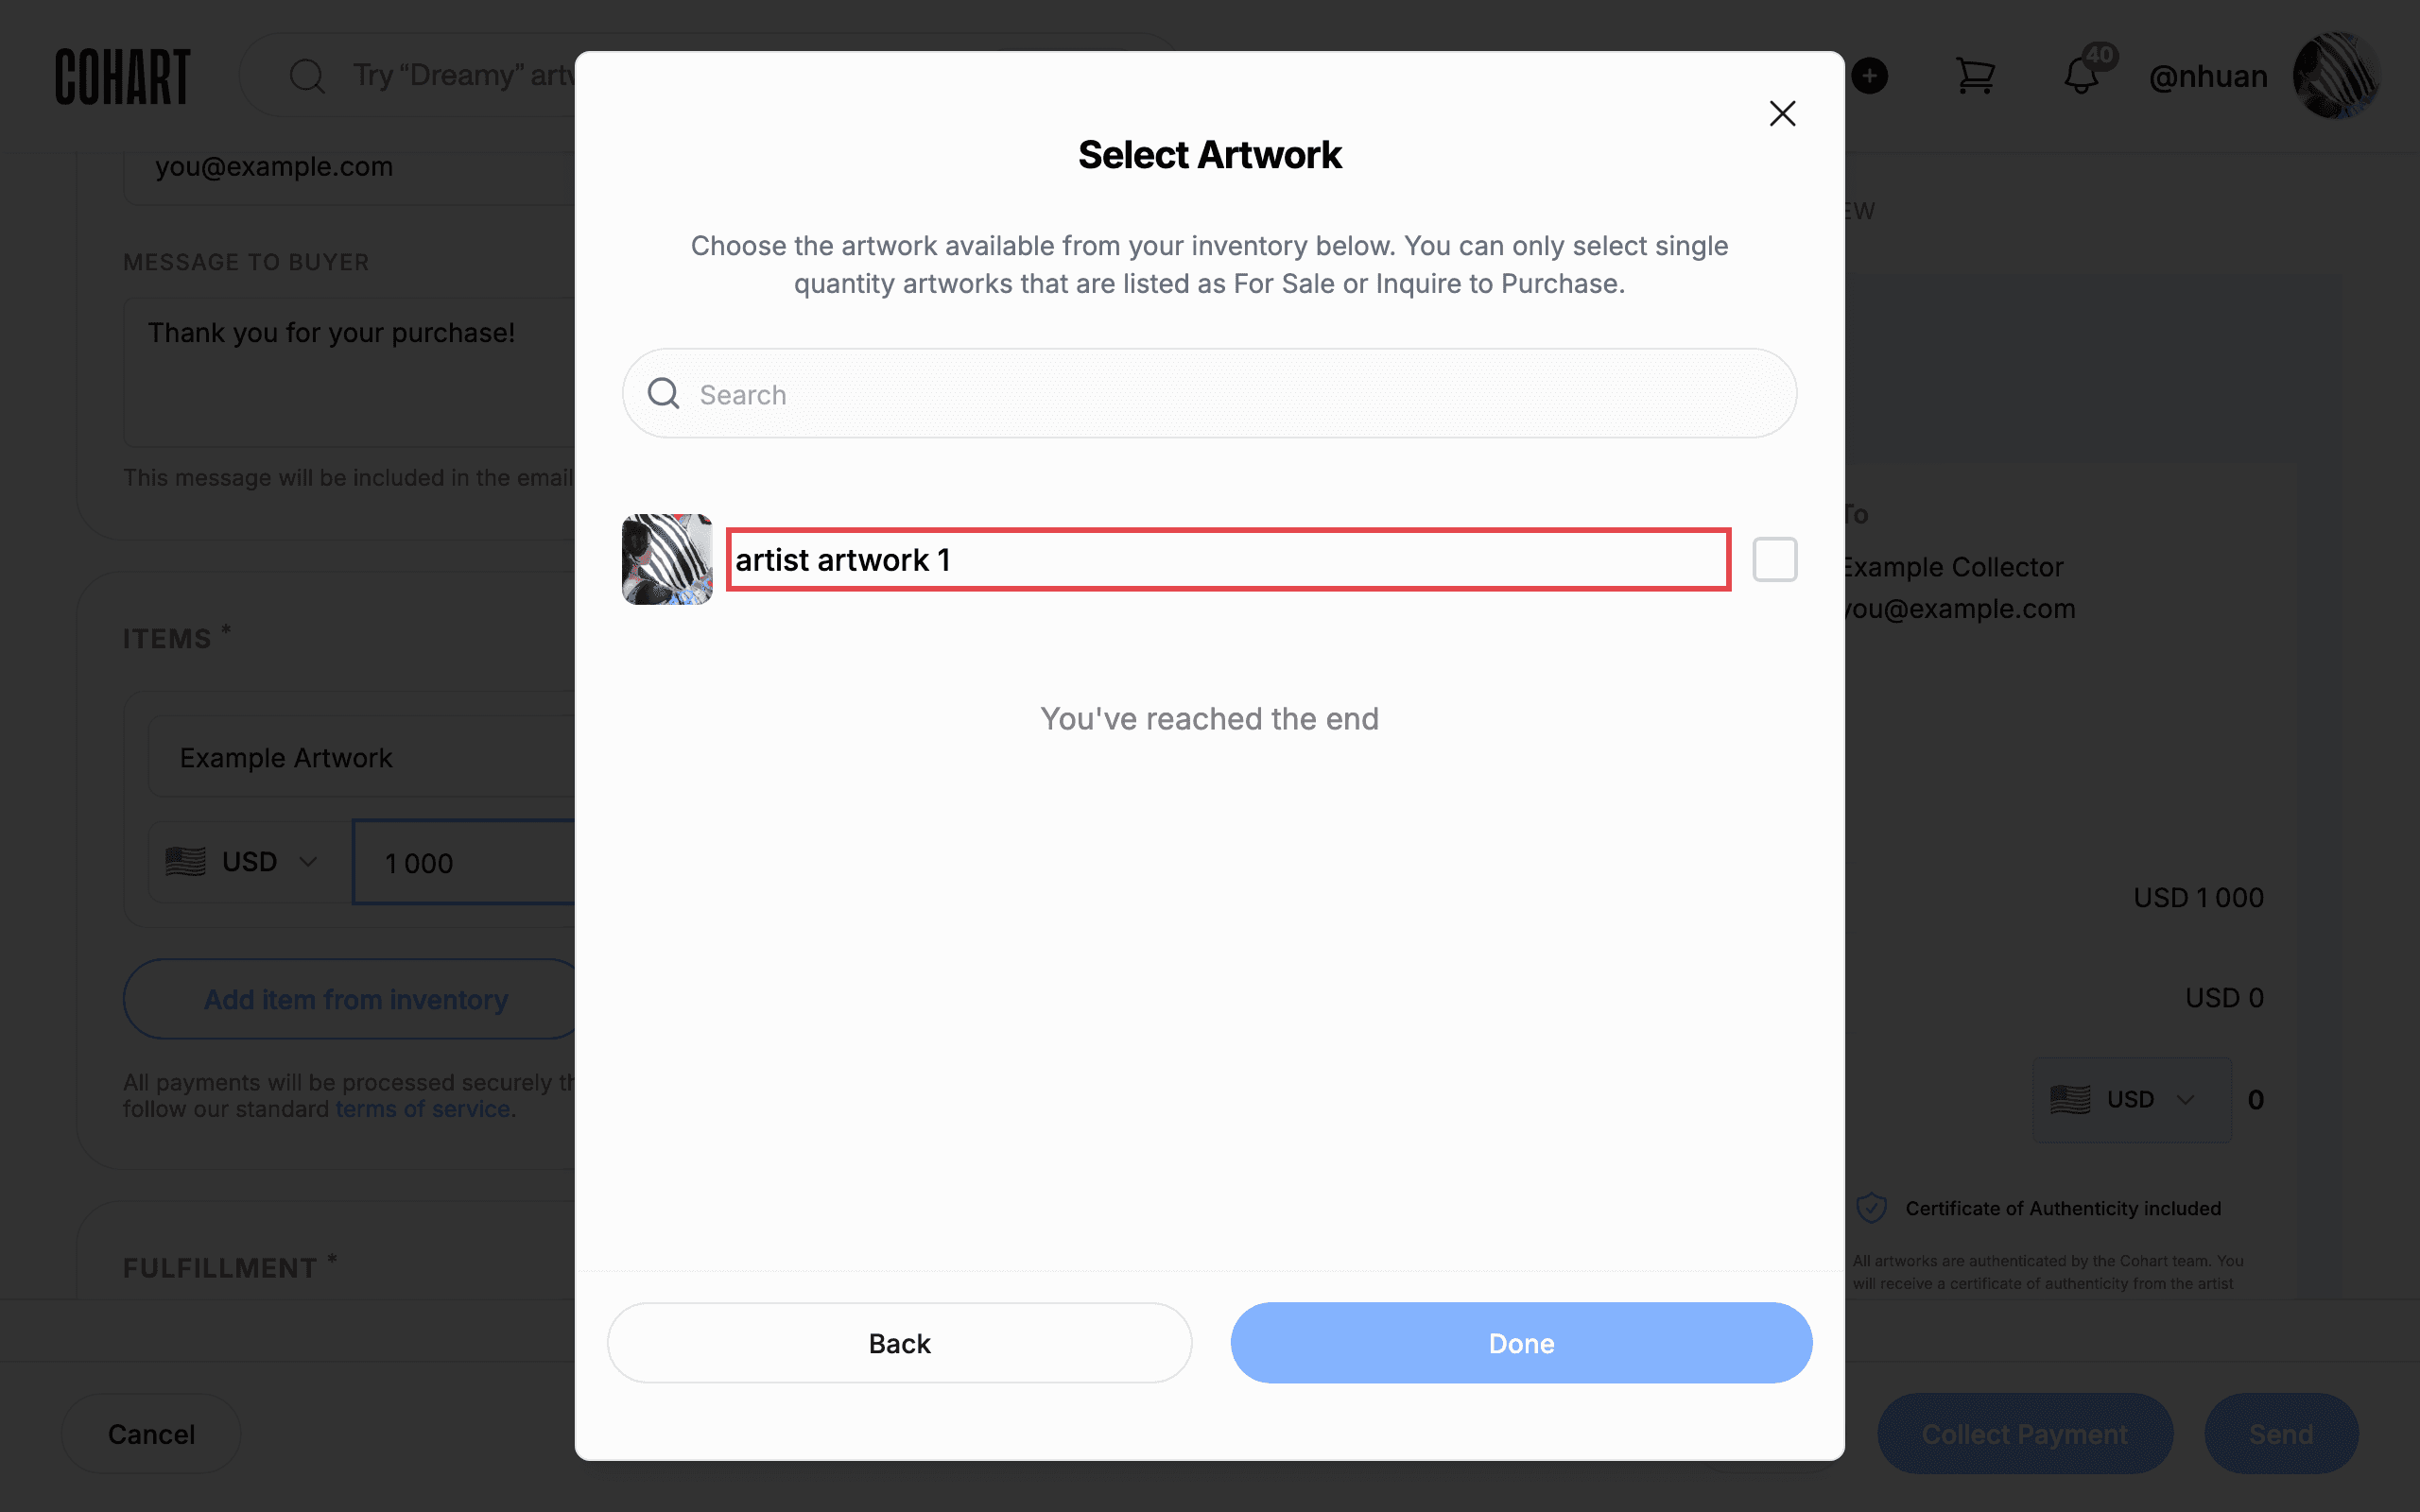
Click Add item from inventory. The Select Artwork dialog opens: “Choose the artwork available from your inventory below. You can only select single quantity artworks that are listed as For Sale or Inquire to Purchase.” Use the Search field to find an artwork, then click its card.
9. Confirm the artwork item
Click Done to add the artwork to the invoice. The item appears as a card showing the artwork title and the artist’s name, with its own price field. Enter the sale price for the artwork.
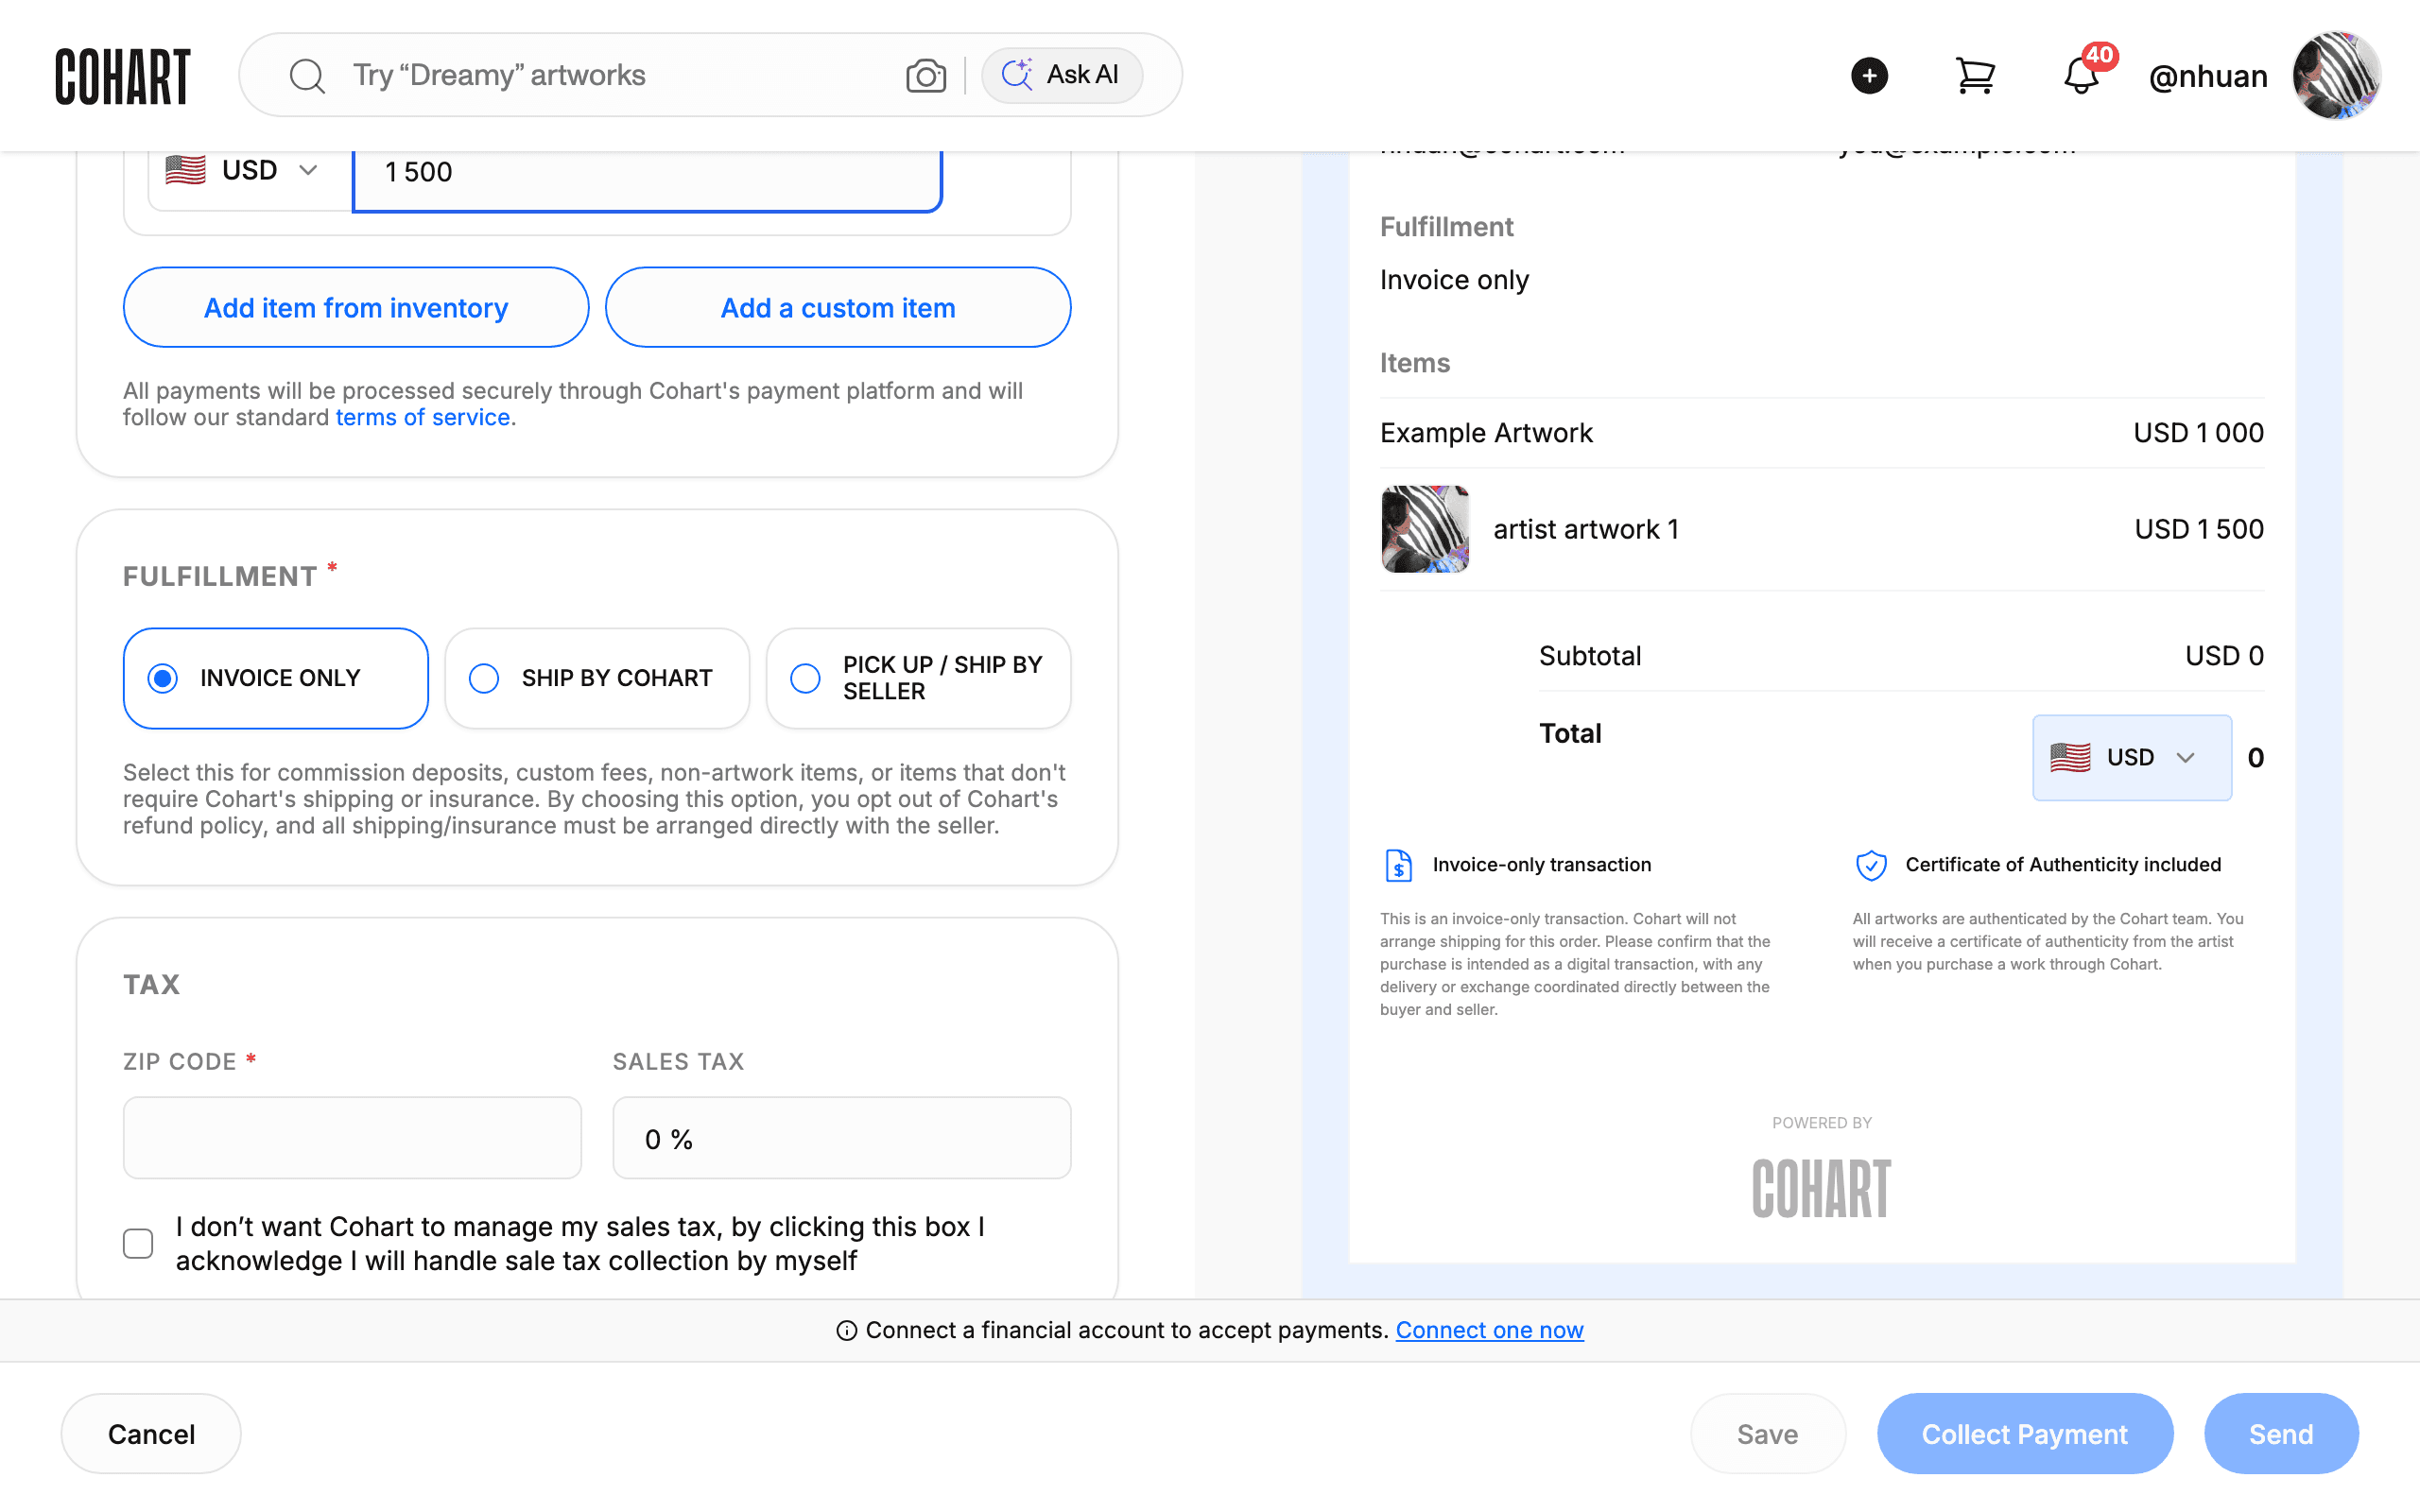
10. Choose the fulfillment method
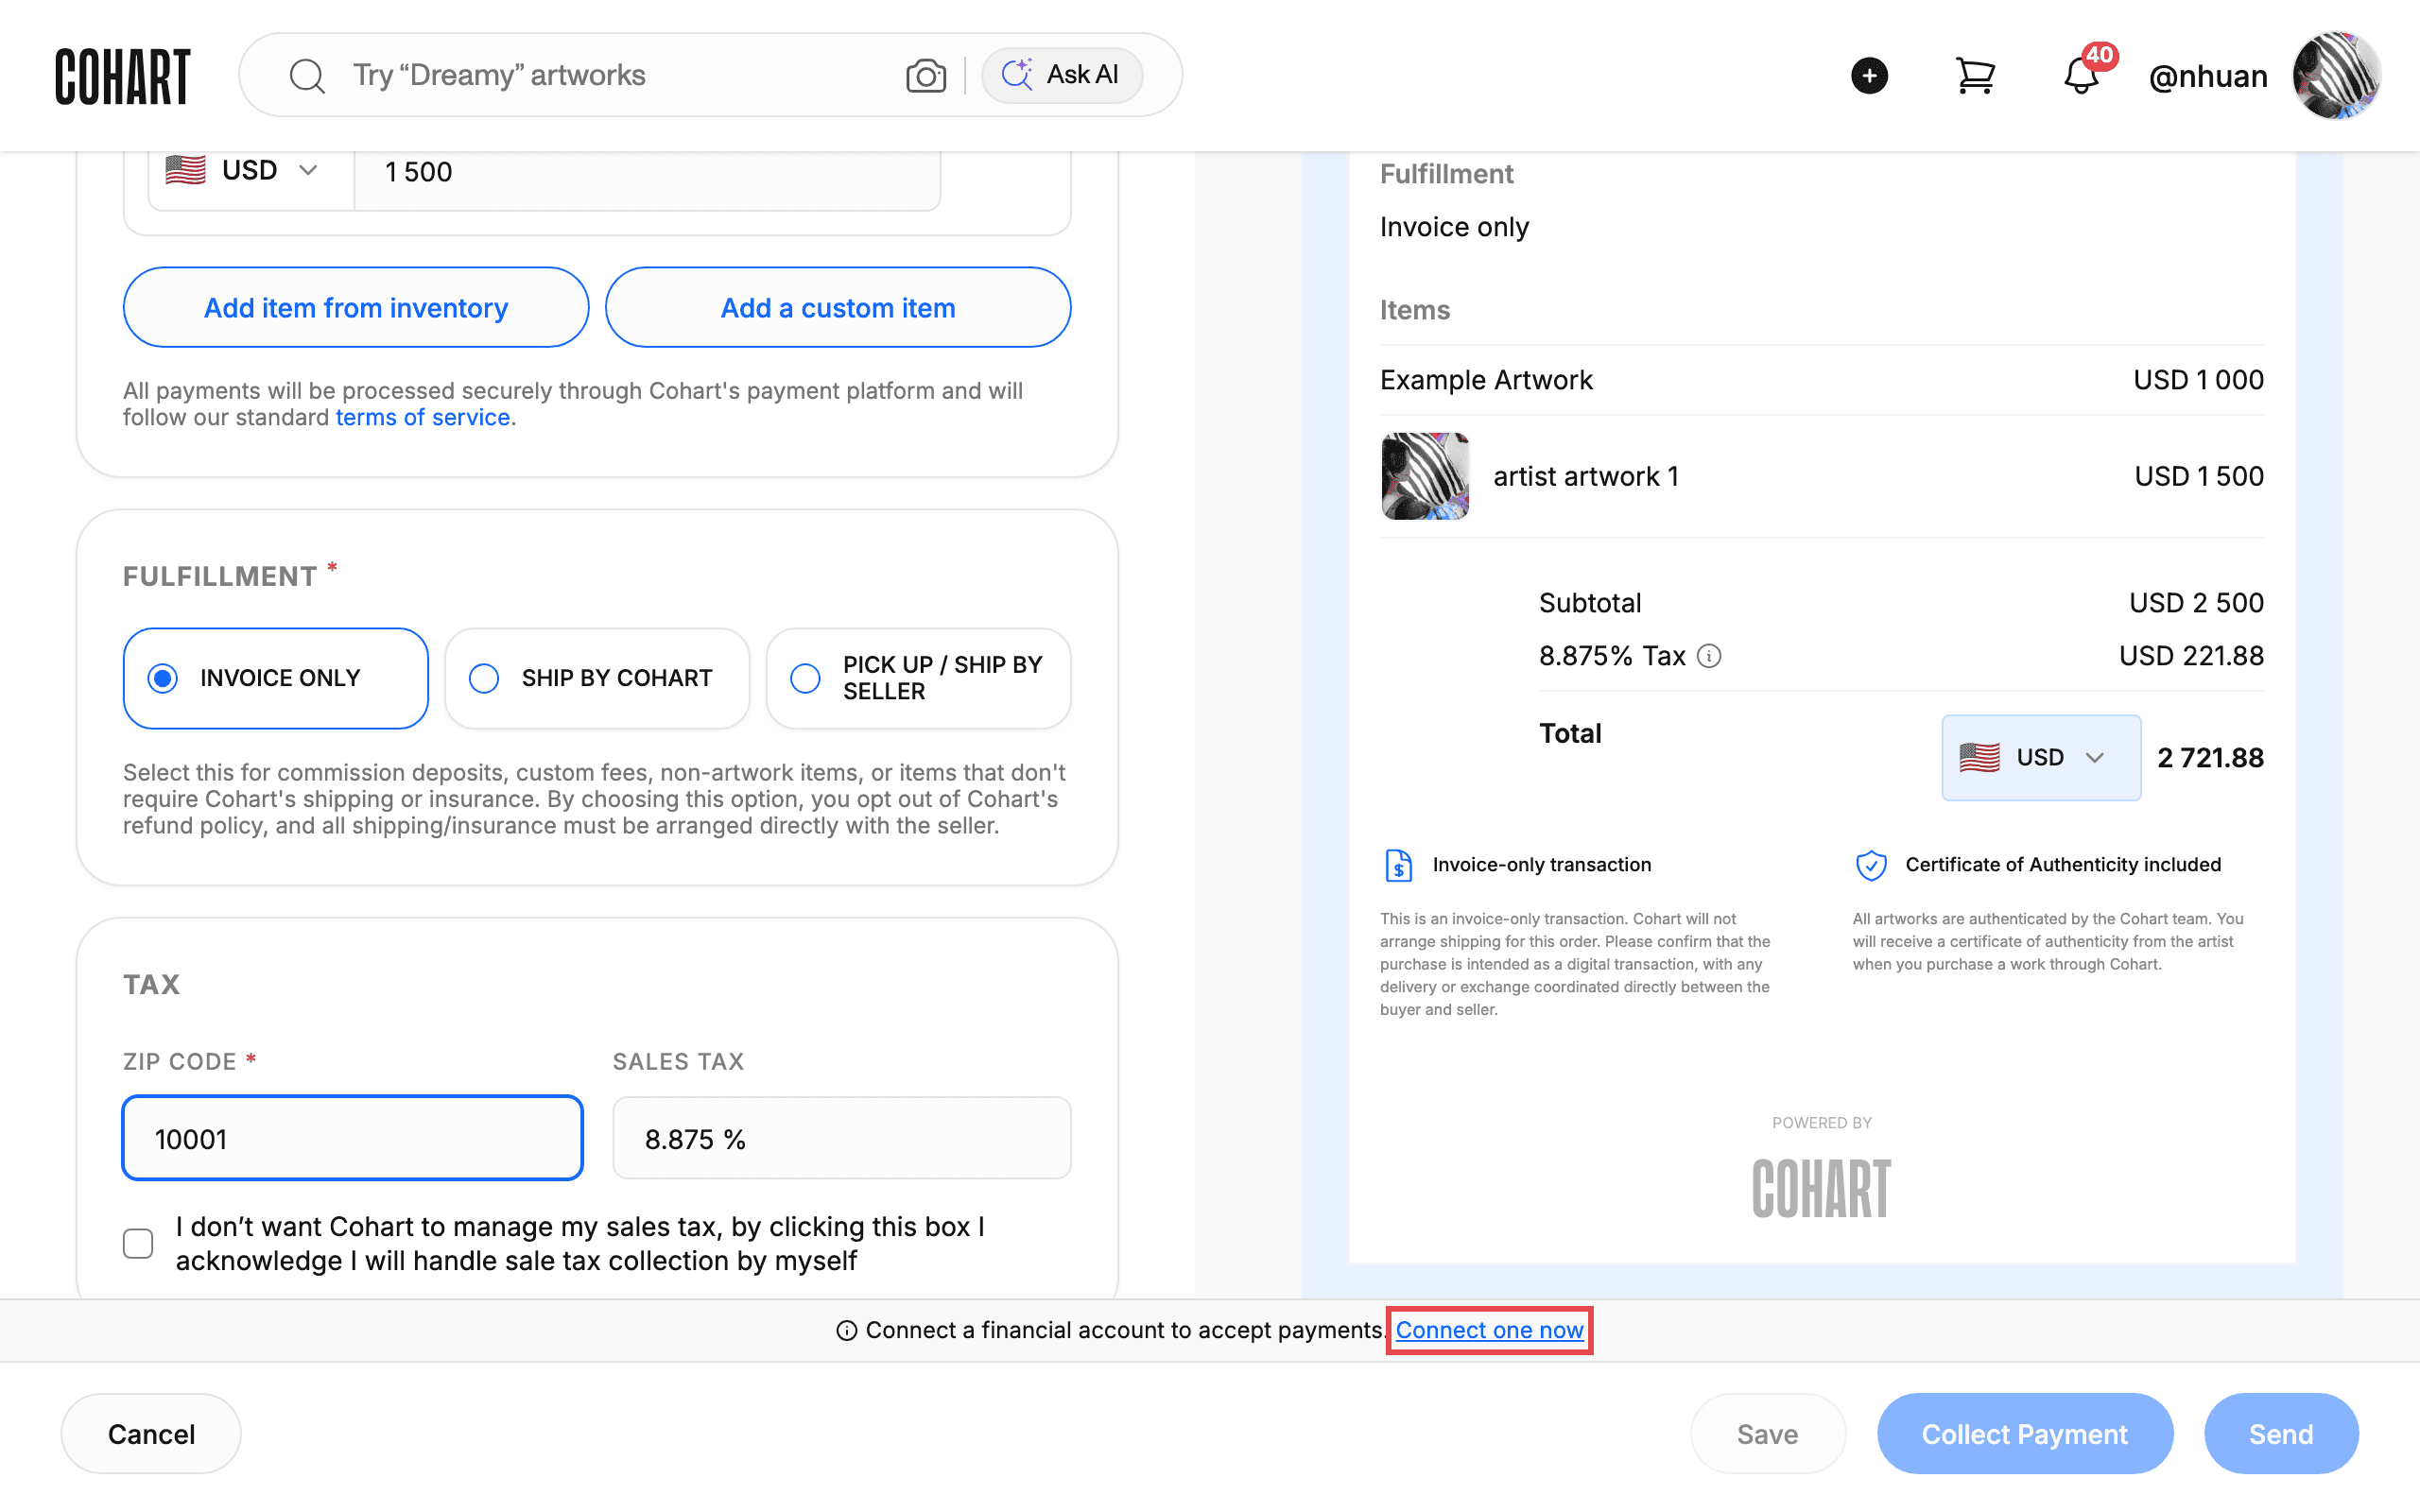
In the Fulfillment section, pick one of the three options: INVOICE ONLY, SHIP BY COHART, or PICK UP / SHIP BY SELLER. The default, Invoice only, is explained as: “Select this for commission deposits, custom fees, non-artwork items, or items that don’t require Cohart’s shipping or insurance. By choosing this option, you opt out of Cohart’s refund policy, and all shipping/insurance must be arranged directly with the seller.”
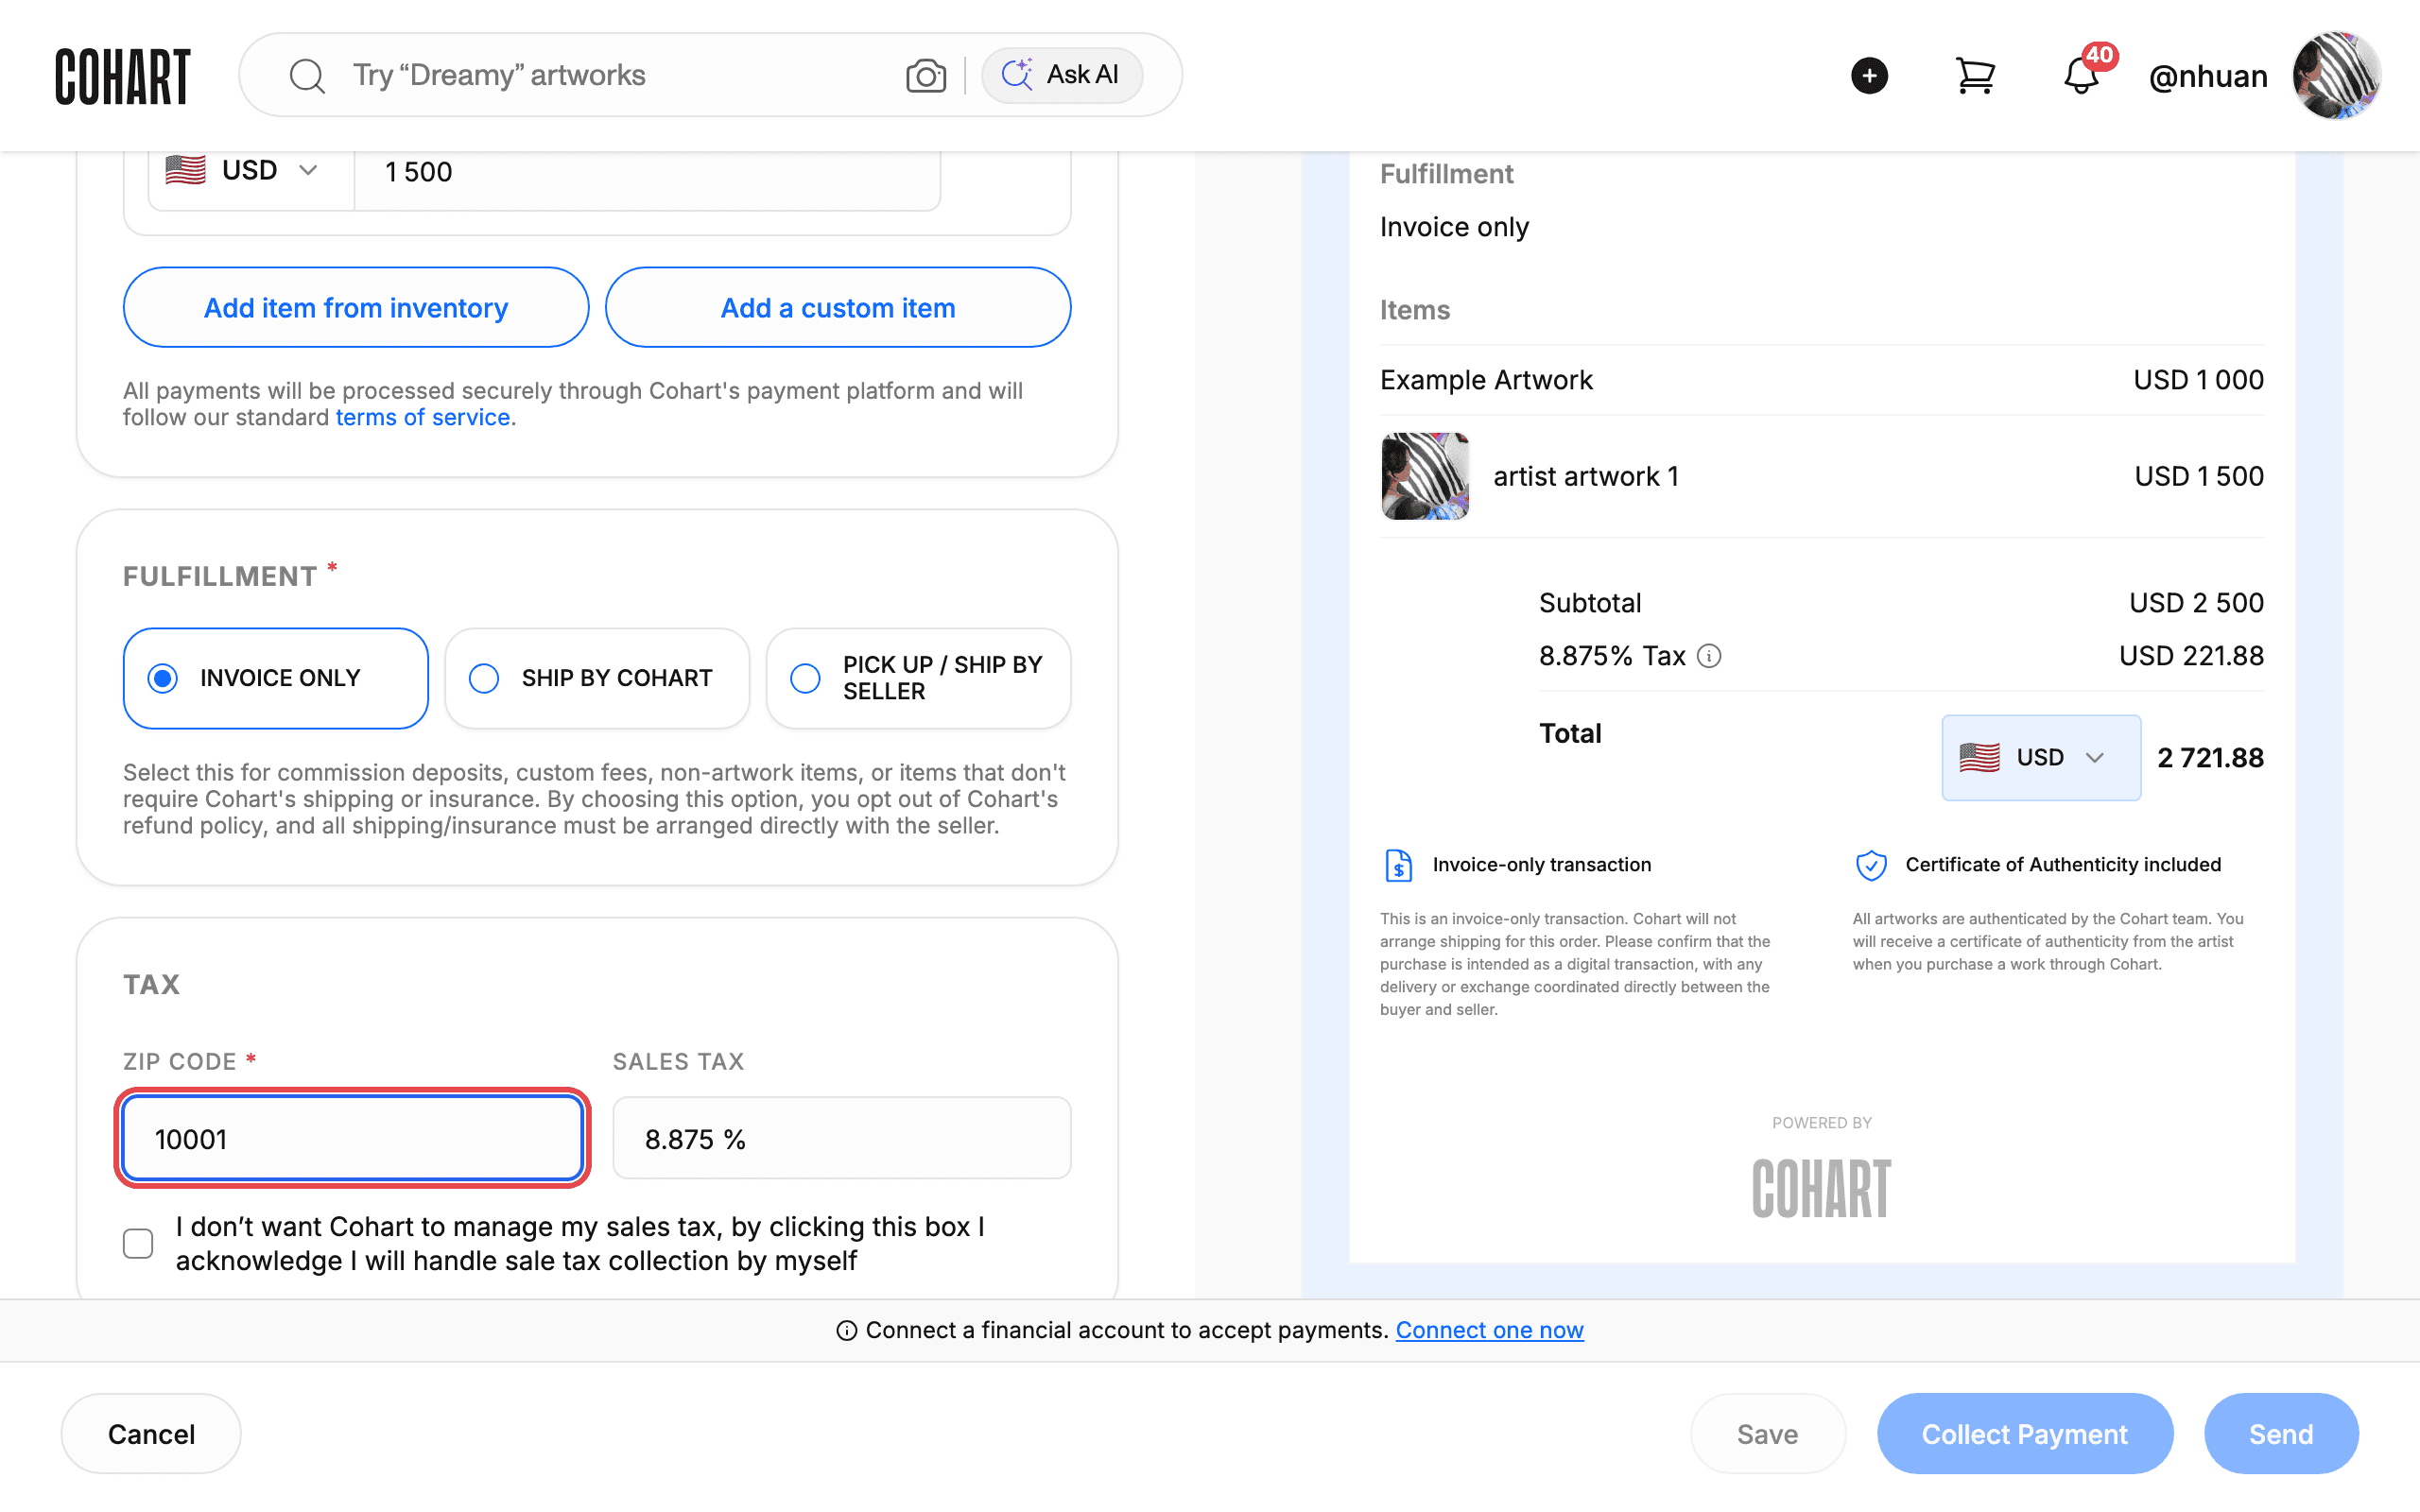
11. Set the sales tax
In the Tax section, enter the ZIP code for the sale. Cohart automatically looks up the sales tax rate for US ZIP codes (in this example, ZIP 10001 produced a rate of 8.875%). To handle sales tax yourself, check the box “I don’t want Cohart to manage my sales tax, by clicking this box I acknowledge I will handle sale tax collection by myself”.
12. Review the preview
The Preview panel updates live as you type. It shows the seller (From), the buyer (To), the Fulfillment method, the line Items with prices, the Subtotal, and the Total. For invoice-only orders, a note explains that “Cohart will not arrange shipping for this order” and that a Certificate of Authenticity is included with every artwork.
13. Save, collect payment, or send the invoice
Use the buttons at the bottom of the page to finish your invoice:
- Cancel — discard the invoice and go back to the invoice list.
- Save — save the invoice without sending it.
- Collect Payment — create the invoice and take the buyer to the checkout page.
- Send — create the invoice and email it to the buyer.
These actions require a connected financial account. Without one, the form shows the note “Connect a financial account to accept payments.” and the buttons stay disabled. Click Connect one now and finish the setup on the Financial Accounts page before closing an invoice.
Tips
- Cohart auto-detects the US sales tax rate from the ZIP code (for example 8.875% for ZIP 10001). Rates change by location, and you can manage tax yourself via the checkbox.
- When the order total is USD 0, the preview adds a Small order surcharge amount of USD 0.5 to the total.
- The invoices page shows an Invoice creations counter (for example “0/2”). If you hit your plan limit, use Upgrade plan or View all plans to raise it.
- The invoices page shows a banner with the current per-sale fee for new sales — factor the current rate into your pricing.
Troubleshooting
- Save, Collect Payment, and Send are disabled with “Connect a financial account to accept payments.” → no financial account is connected → click Connect one now and complete the Stripe onboarding under Settings → Financial Accounts.
- Send is disabled with “To send this invoice via email, please enter the buyer’s email address.” → no buyer email is entered → enter the buyer’s Email address in Buyer Information.
- Artwork does not appear in the Select Artwork dialog → it is not an eligible work → the dialog only lists single-quantity artworks that are For Sale or Inquire to Purchase.