How to Add a Contact
Overview
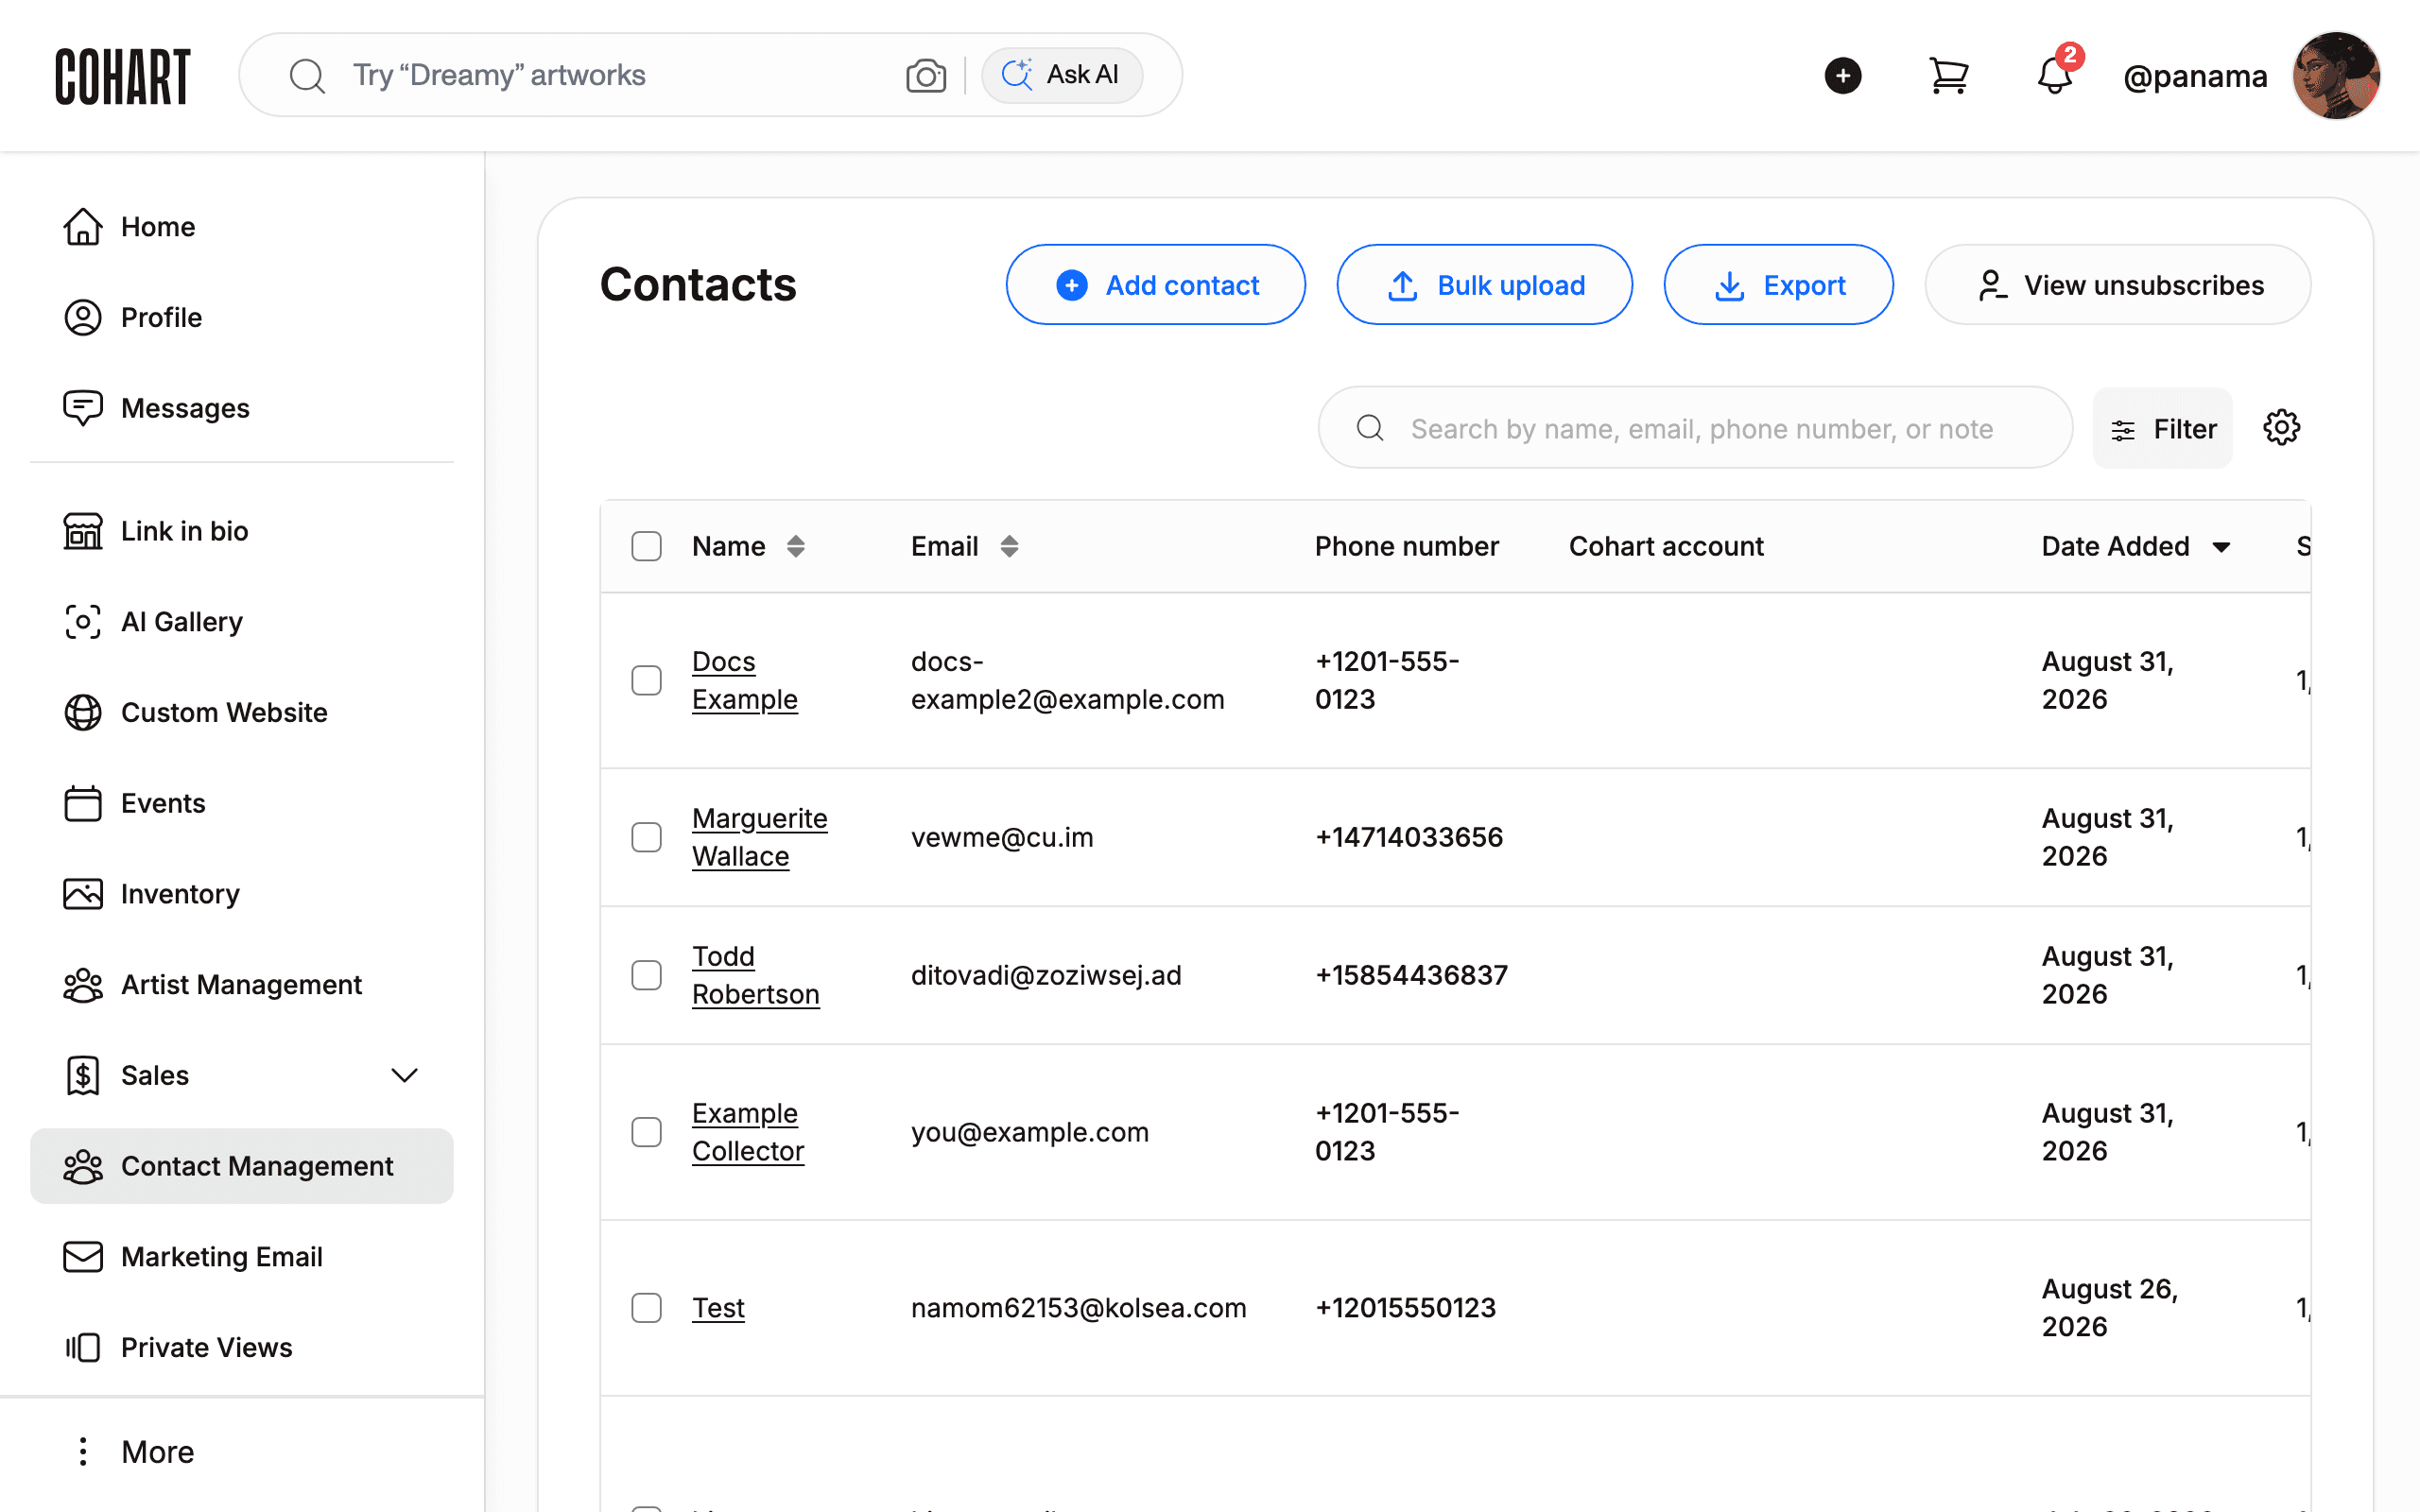
Your contacts live in Contact Management, your contact list on Cohart and the audience behind your marketing emails. Adding a contact saves their details to your own contact list so you can include them in campaigns, organize them into groups, and look up their purchases later. This guide is for sellers with an artist or gallery account, and it covers both adding one contact through the Add a Contact panel and importing many at once with Bulk upload. Everything you enter appears as columns on the Contacts page — name, email, phone number, date added, groups, and note — and feeds the recipient counts when you build a campaign. Only the email address is required, so you can start small and fill in the rest later. By the end, your contact is saved, confirmed with a “Contact created!” message, and findable through the Contacts search box.
Before you start
- A Cohart artist or gallery account with access to Contact Management.
- The contact’s email address — the only required field. Have the first and last name, phone number, note, and the groups you want to assign ready if you want to fill them in now (for example a newsletter group).
- Groups must already exist to appear in Select groups; you can create one from the form with Create new group.
- Each email address can be used only once — if the address is already in your list, search for it first instead of adding it again.
- To import a whole list at once instead of one by one, prepare a CSV file and follow How to Bulk Upload Contacts.
Steps
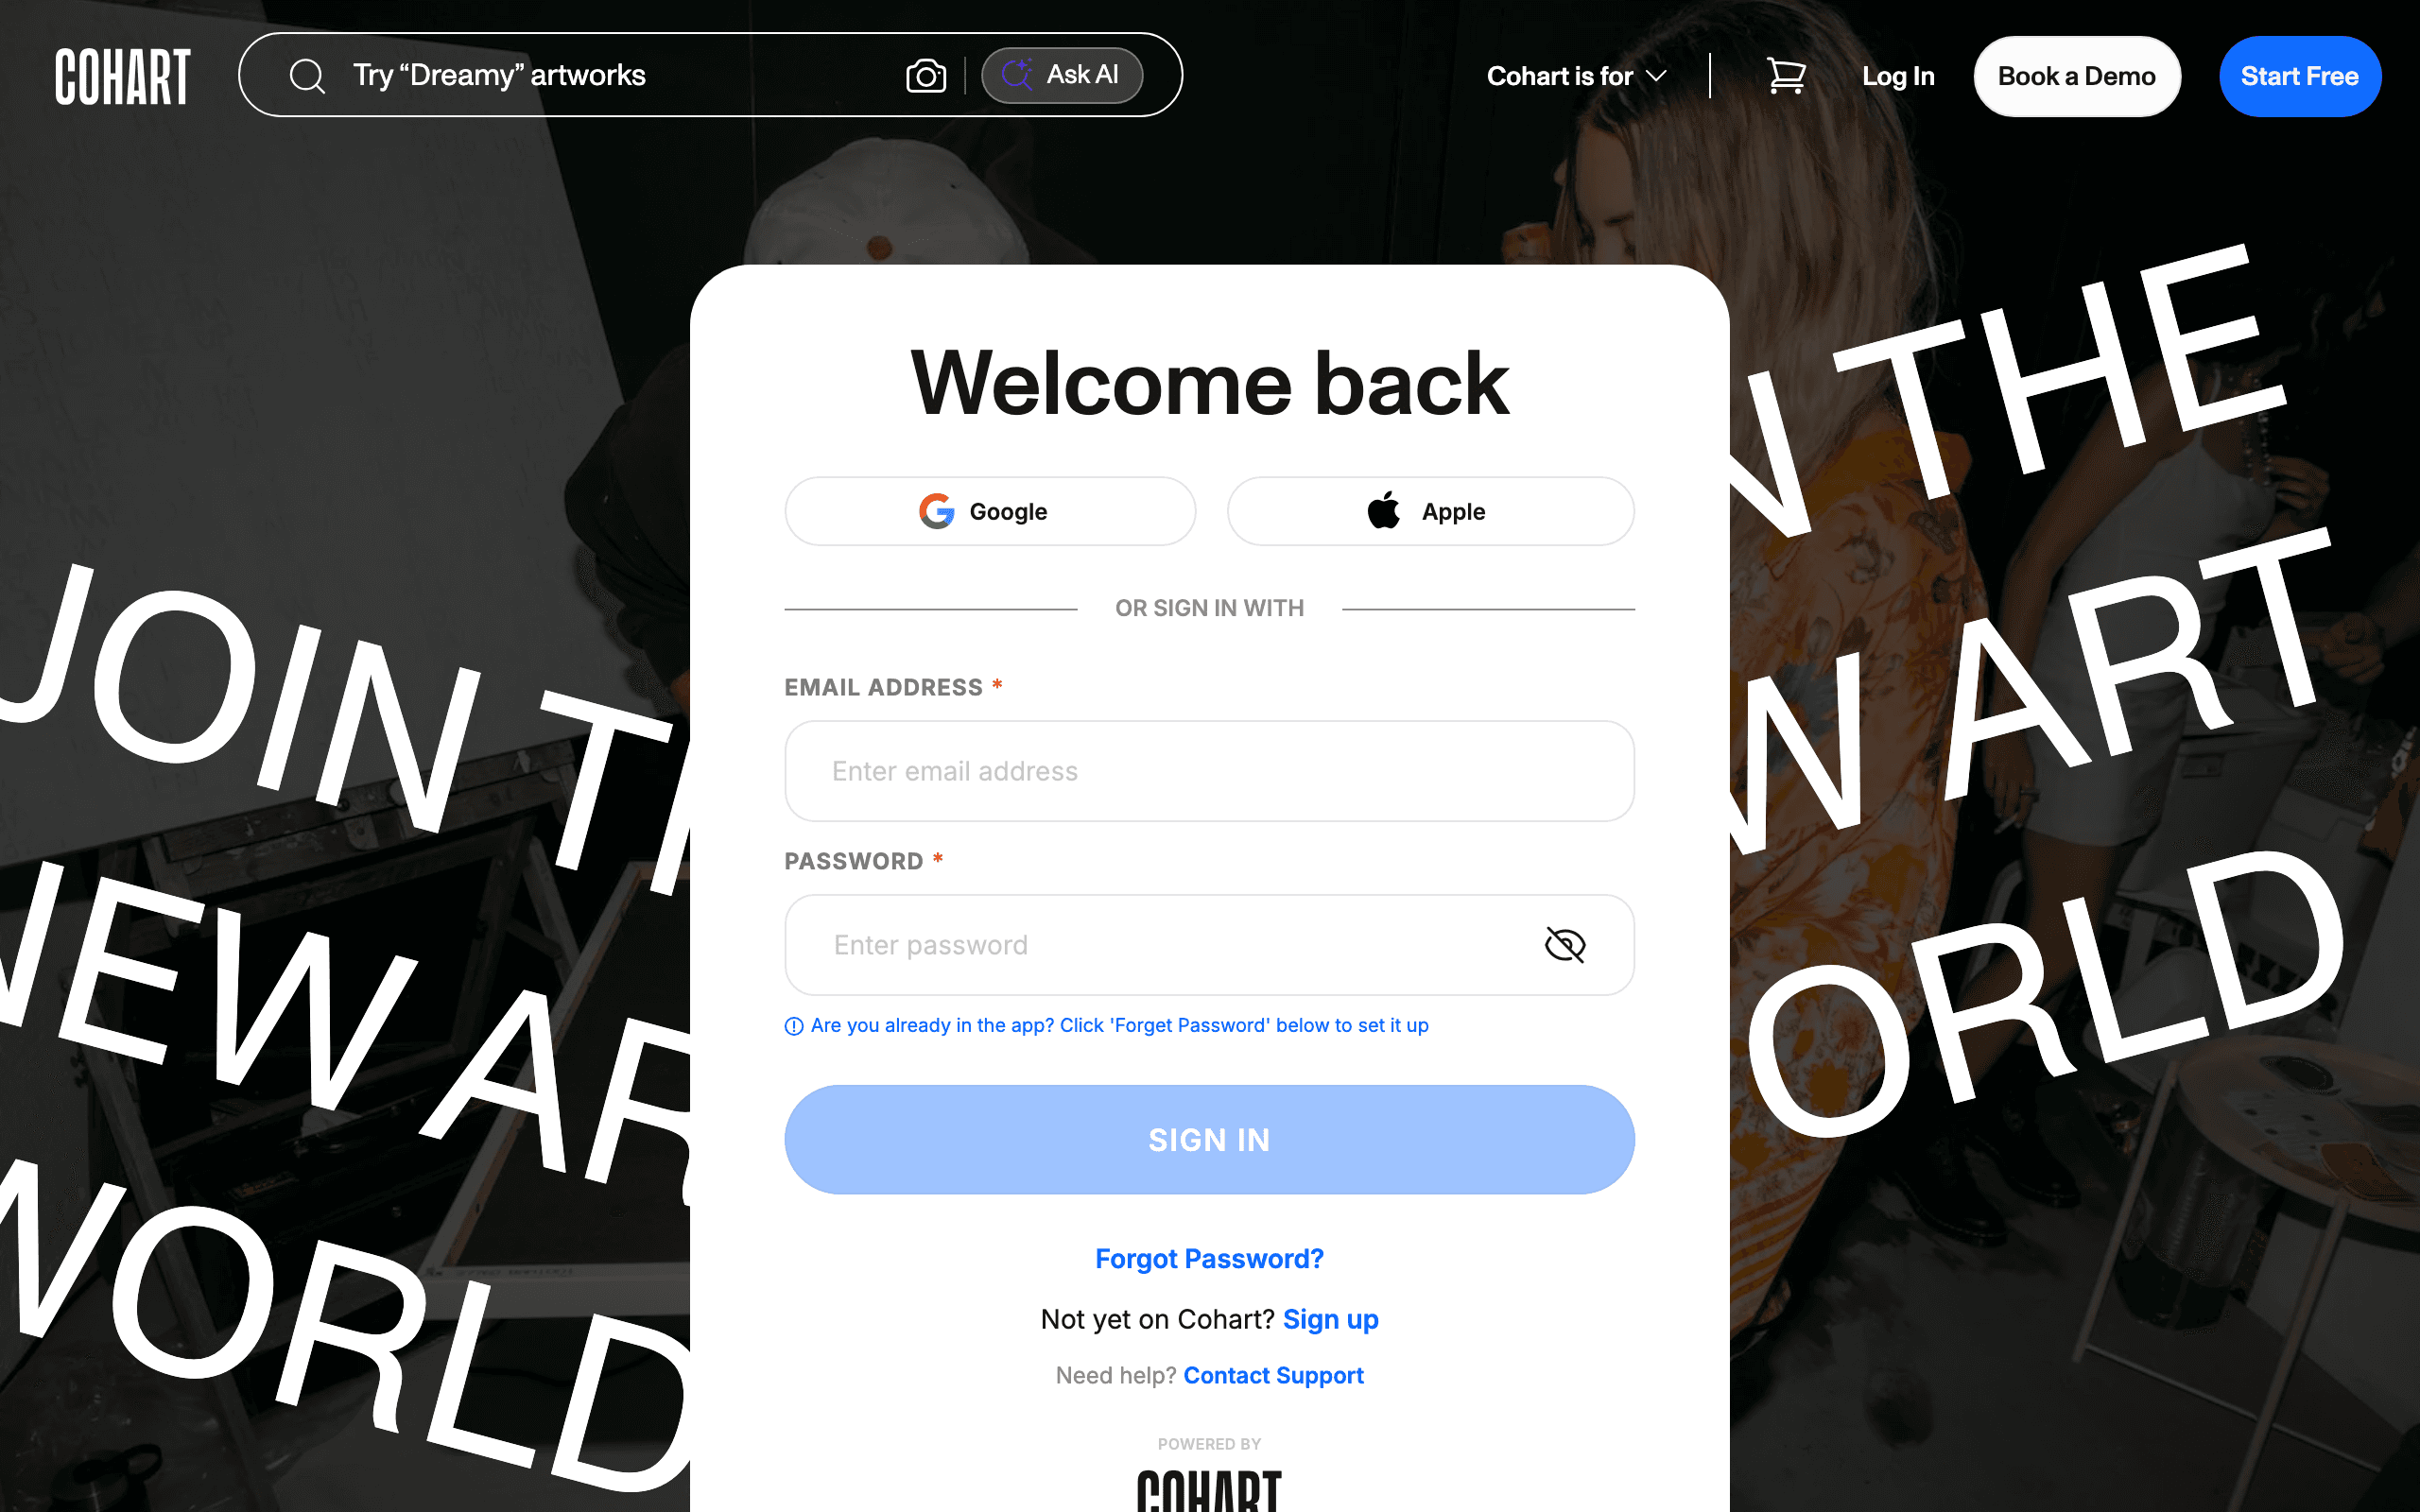
1. Sign in to Cohart
Sign in with your email address and password, or use Google or Apple.
2. Open Contact Management
In the left sidebar, click Contact Management. The Contacts page opens with your contact list.
3. Click Add contact
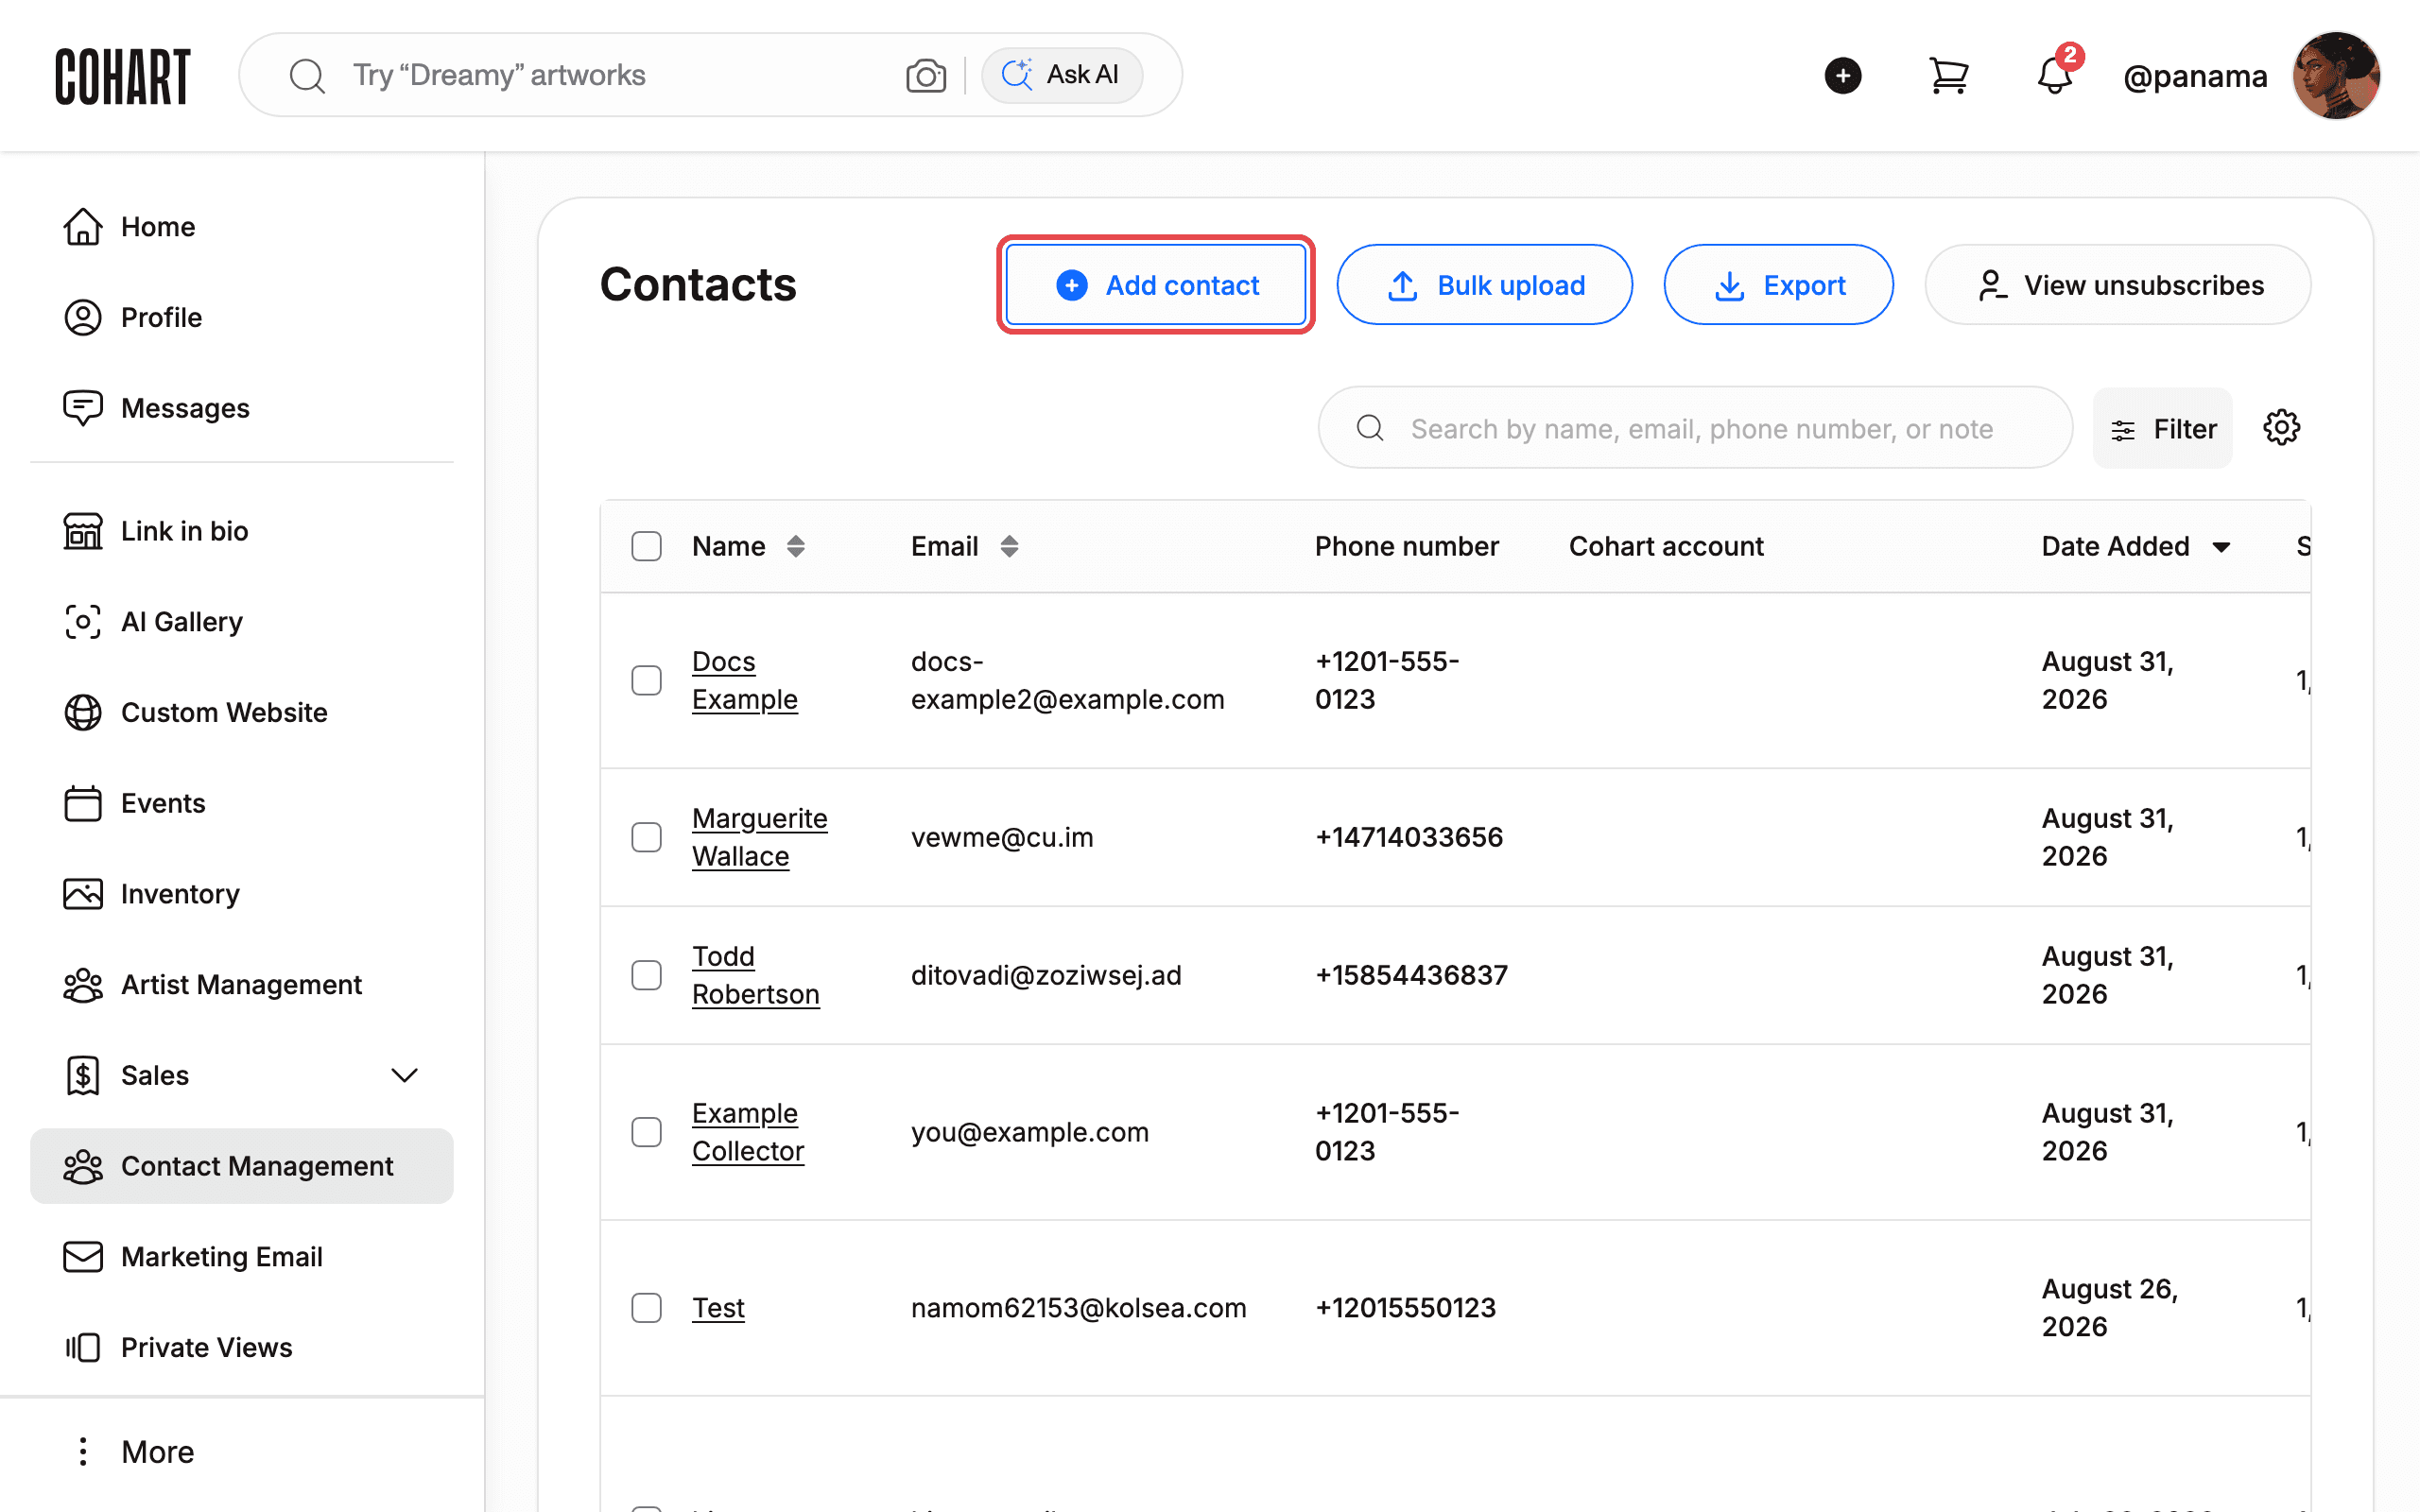
Click Add contact. The Add a Contact panel opens on the right.
4. Fill in the name
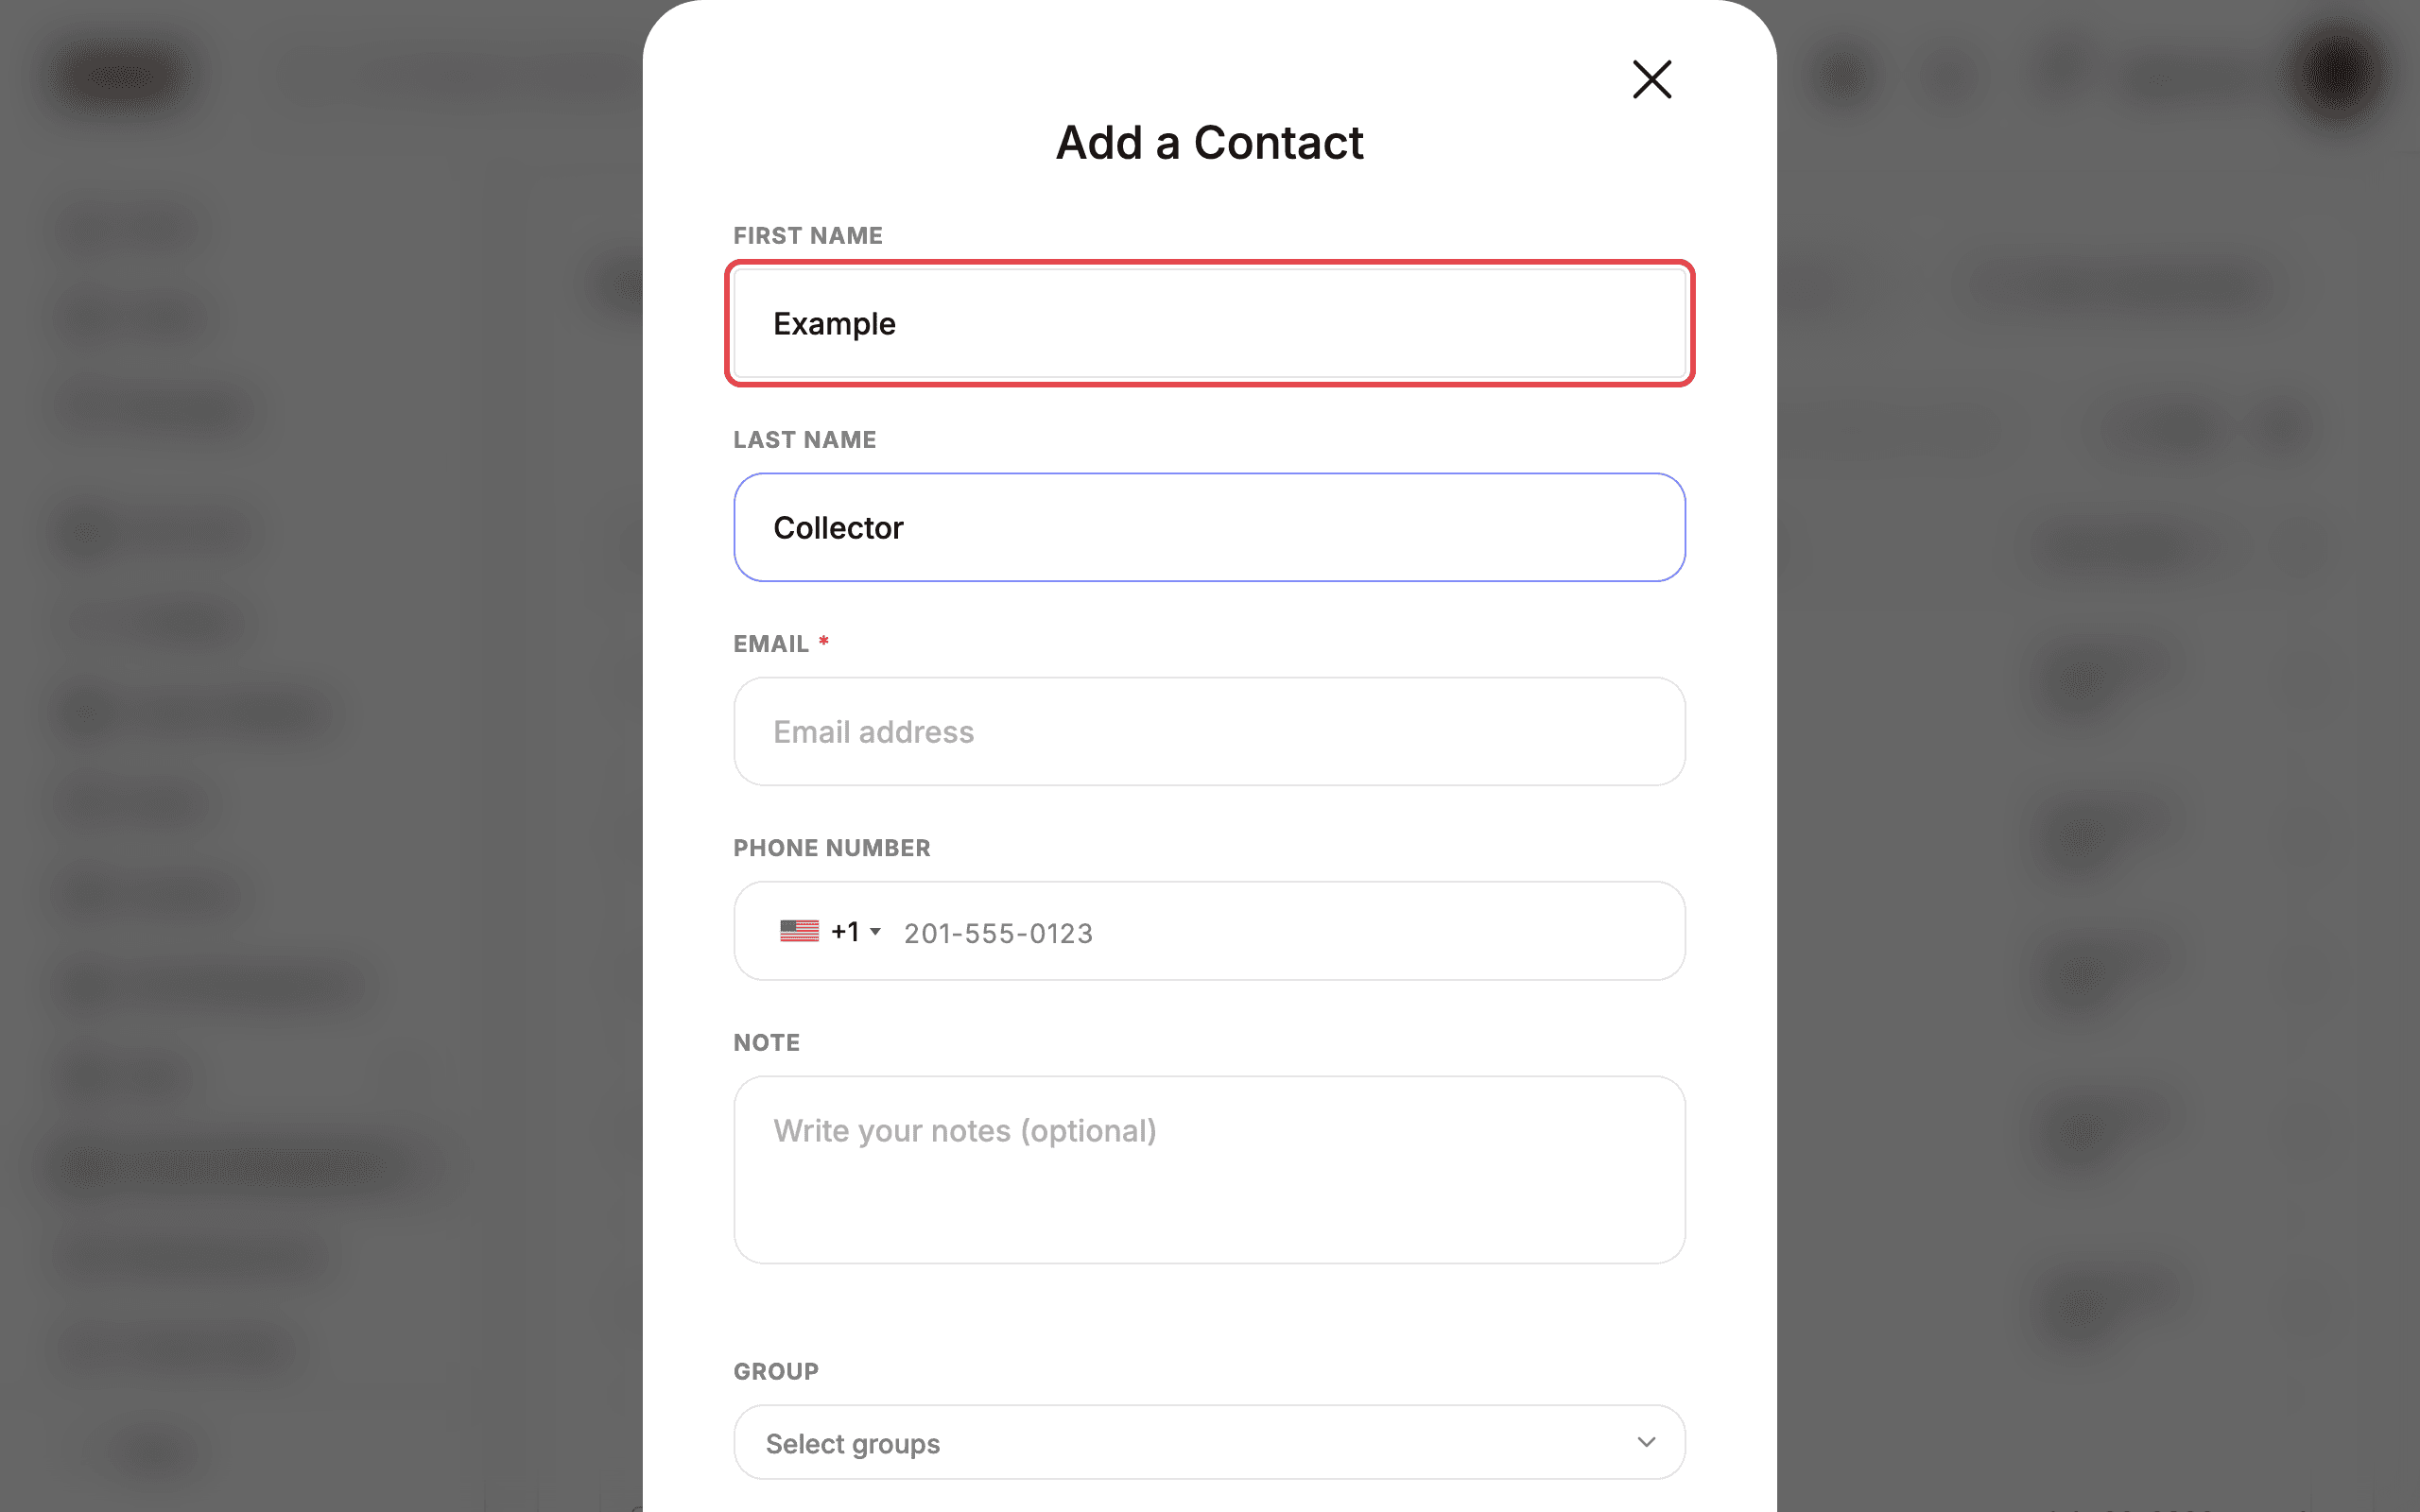
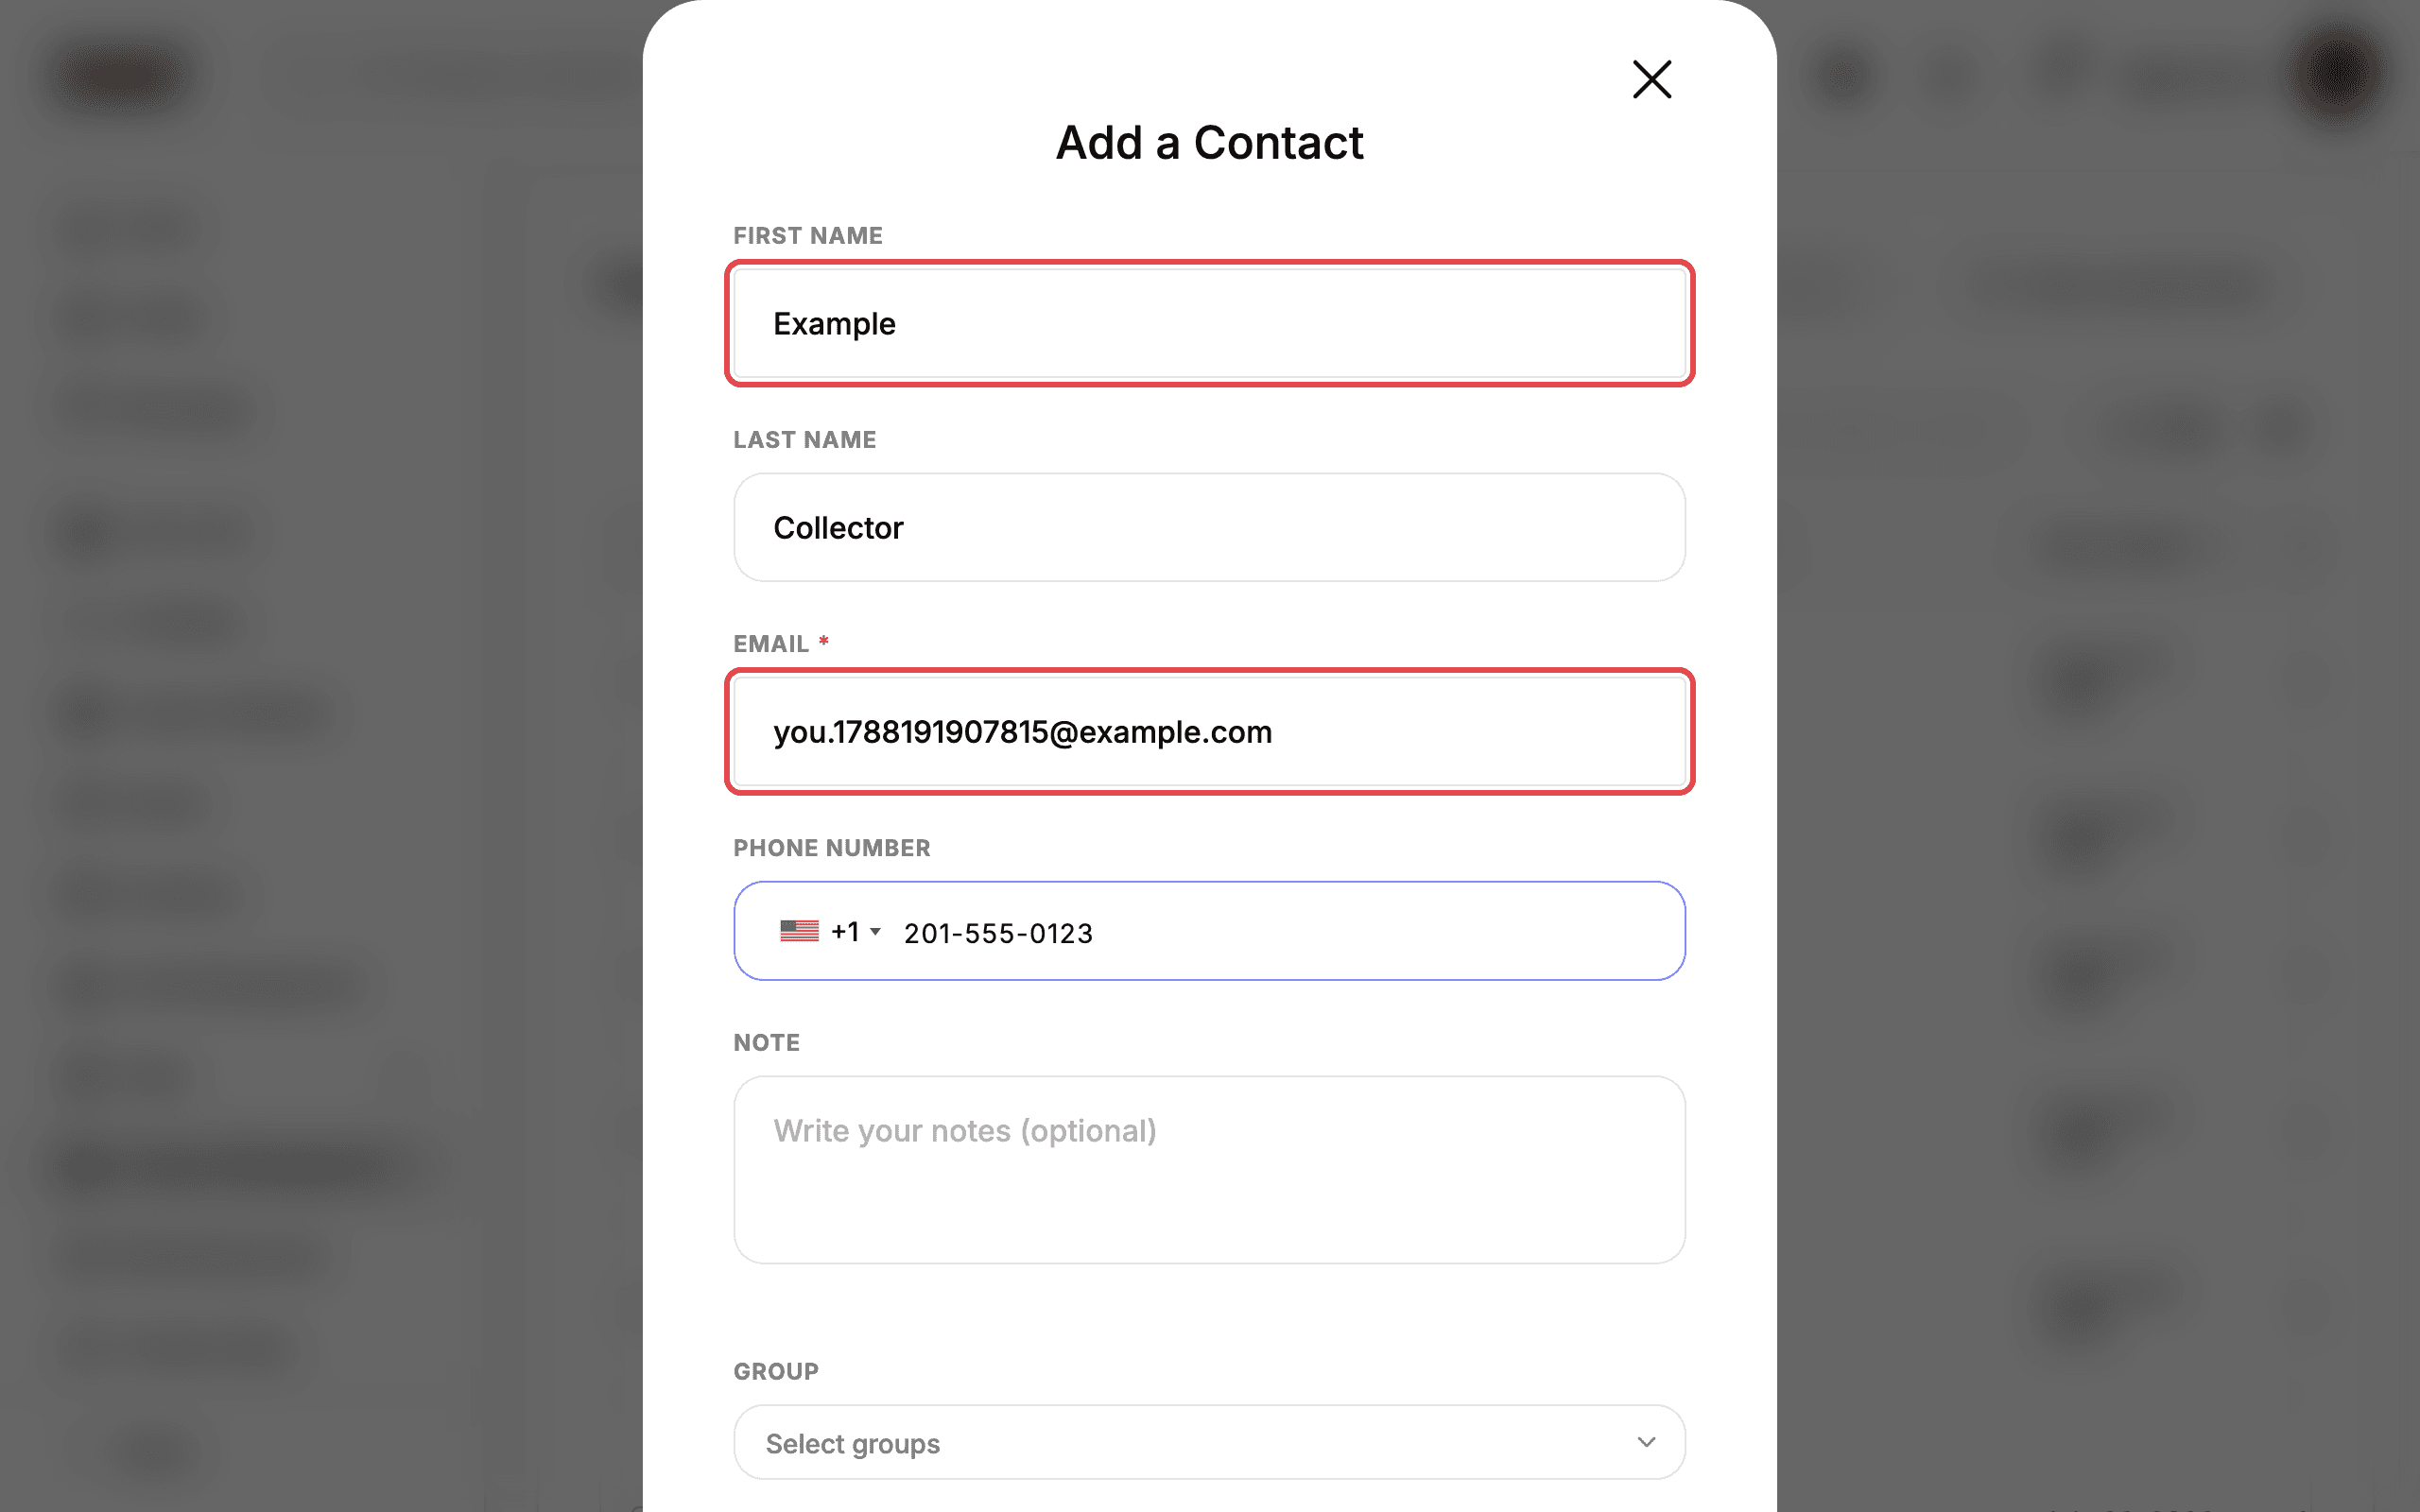
Type the contact’s first name in FIRST NAME and last name in LAST NAME.
5. Fill in the email and phone number
Type the contact’s email in EMAIL *. This is the only required field. Optionally type a phone number in PHONE NUMBER (the +1 country code is already selected).
6. Assign groups
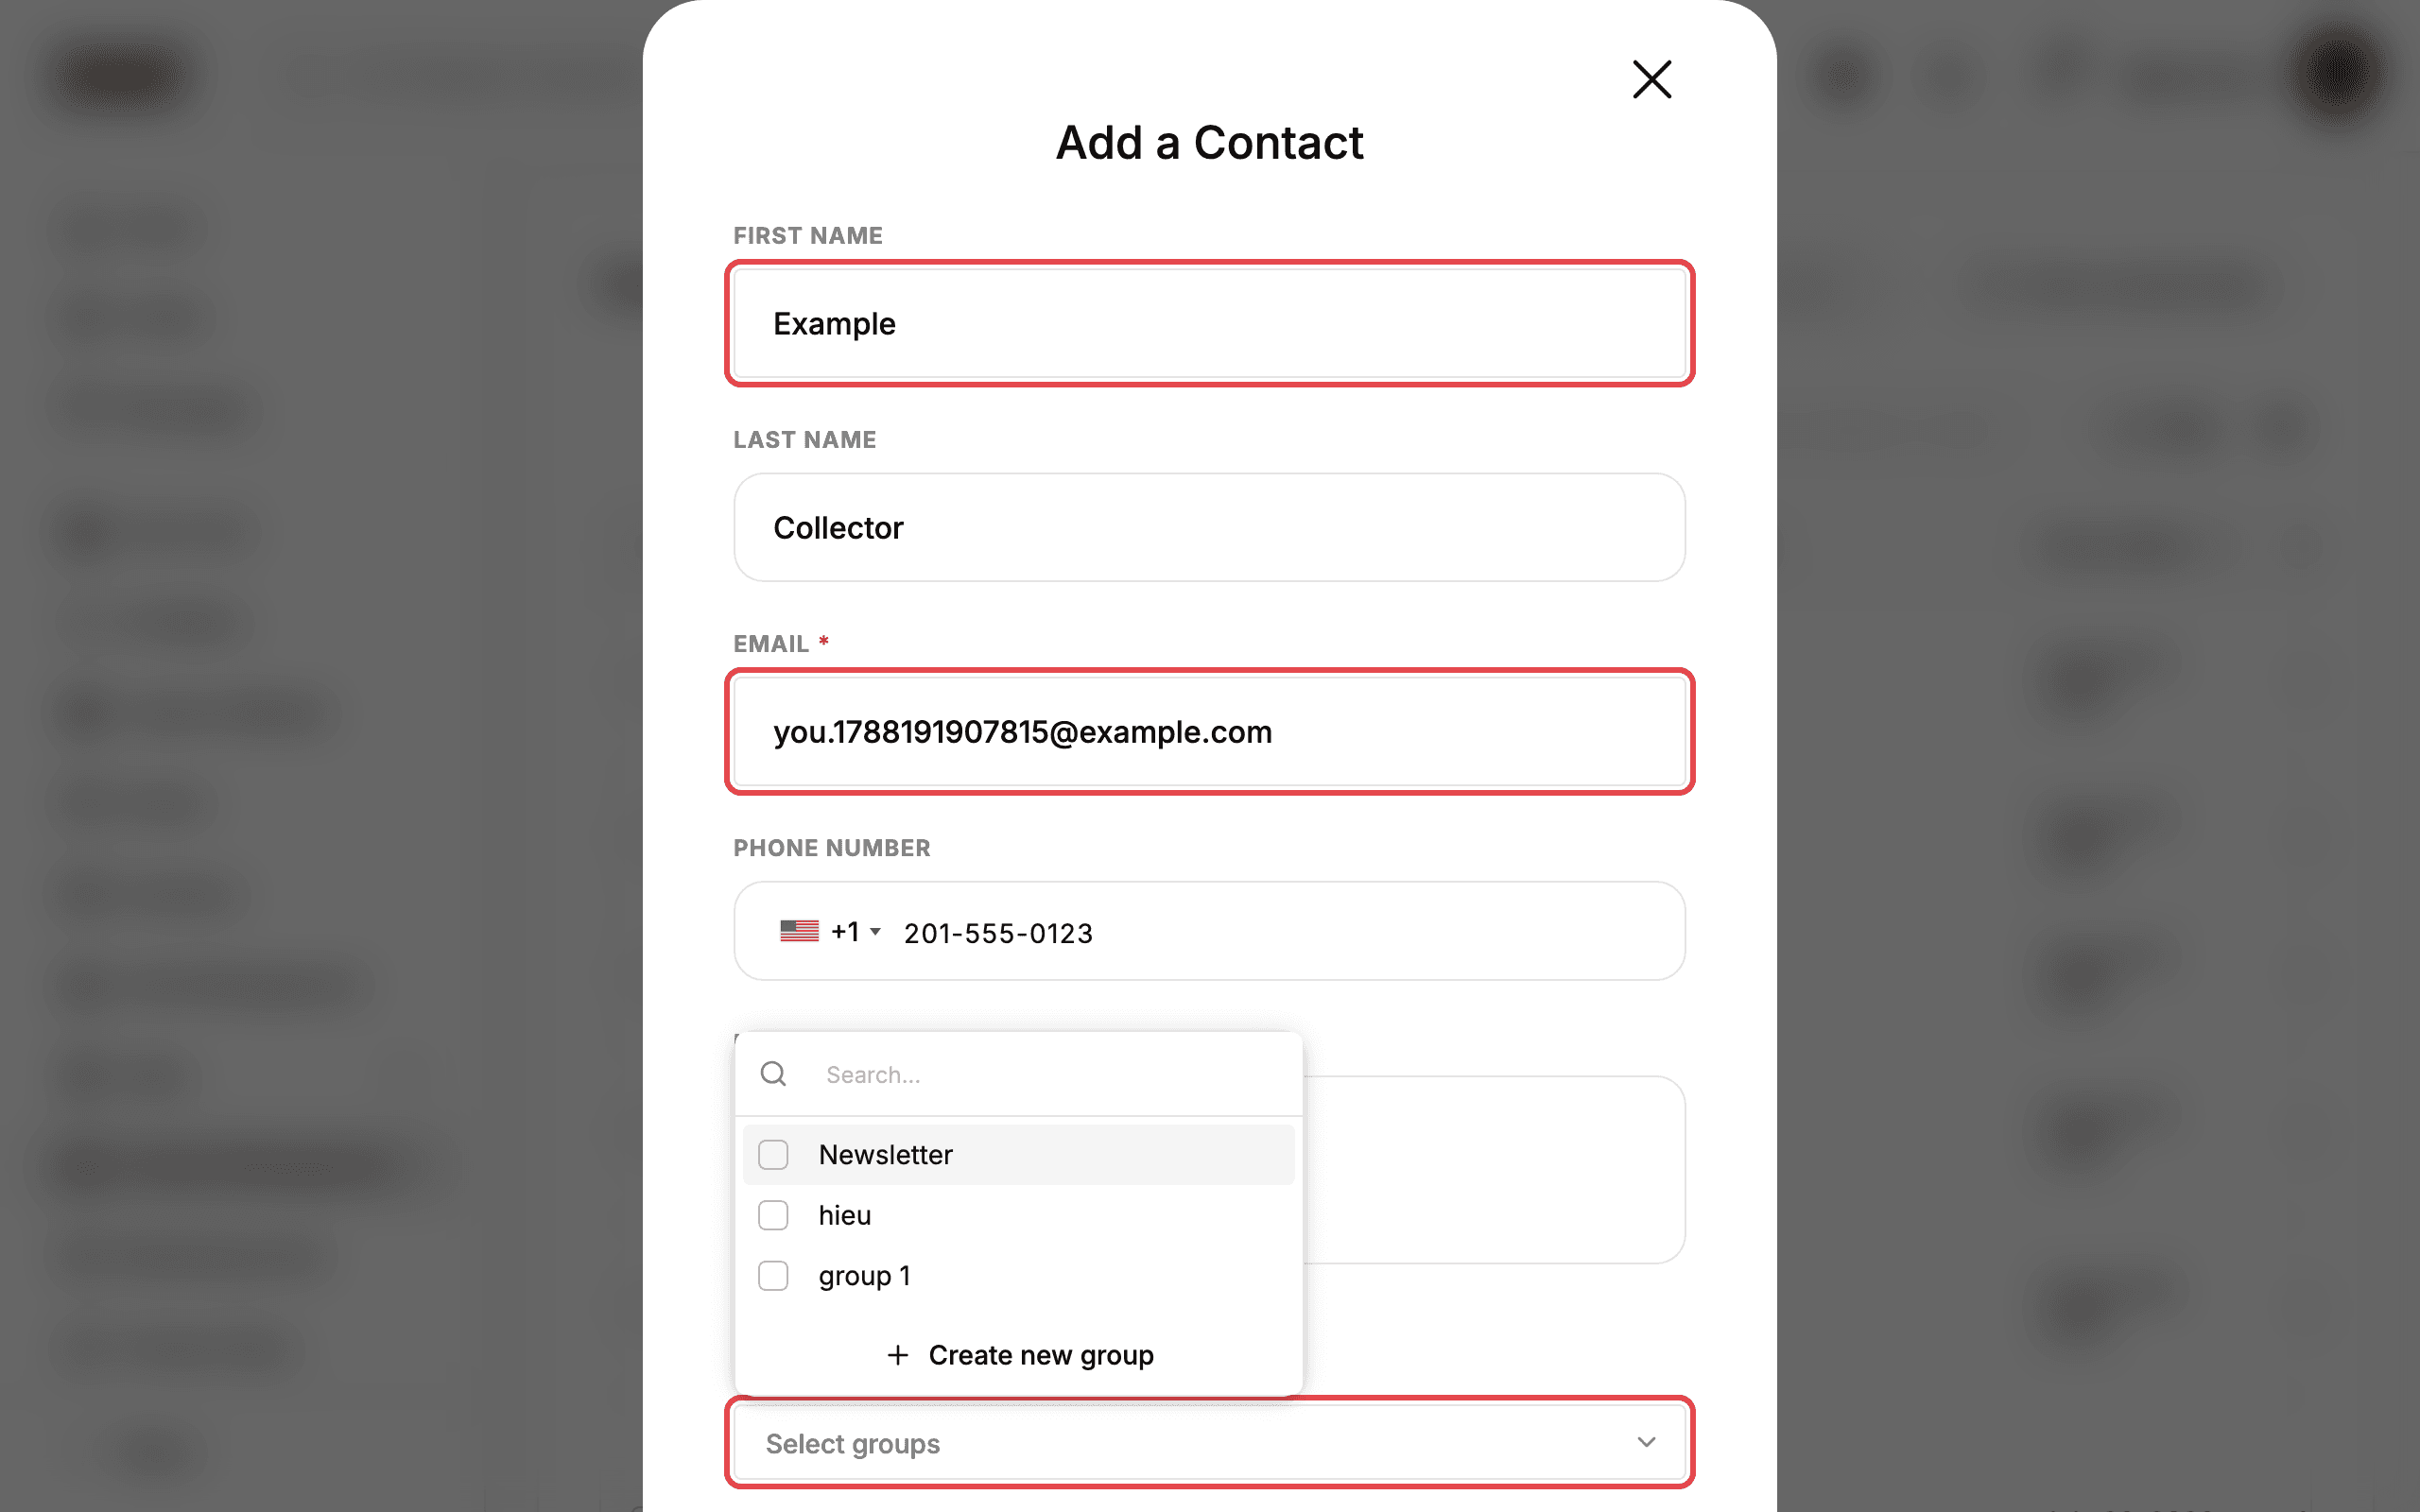
Optional: click Select groups and check one or more groups, for example a newsletter list. The groups shown are the ones created in your account.
7. Add a note and save
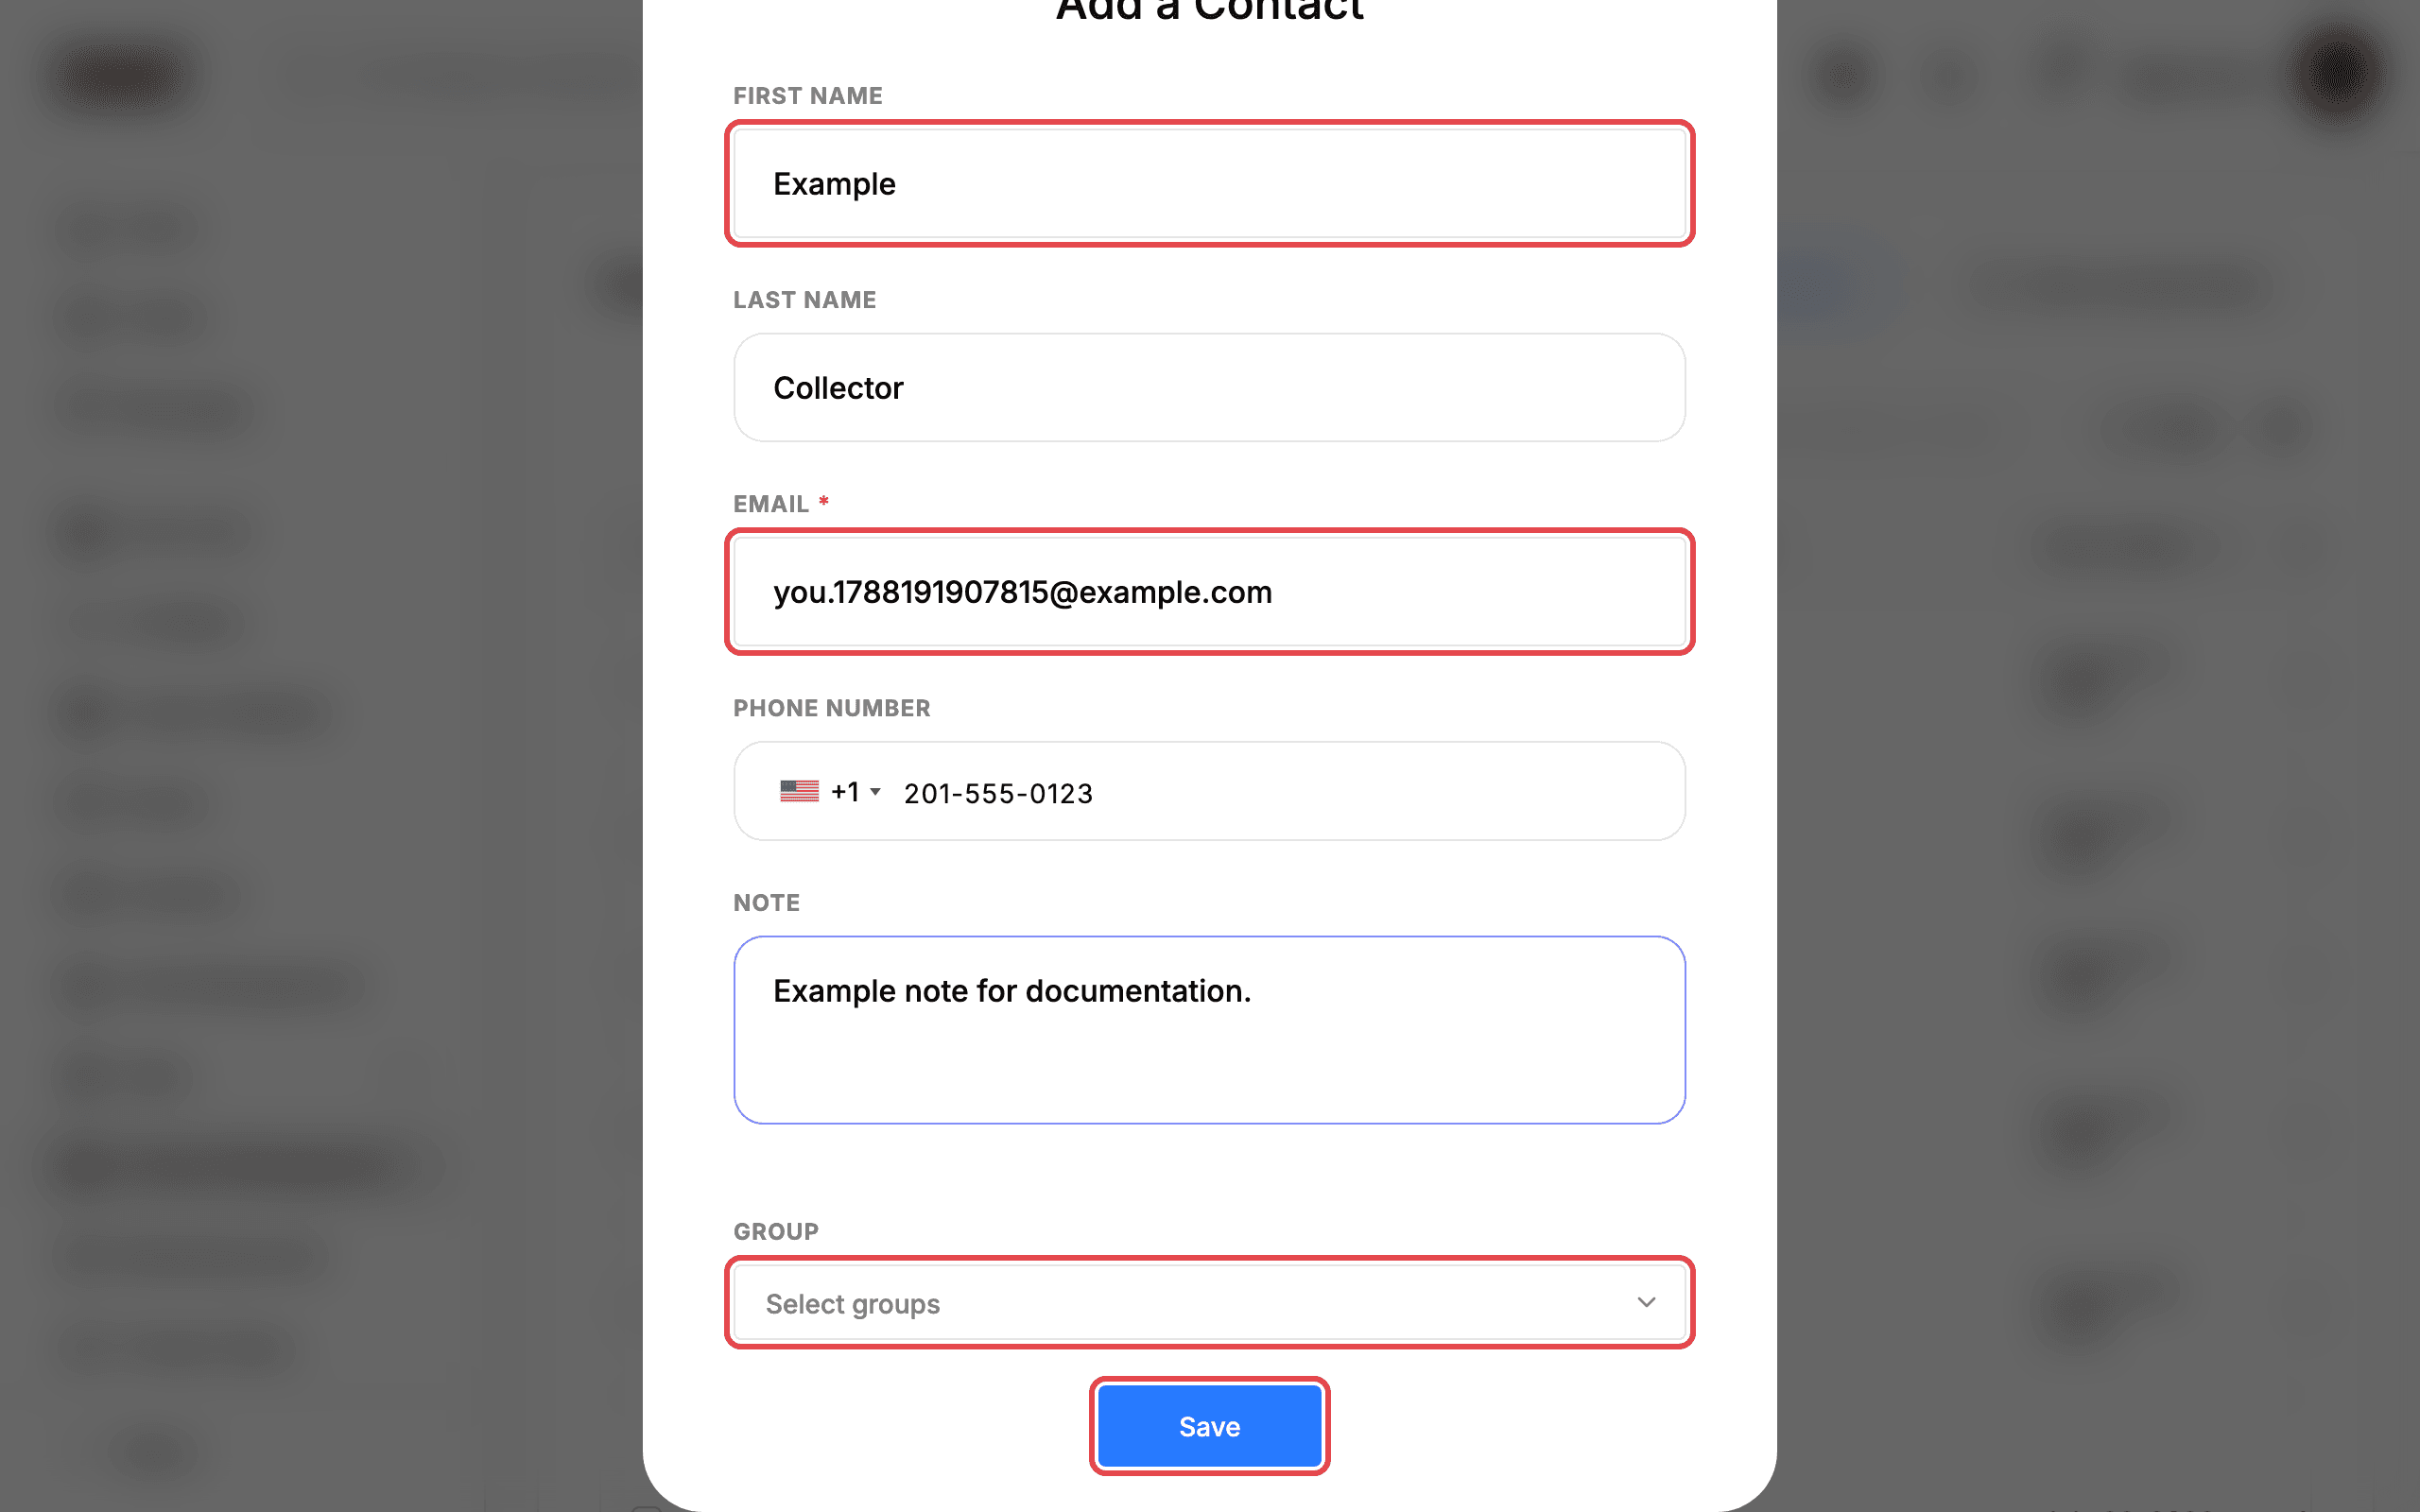
Optional: type any details in NOTE, then click Save.
8. Confirm the contact was created
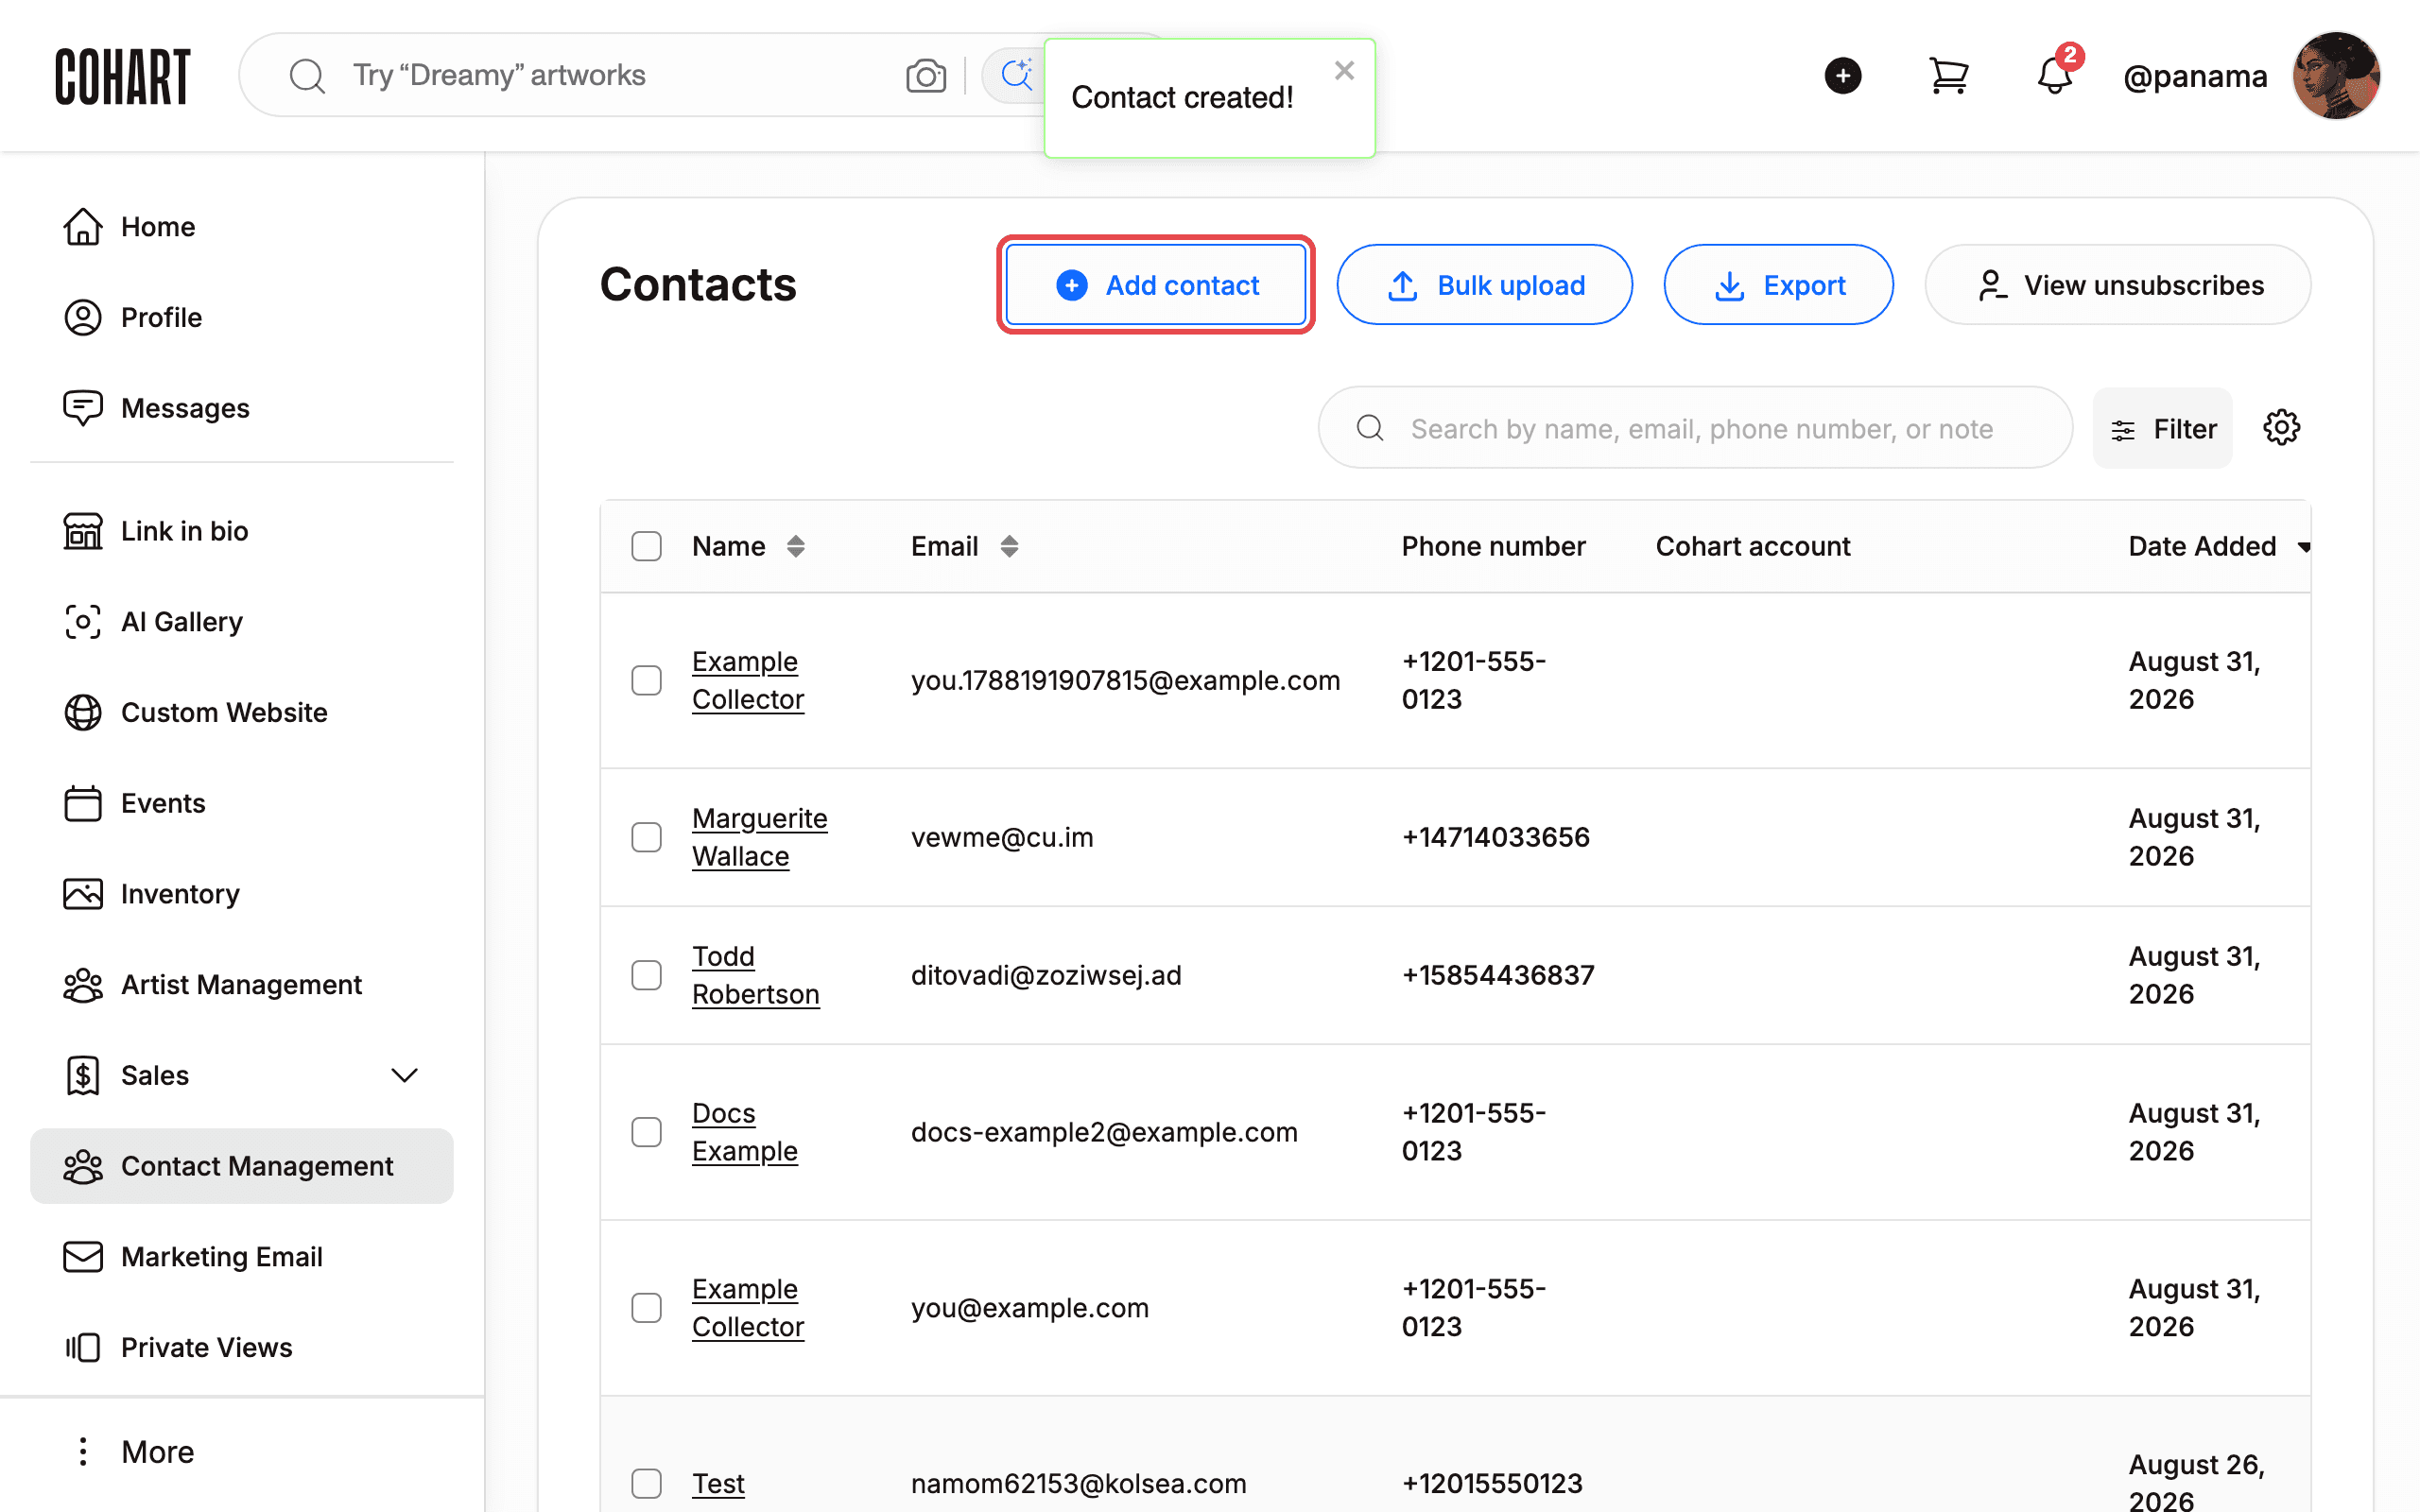
A “Contact created!” confirmation appears and the panel closes.
9. Find the contact in your list
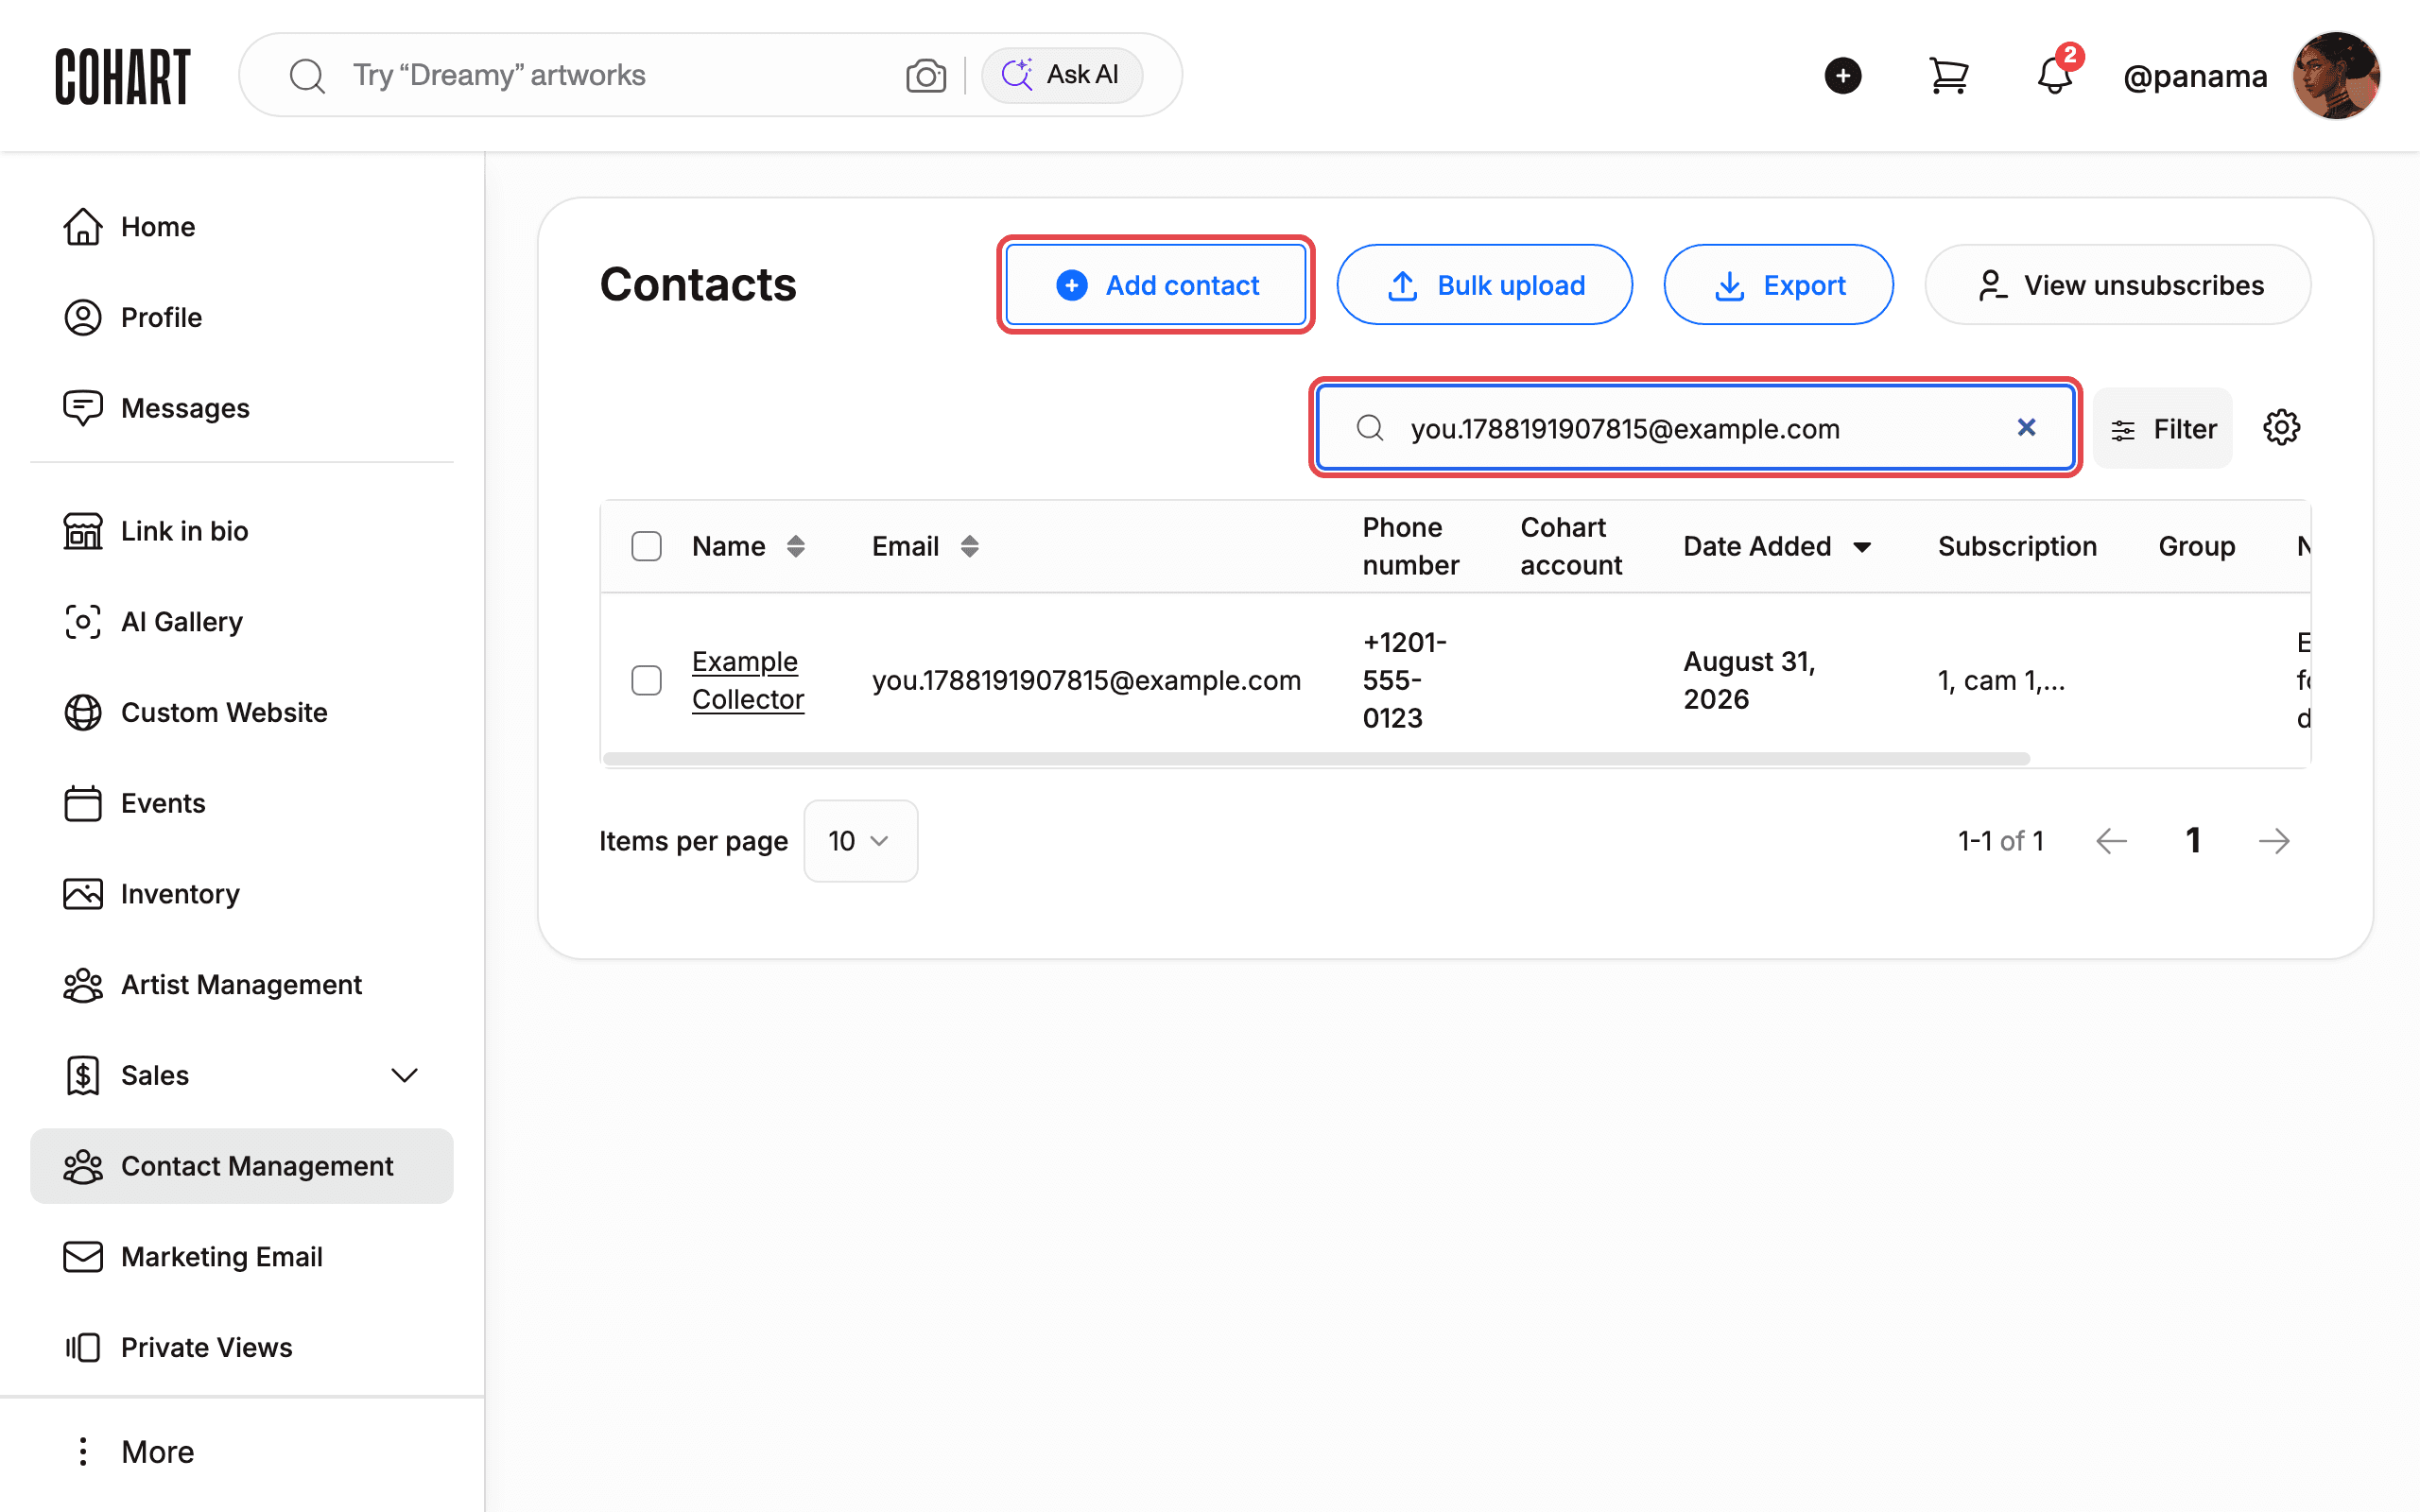
Use the search box (it matches name, email, phone number, or note) to look up the contact by email. The new contact appears with its name, email, phone number, date added, groups, and note.
10. Import many contacts with Bulk upload
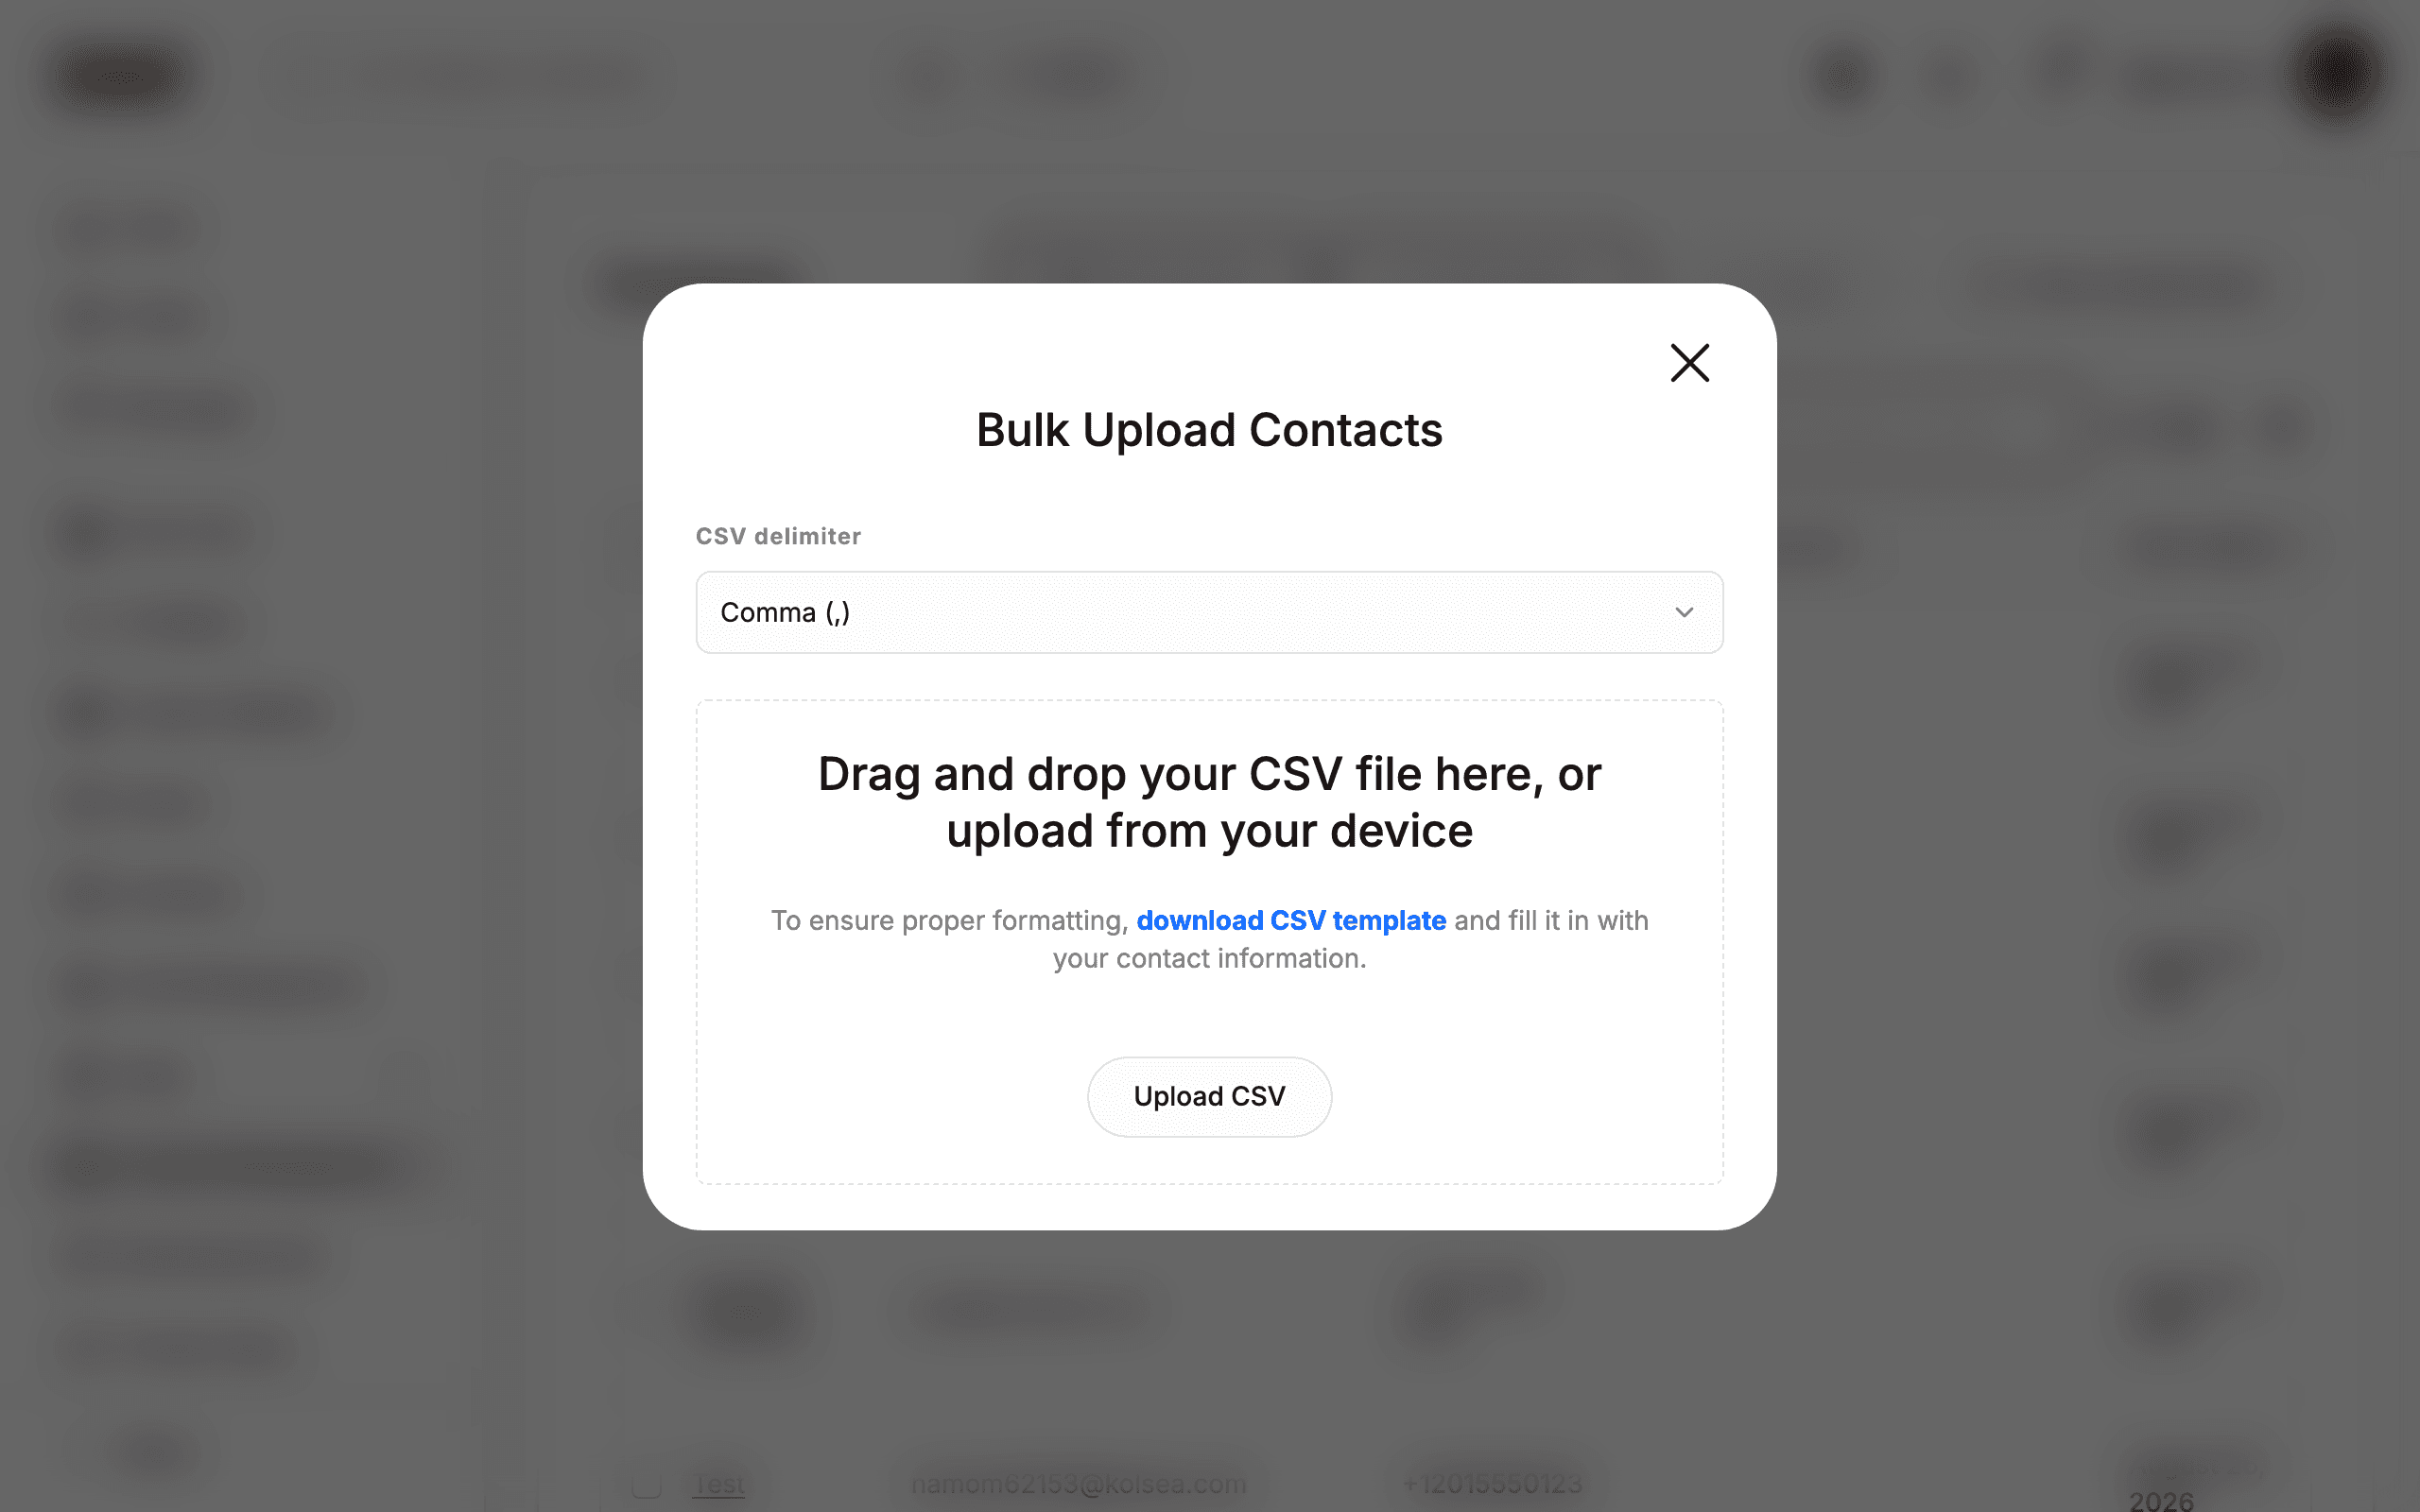
You can also add many contacts at once: on the Contacts page, click Bulk upload. In the Bulk Upload Contacts panel, choose the CSV delimiter that matches your file (for example, Comma (,)). Click Upload CSV and select your file.
Tips
- Only EMAIL is required. You can save a contact with just an email address and add the rest later.
- Phone numbers use the +1 prefix by default. If your contact is outside the US, check the country code before saving.
- Groups are account-specific. The Select groups dropdown only lists groups that already exist in your account.
- Use the Export button on the Contacts page to download your contacts.
Troubleshooting
- “A contact with this email already exists.” → each contact needs a unique email address → search for the email first to check whether the contact is already in your list.
- New contact doesn’t appear in the list → the list may be long → use the search box (it matches name, email, phone number, or note) to look it up by email.
- Cookie banner covers the page → it blocks clicks when you first open the site → click Accept all or Reject all to dismiss it.