How to Prepare Shipping Products
Overview
Preparing shipping products is the fulfilment step that turns a paid order into a parcel ready for drop-off. It exists because orders fulfilled through the platform’s shipping come with a ready-made postage label you only need to print and attach. This feature is for artists and galleries shipping sold work to buyers. Everything starts on the Invoices page, where a ready-to-ship order shows Order Status as Paid together with a Shipping label button on its card. Clicking it downloads a one-page USPS postage label as a PDF with no confirmation step, showing the return and delivery addresses, ship date, weight, and tracking barcode. The invoice also carries a Next step banner spelling out the routine: print the label, attach it securely to the outside of the package, and drop it at the nearest USPS location. By the end of this guide your label will be printed and fixed to the package and the parcel ready for its USPS drop-off.
Before you start
- You need an artist or gallery seller account, since invoices live under Sales in the seller dashboard.
- You need a paid, shippable invoice: look for Order Status showing Paid plus a Shipping label button on the card, as described in How to Manage Invoices. Not every paid invoice qualifies — invoice-only orders, which opt out of platform-arranged shipping, show View without a label button.
- Have fulfilment supplies ready: a printer and PDF reader for the one-page label, the package itself, and tape or a pouch to fix the label securely to the outside.
- Effects to know: the button downloads the PDF immediately with no confirmation dialog, so check the printer first; always verify the return address, delivery address, ship date, weight, and tracking barcode on the printout, and note the label routes through USPS drop-off.
Steps
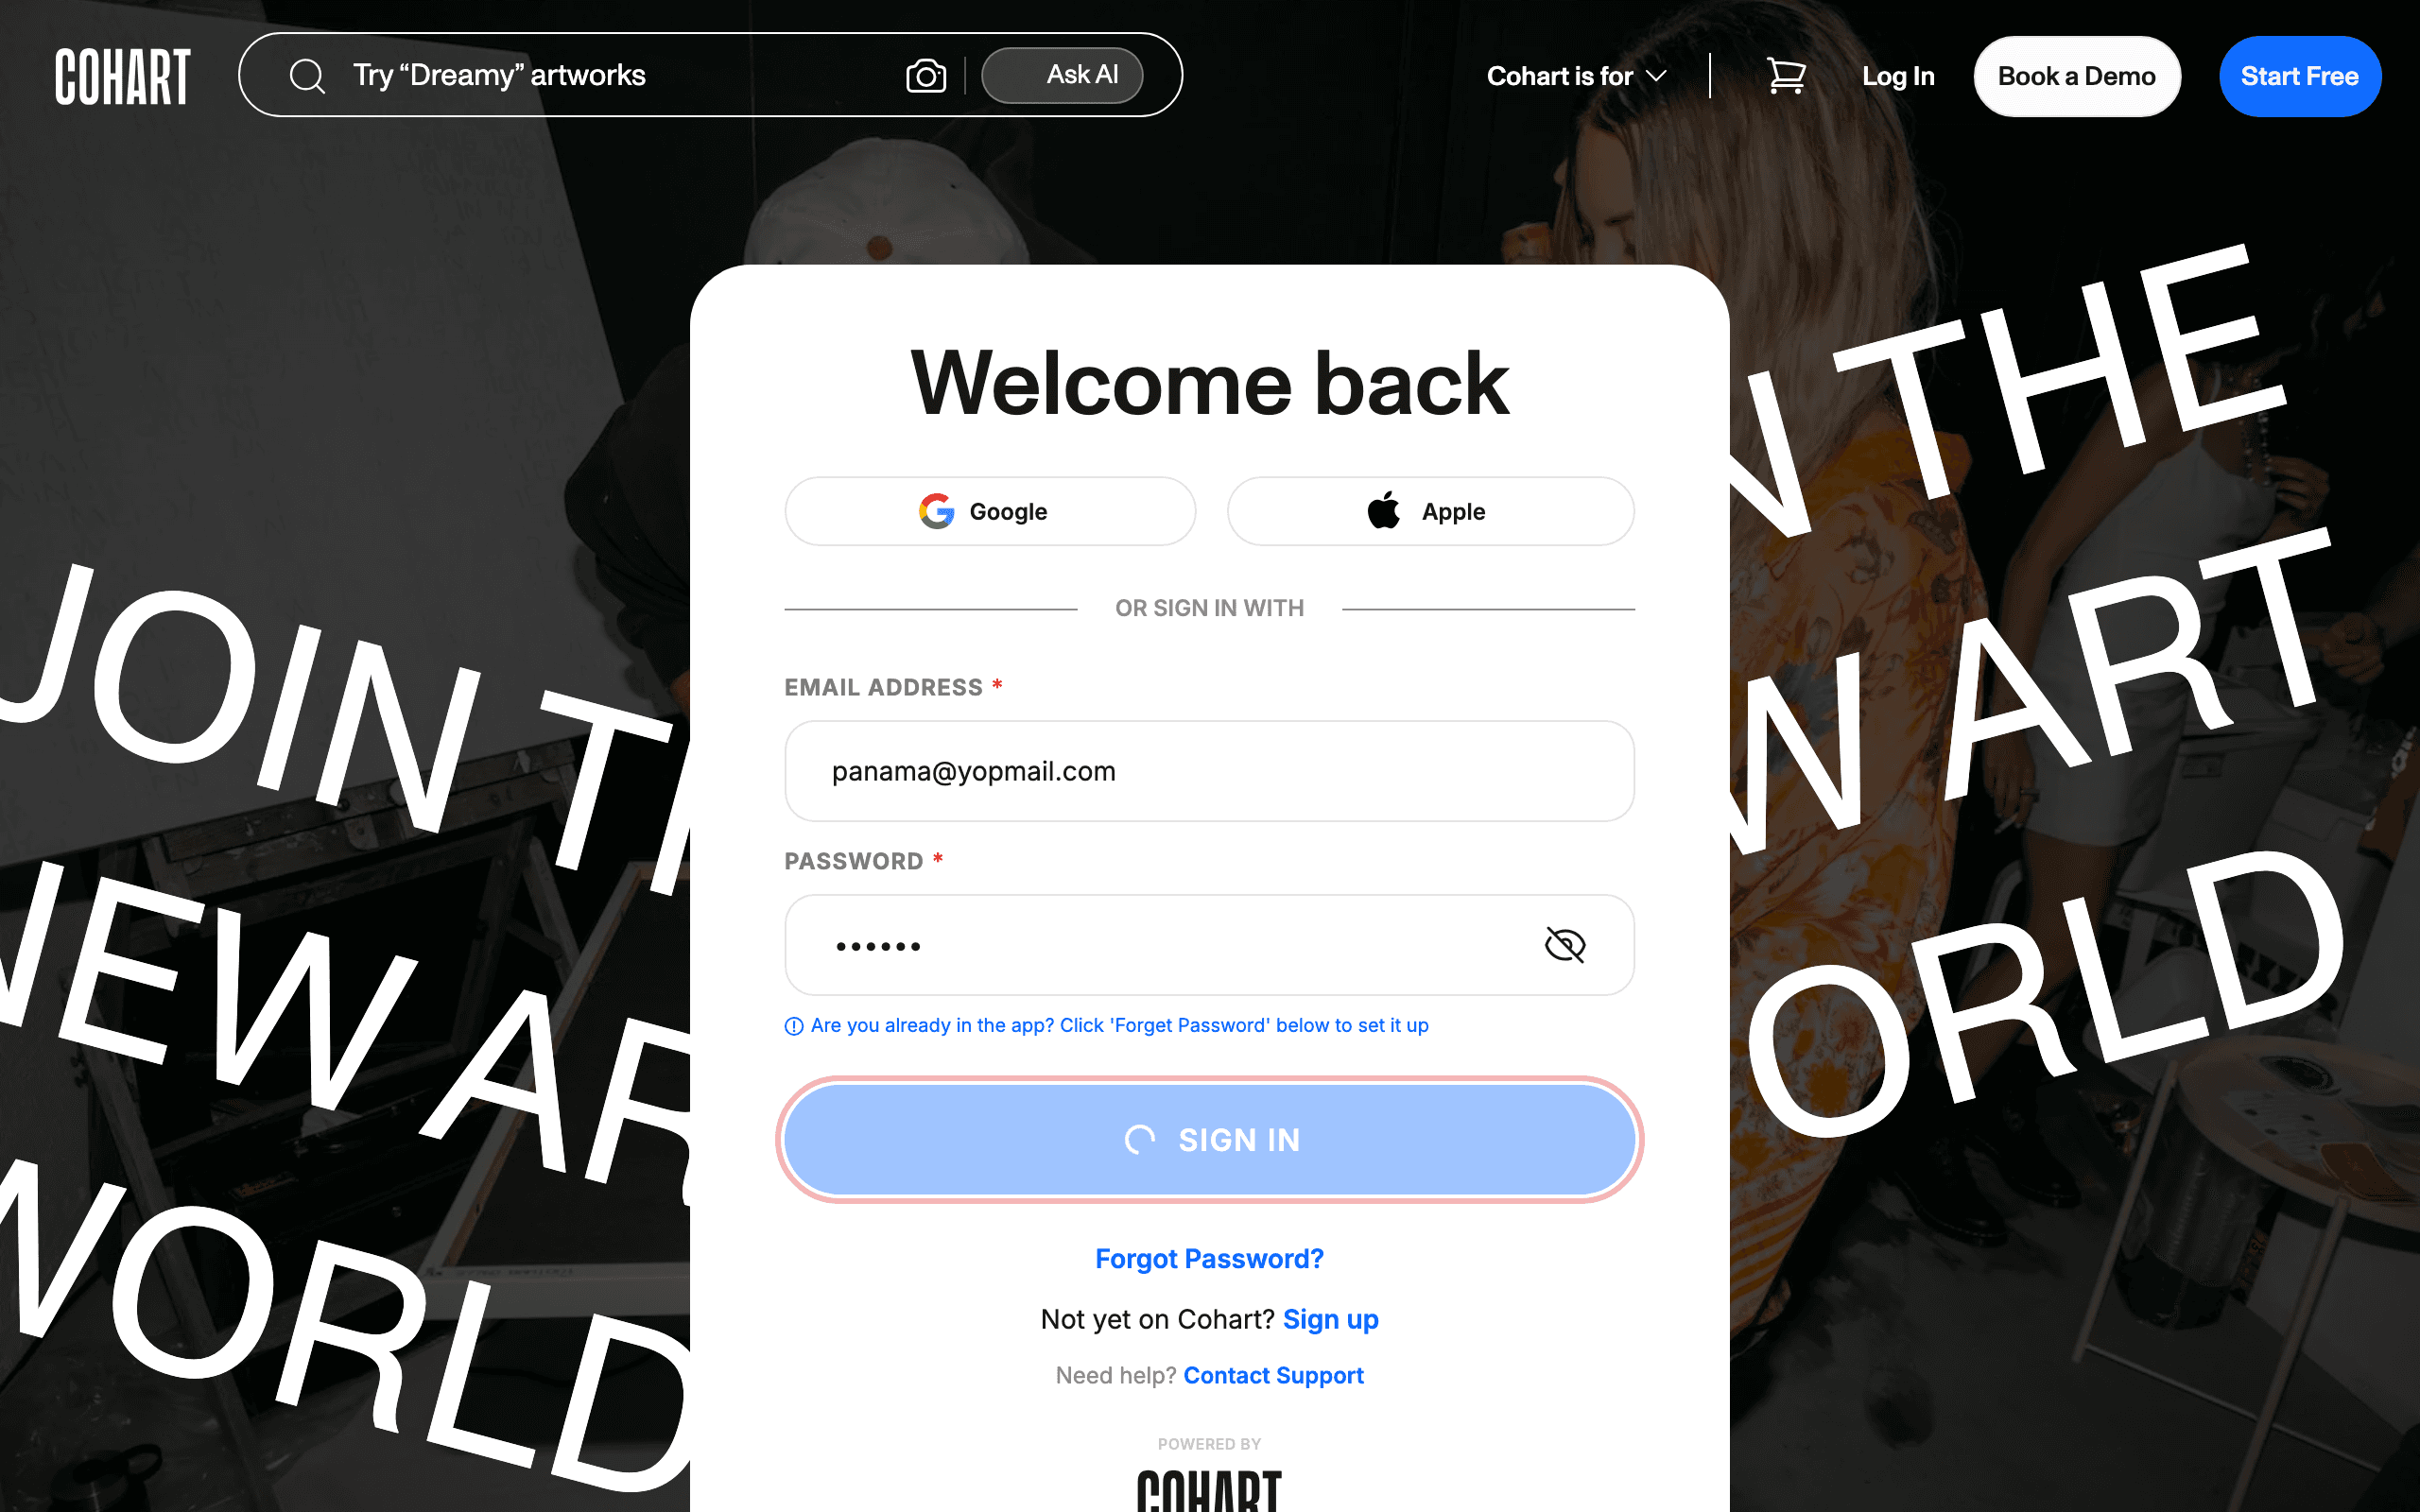
1. Sign in to Cohart
Sign in with your email address and password, or use Google or Apple.
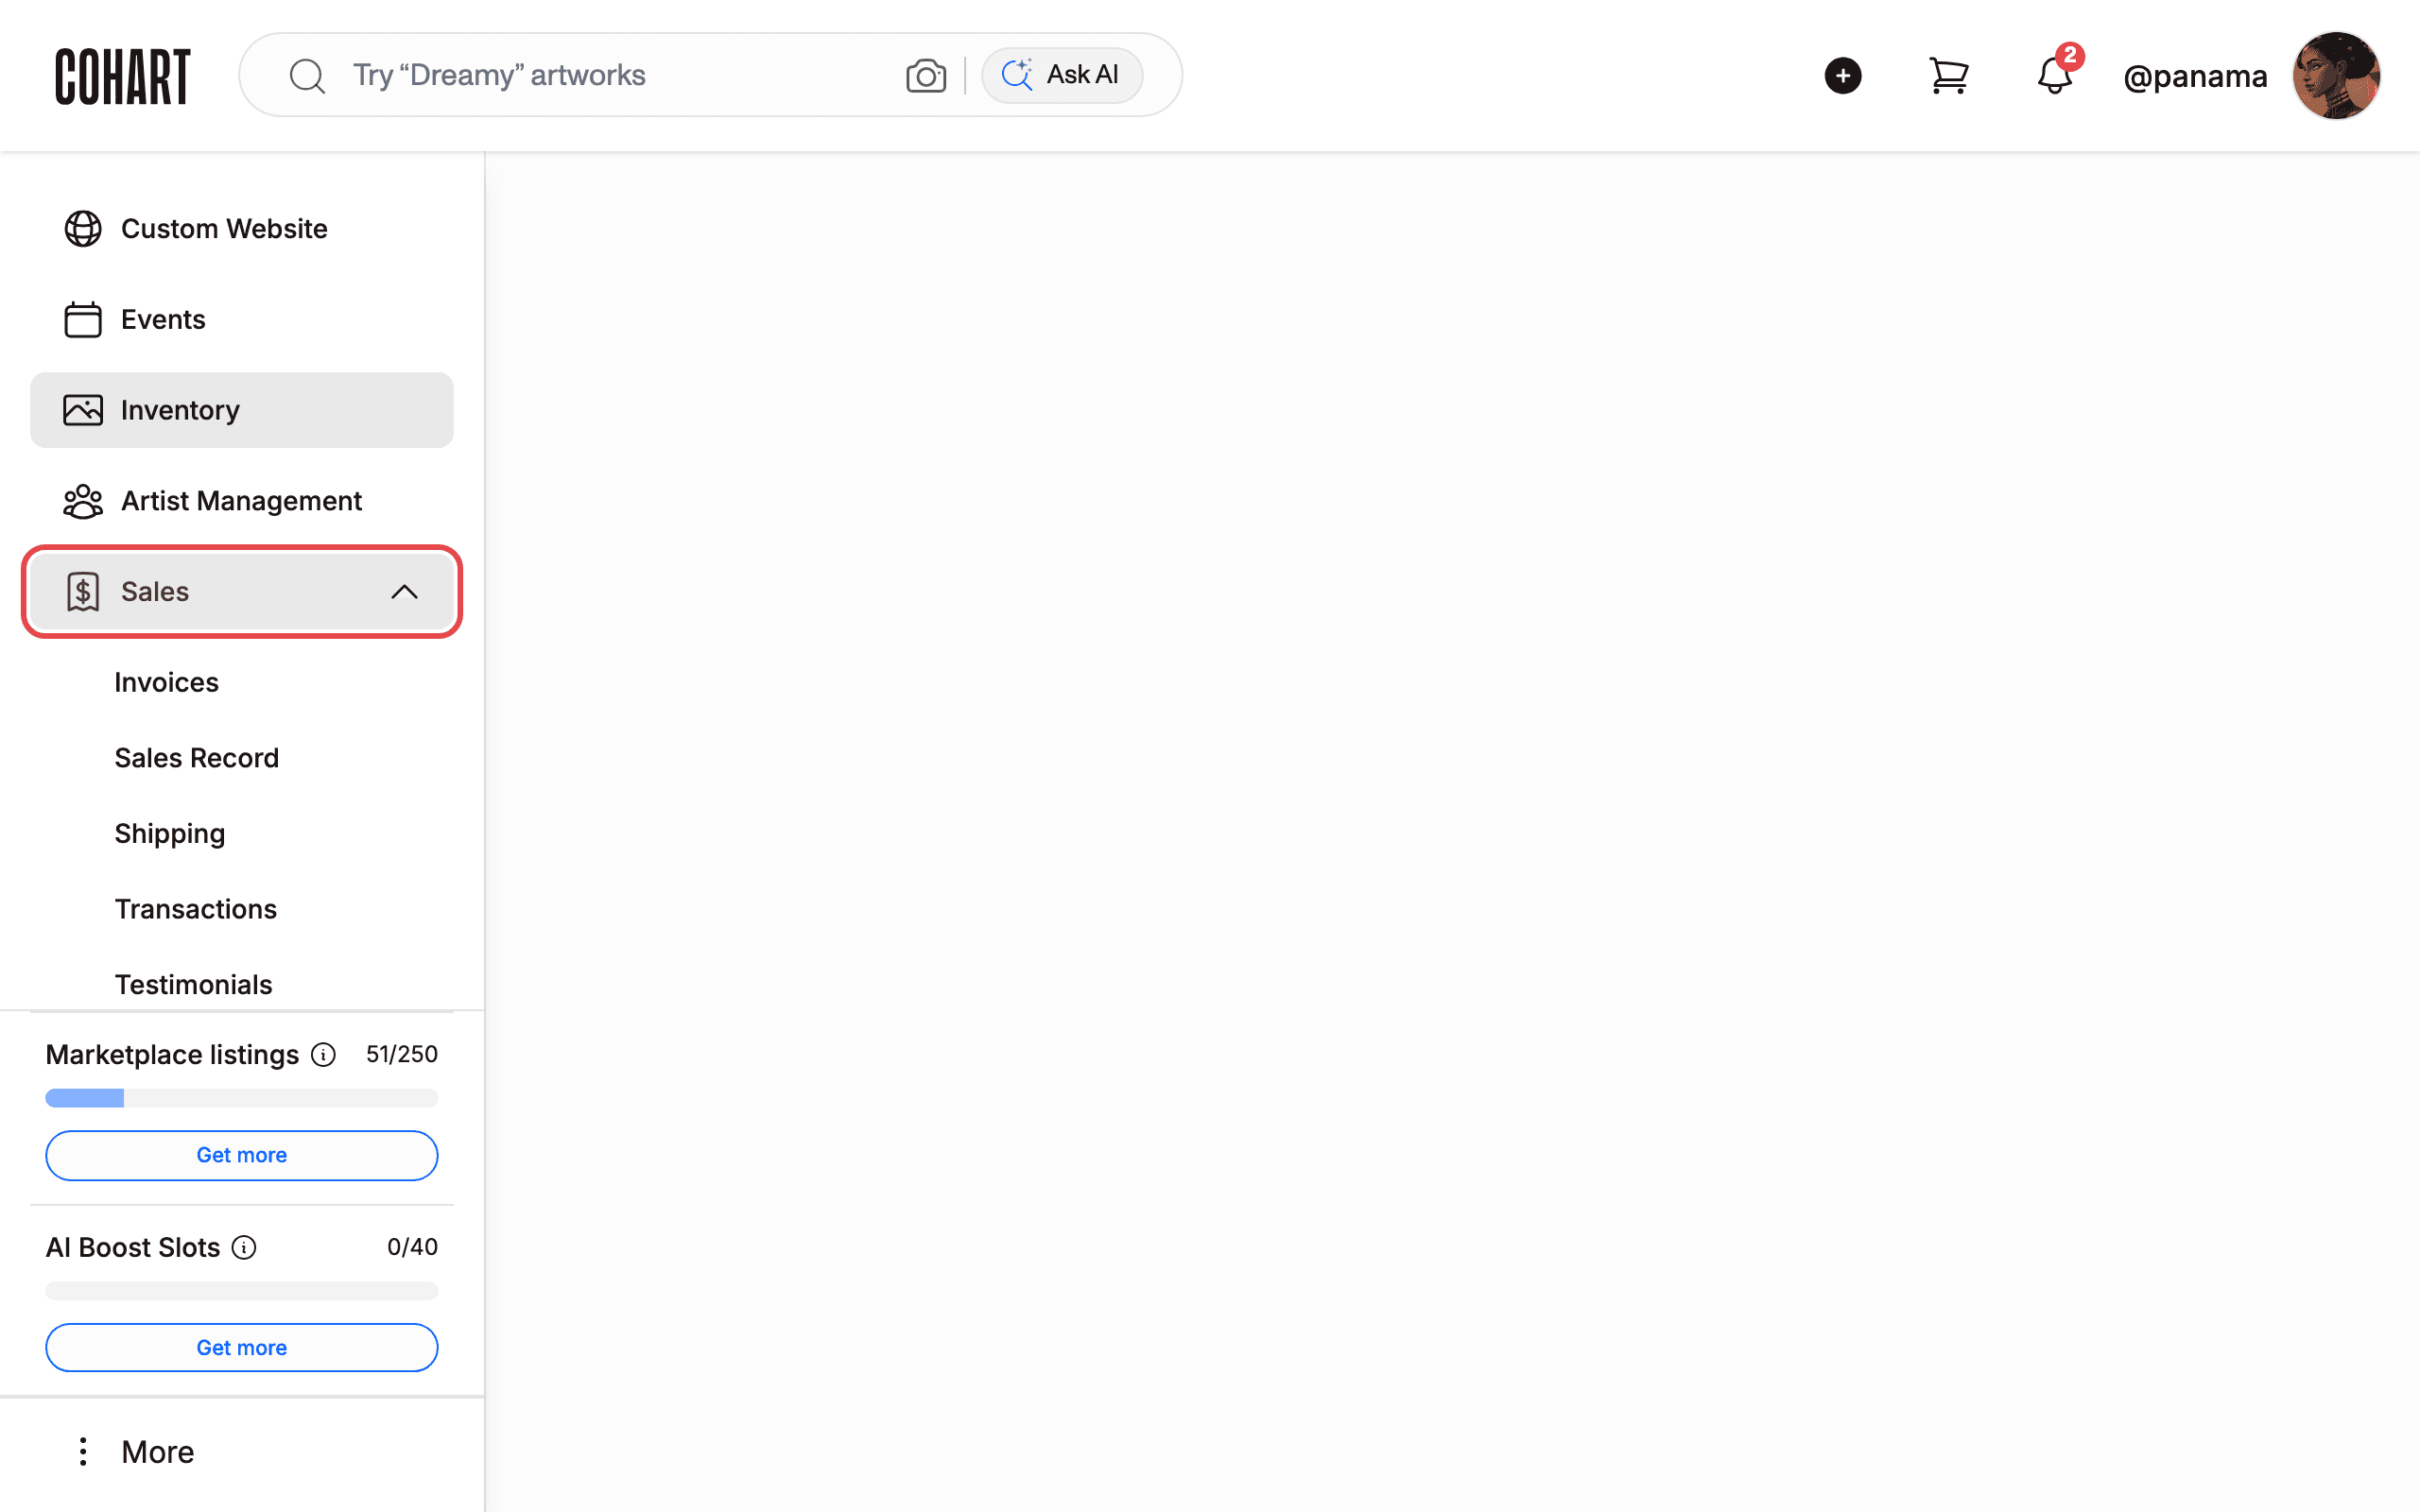
2. Open the Sales menu in the sidebar
After signing in, you land on the Inventory page. In the left sidebar, click Sales to expand it.
The Sales menu contains Invoices, Sales Record, Shipping, Transactions, and Testimonials. [UNVERIFIED — check manually] The Shipping page may offer another way to manage shipments.
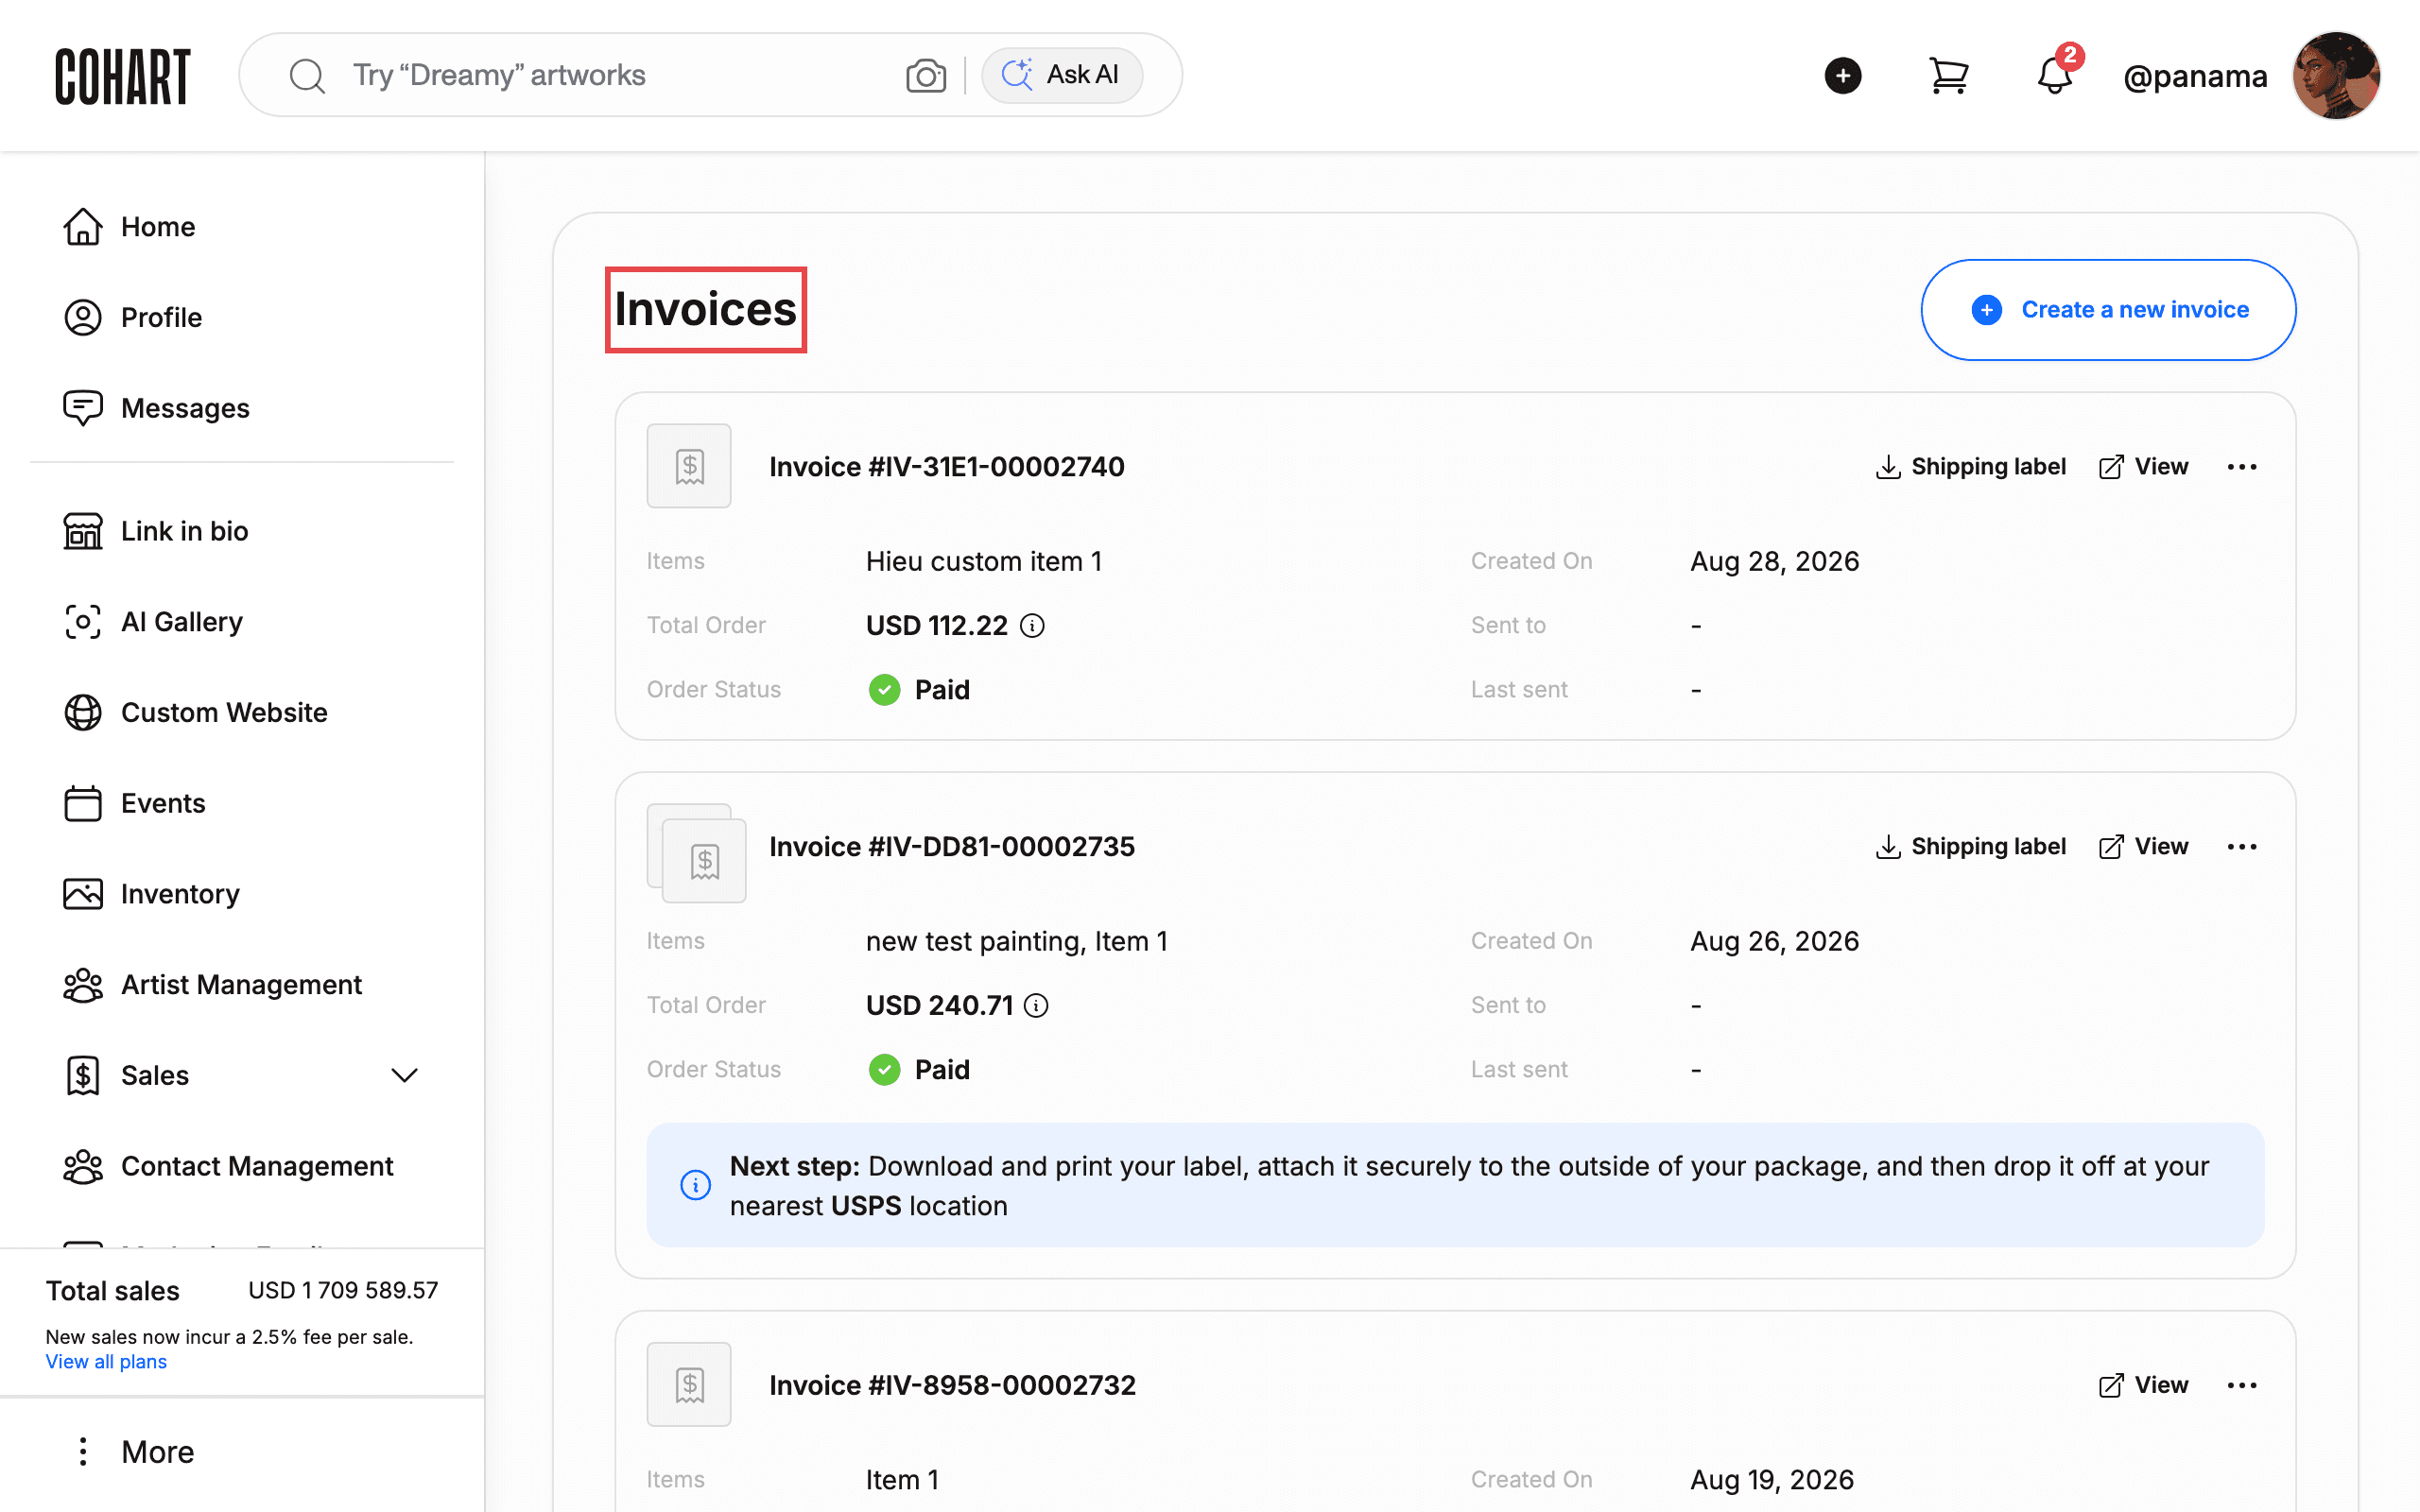
3. Go to Invoices
Click Invoices in the expanded Sales menu. The Invoices page lists every invoice with its Items, Total Order, Created On, Order Status, Sent to, and Last sent details.
To bill a buyer from scratch instead, click Create a new invoice in the top-right corner. To open a single invoice, click View on its card.
4. Find the paid invoice and its Shipping label button
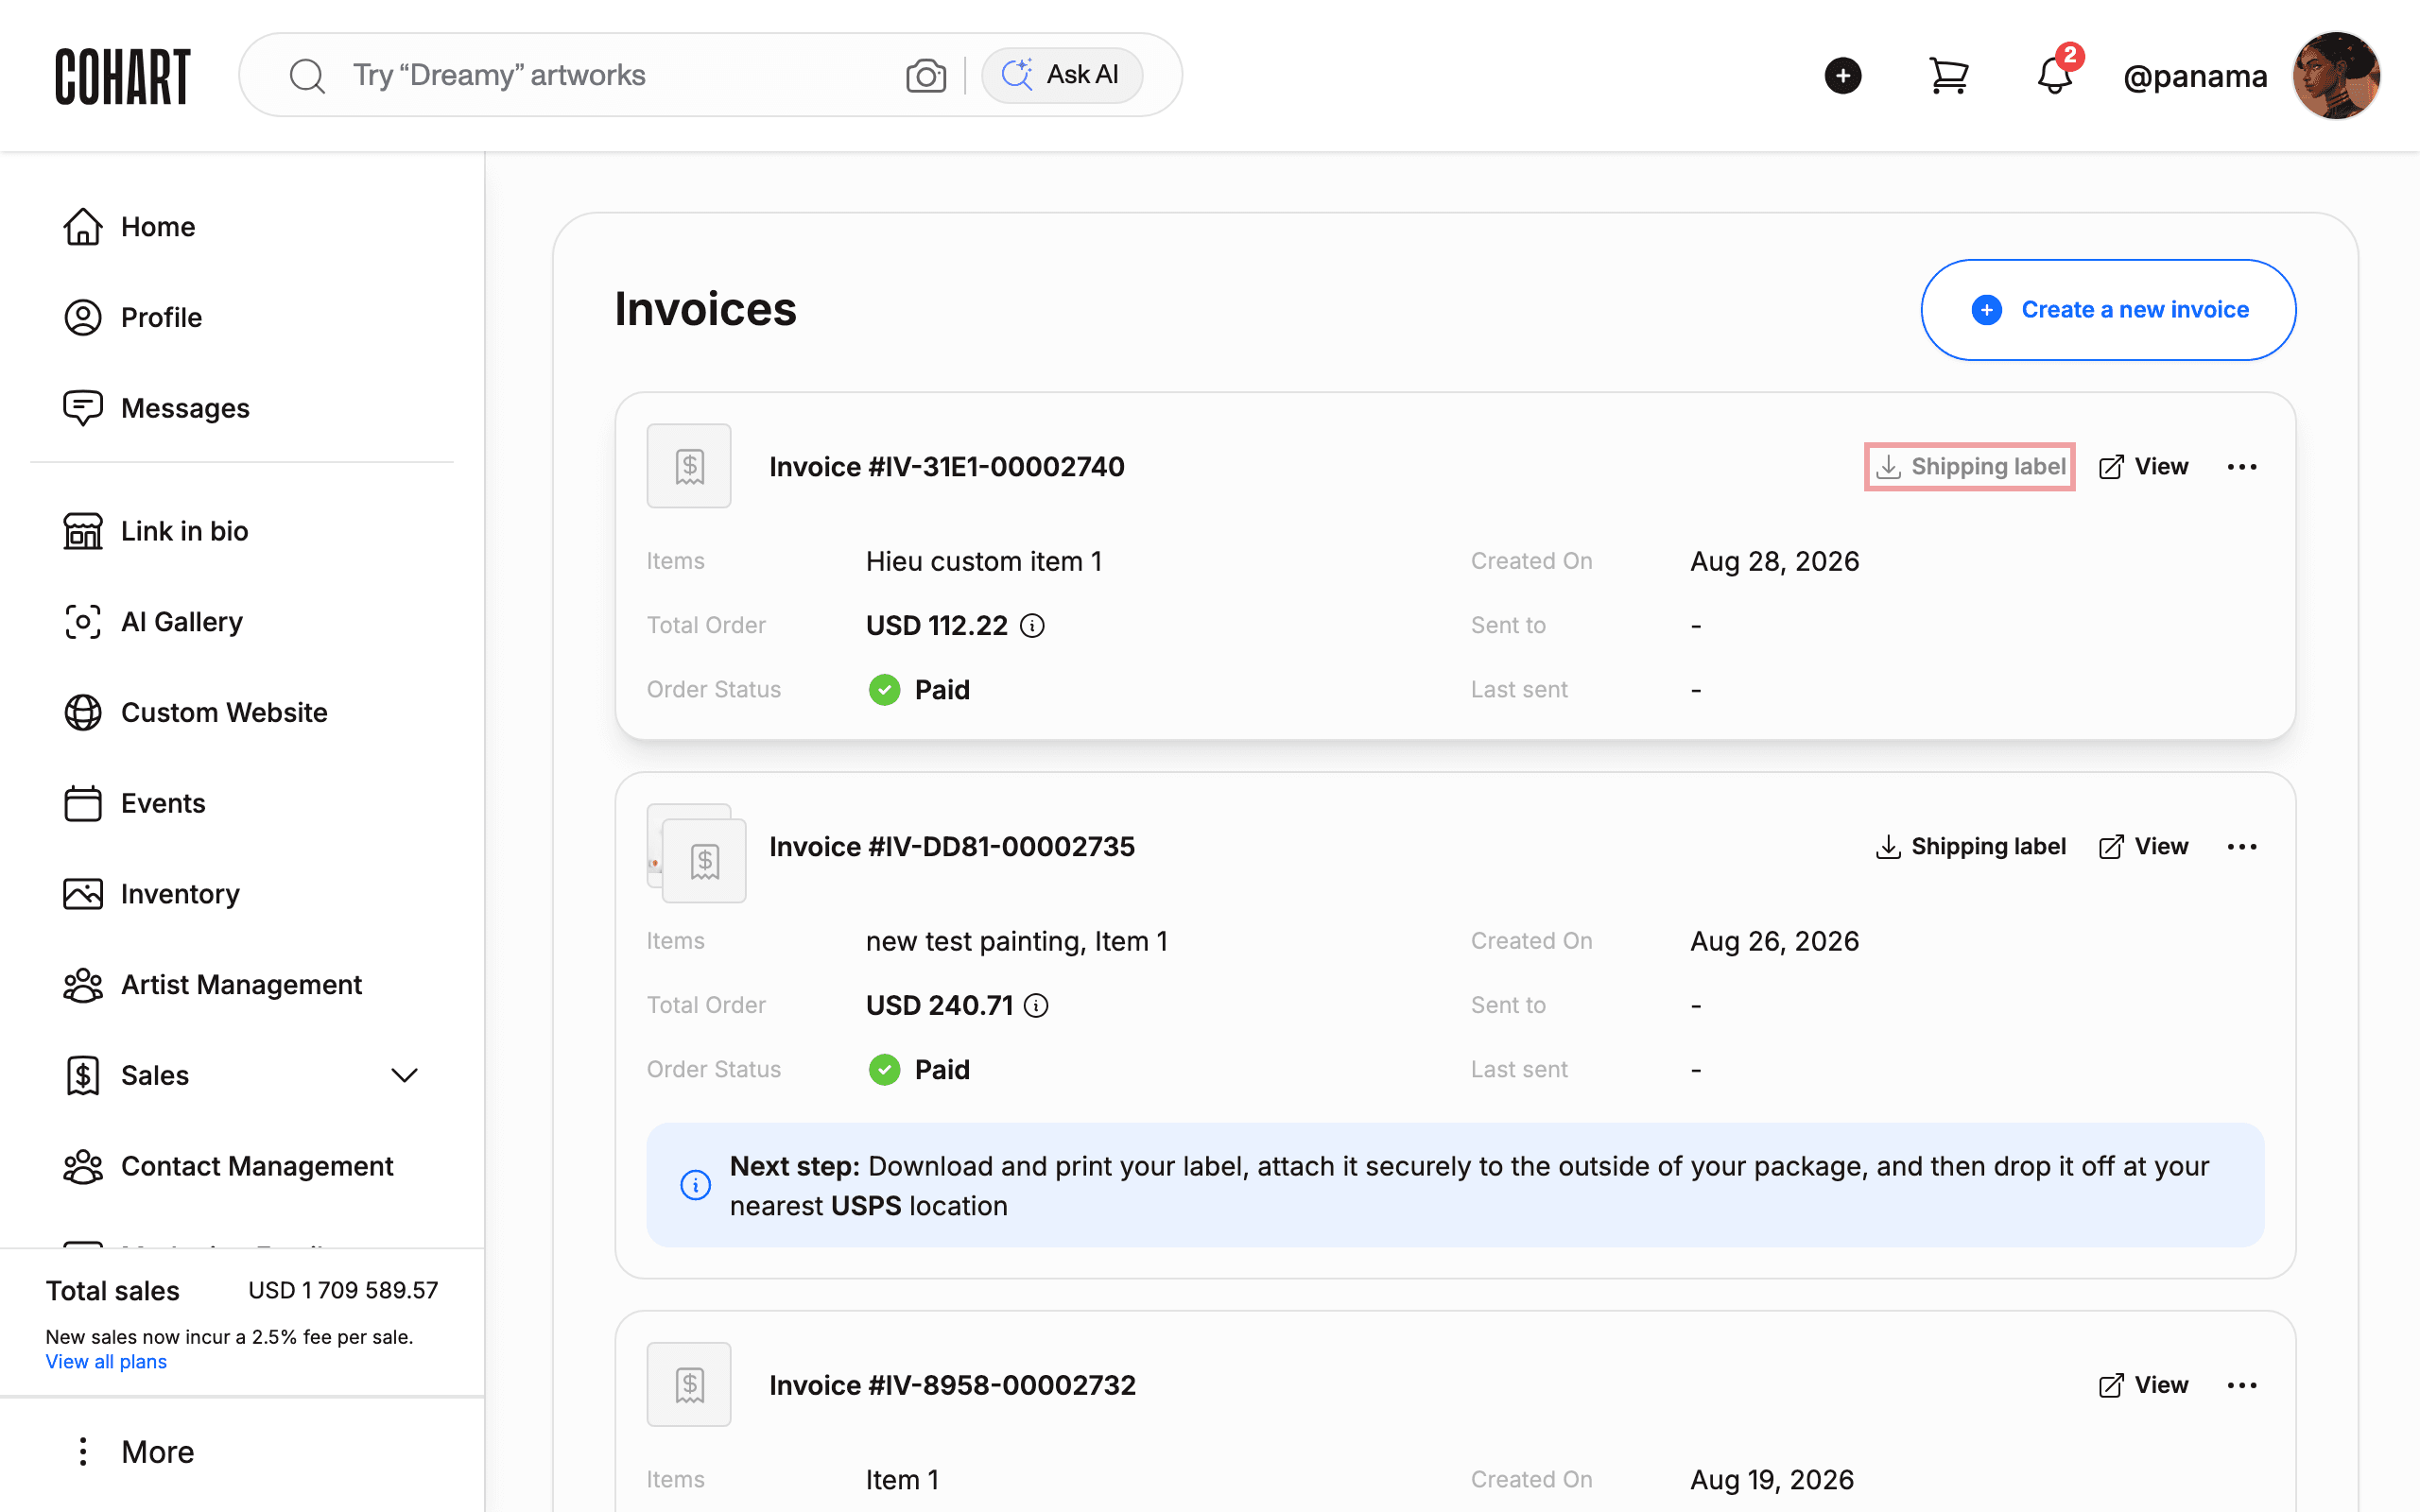
Look for the sold order you want to ship. A ready-to-ship invoice shows Order Status as Paid and offers a Shipping label button on its card, next to View.
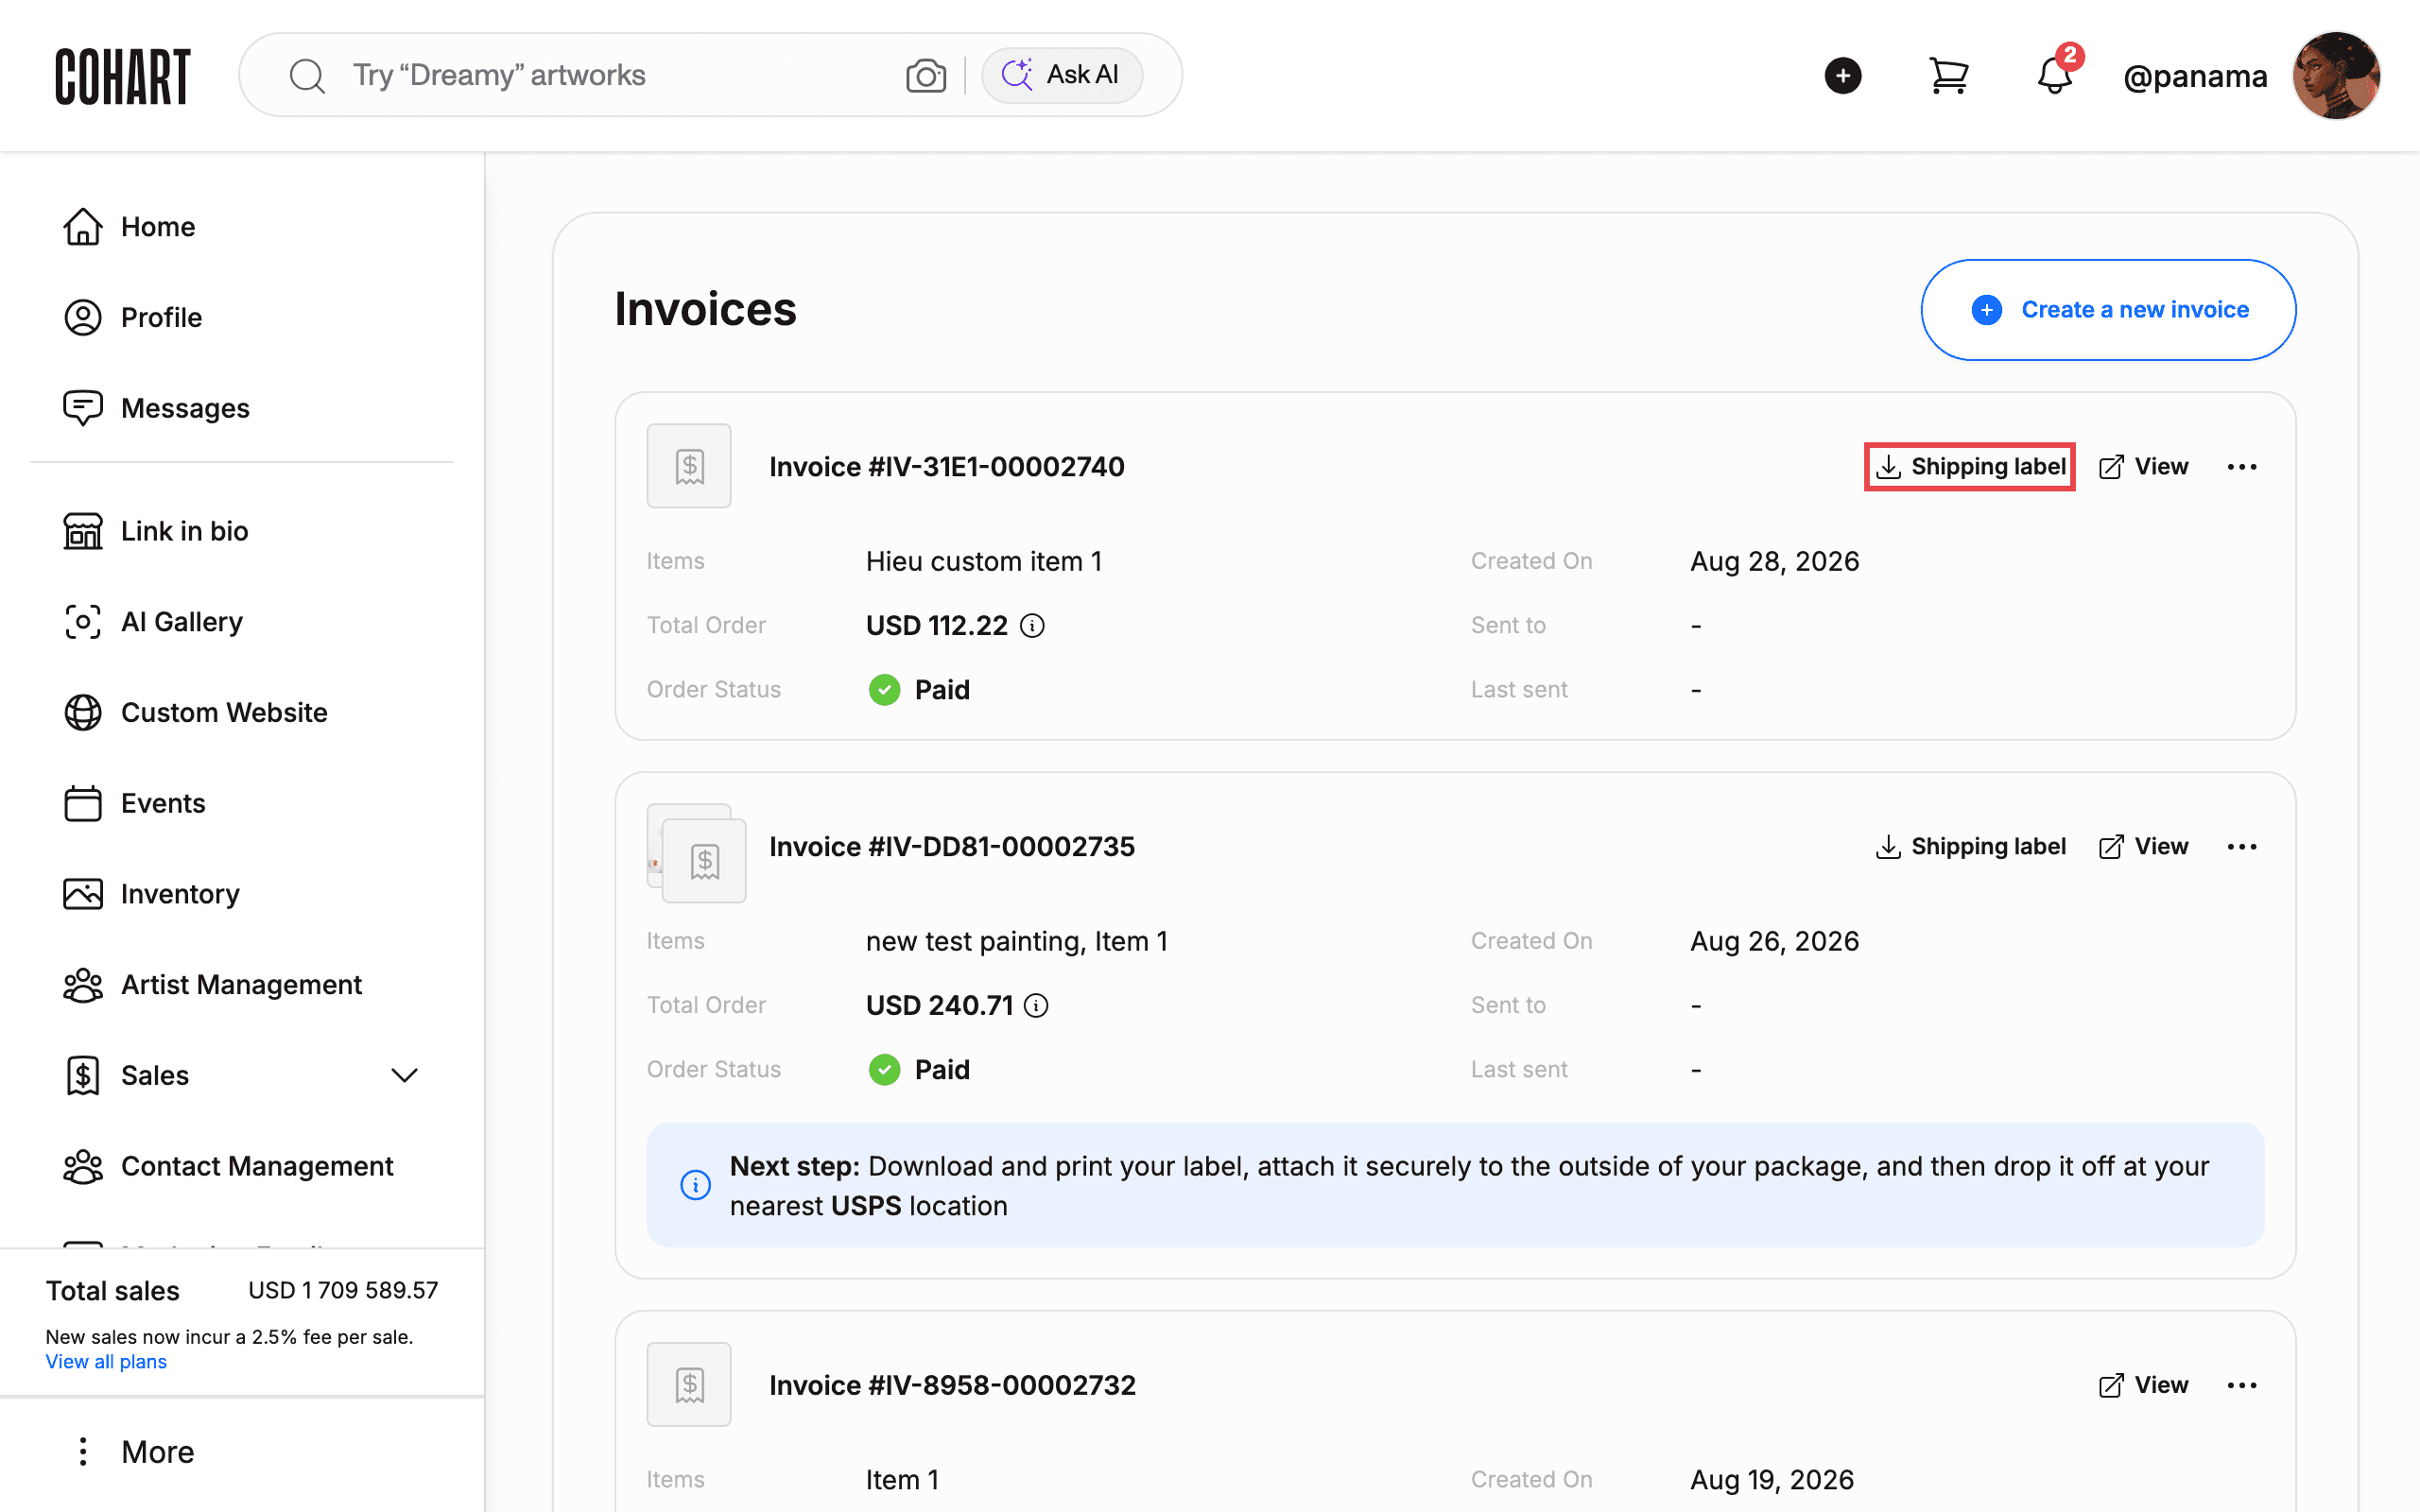
5. Click Shipping label to download the label (PDF)
Click Shipping label on the paid invoice card. The label downloads immediately as a PDF file — no confirmation dialog appears.
The same Shipping label action is also available per sale on the Sales Record page, which additionally offers Track order per sale. [UNVERIFIED — check manually]
6. Follow the Next step packaging and drop-off instructions
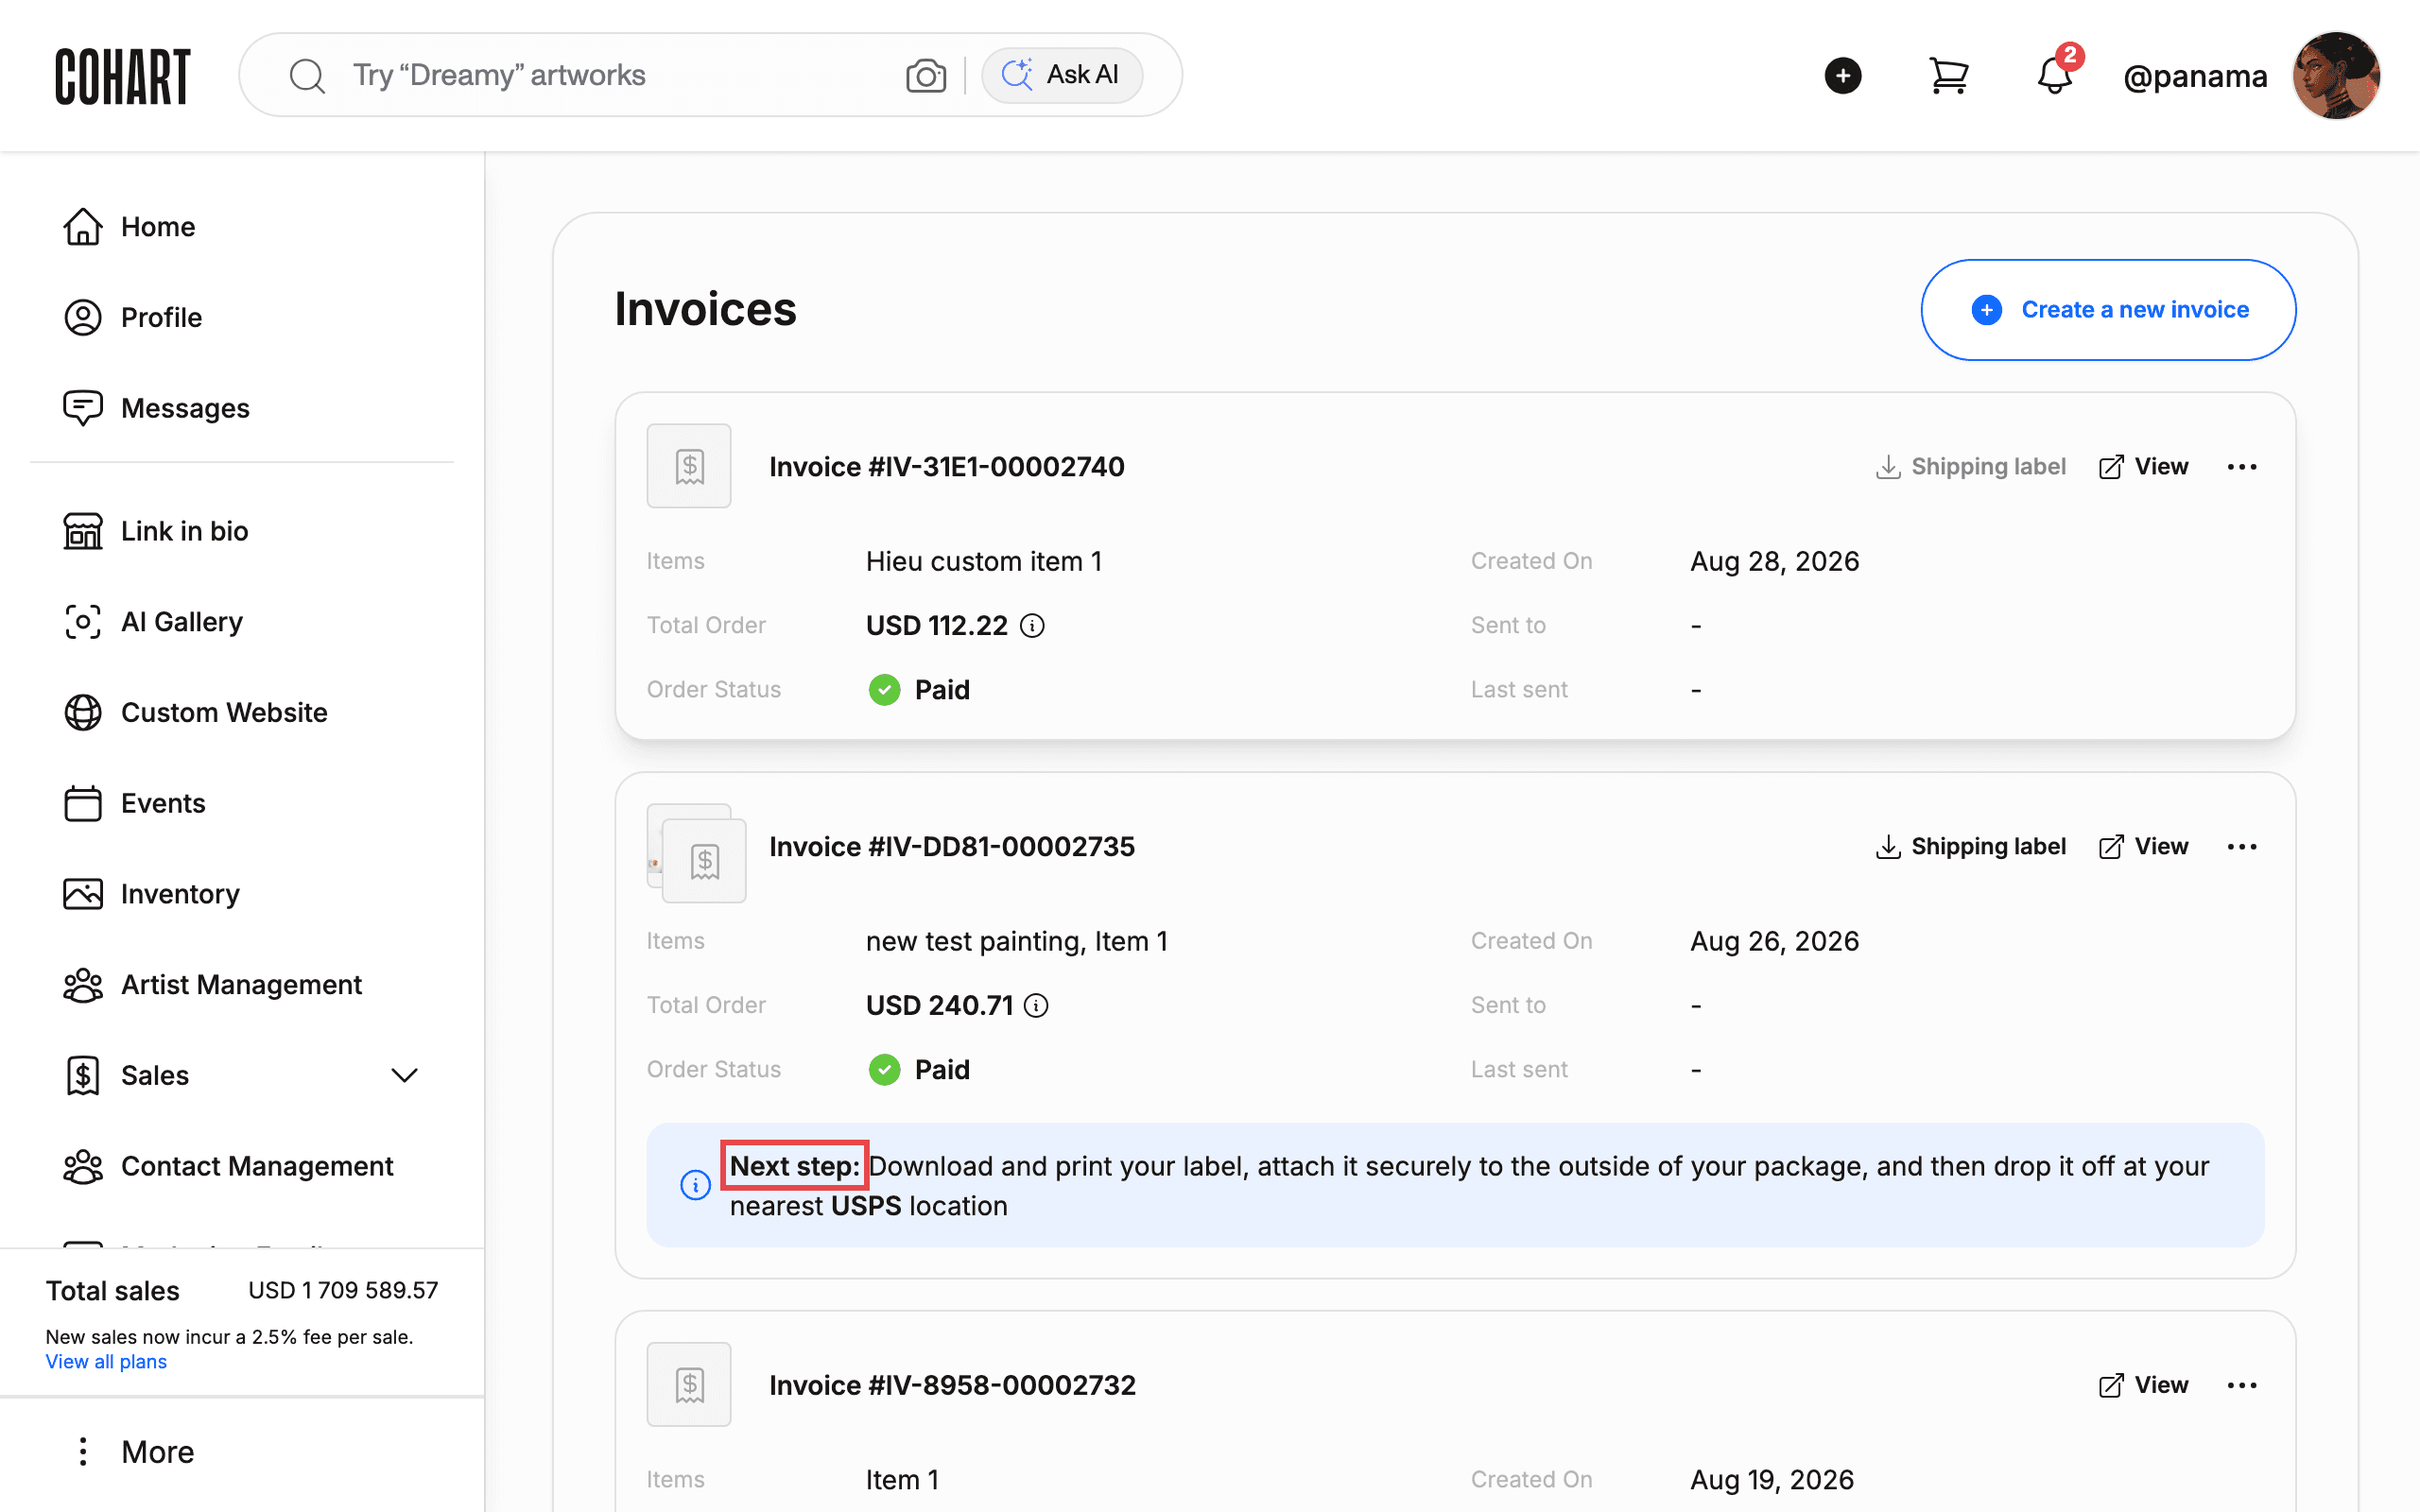
Paid shipping orders show a Next step: banner on the invoice: “Download and print your label, attach it securely to the outside of your package, and then drop it off at your nearest USPS location.”
Print the downloaded PDF, attach it securely to the outside of your package, and drop the package off at your nearest USPS location.
7. Print the downloaded label
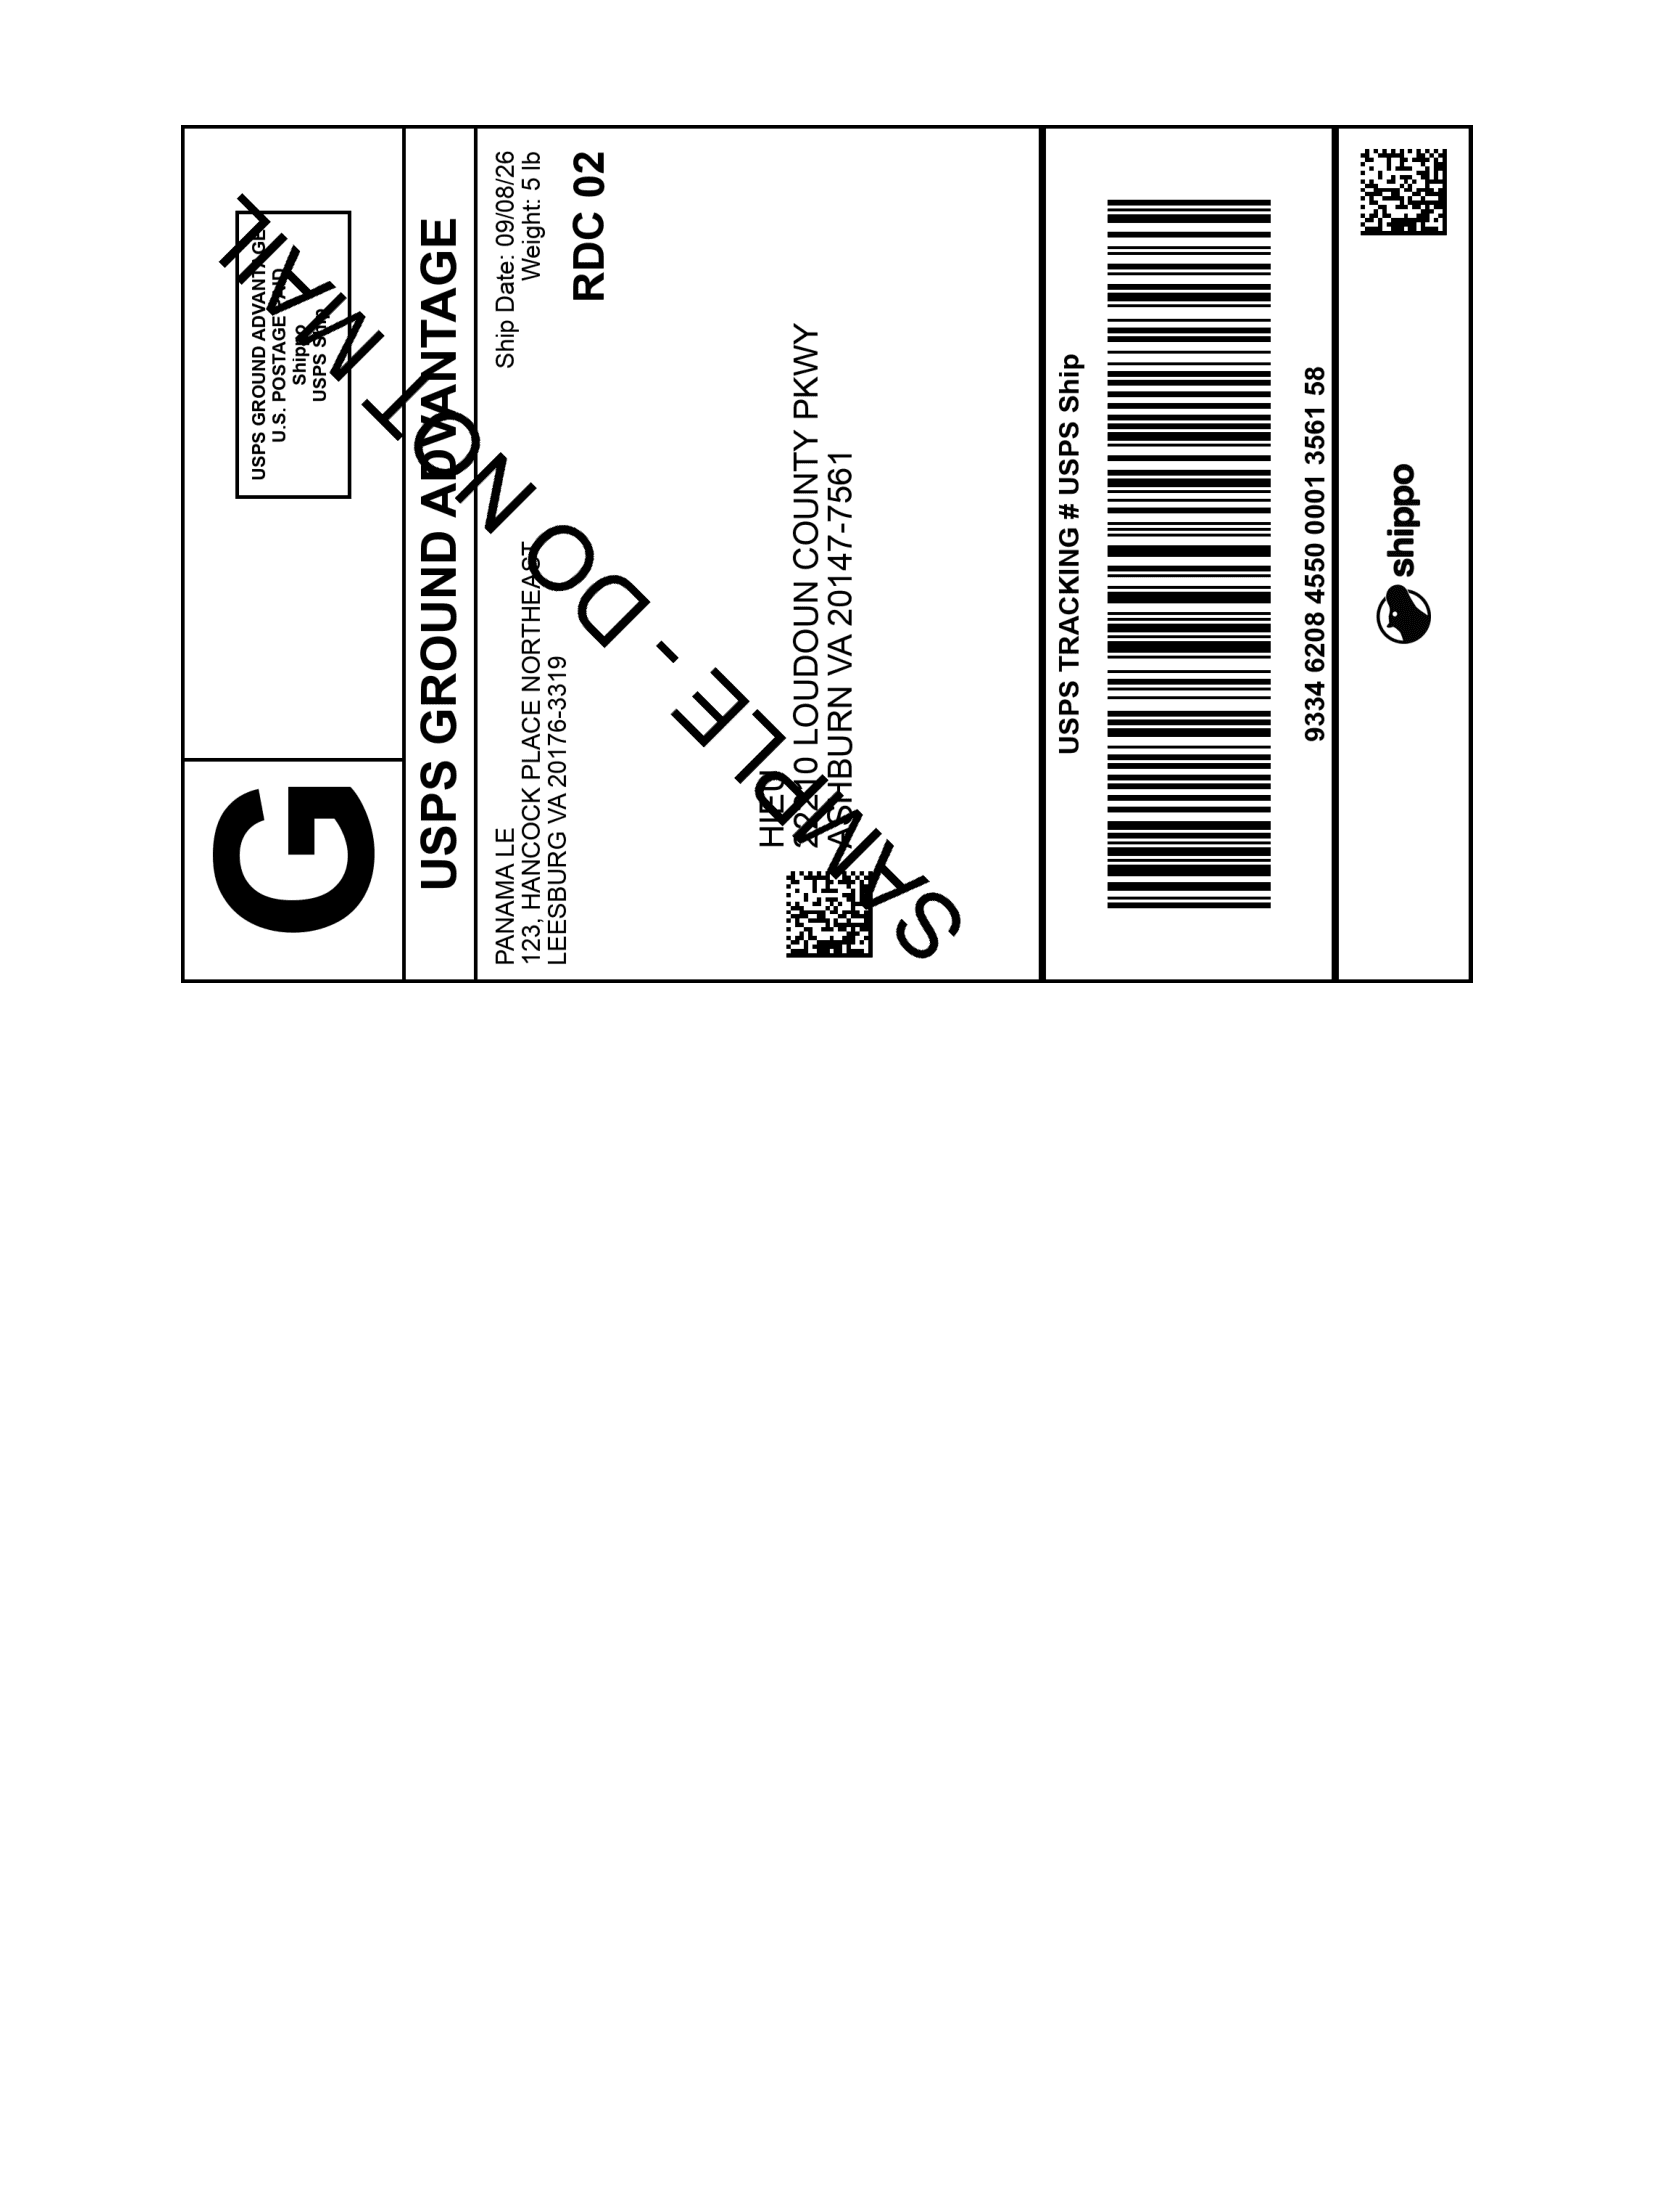
Open the downloaded PDF. It is a one-page USPS GROUND ADVANTAGE label (postage paid via Shippo).
Check that the label shows your return address, the buyer’s delivery address, the ship date and weight, and the USPS TRACKING # USPS Ship barcode. Print it as-is — the file is an image with no selectable text. Then attach it securely to the outside of your package and drop the package off at your nearest USPS location.
Tips
- After signing in you land on the Inventory page, not the sales pages — use the sidebar to open Sales, then Invoices.
- Each invoice card also has a … (more options) menu next to View.
Troubleshooting
- No Shipping label button on the invoice card, only View, or open invoices show Resend, View, and Edit → only paid invoices can be shipped → confirm Order Status shows Paid before looking for the label.
- Login form is covered or the sidebar does not appear after signing in → cookie banner overlap or slow loading with a spinner → dismiss the banner with Reject all if needed, then wait for the content to finish loading before clicking.