How to Manage Global Transactions
Overview
The global Transactions table is the platform-wide ledger of every order, and it exists so operators can audit, filter, and export payments across all sellers. This guide is for platform admins; sellers see only their own orders on the slimmer seller Transactions page instead. The global table carries far more columns — including Test?, Seller, Collector, and Event Creator Commission — plus Export, Select State, Select Delivery Option, Pick a range, and Columns controls for slicing and downloading the data. Exports download as timestamped CSV files and change nothing on the platform. By the end, you will be able to filter the global ledger, customize its columns, export it, and tell exactly how it differs from what a seller sees.
Before you start
- An admin account. The global table lists every platform order, while sellers only see their own orders on the seller Transactions page. Without the admin role, the Admin menu and this page are not available.
- Know the slice you need before filtering: a state code, a delivery option (Shipping, Pick up, or Invoice only), and a date range.
- Exporting is read-only and changes nothing; leave the per-row Test? switches untouched, since flipping them may change data.
- Effects to know: filtering, column changes, and exports only change what you see or download — no order, payment, or seller balance is modified from this table, and the CSV you export carries full seller, collector, and payment detail, so store it carefully.
Steps
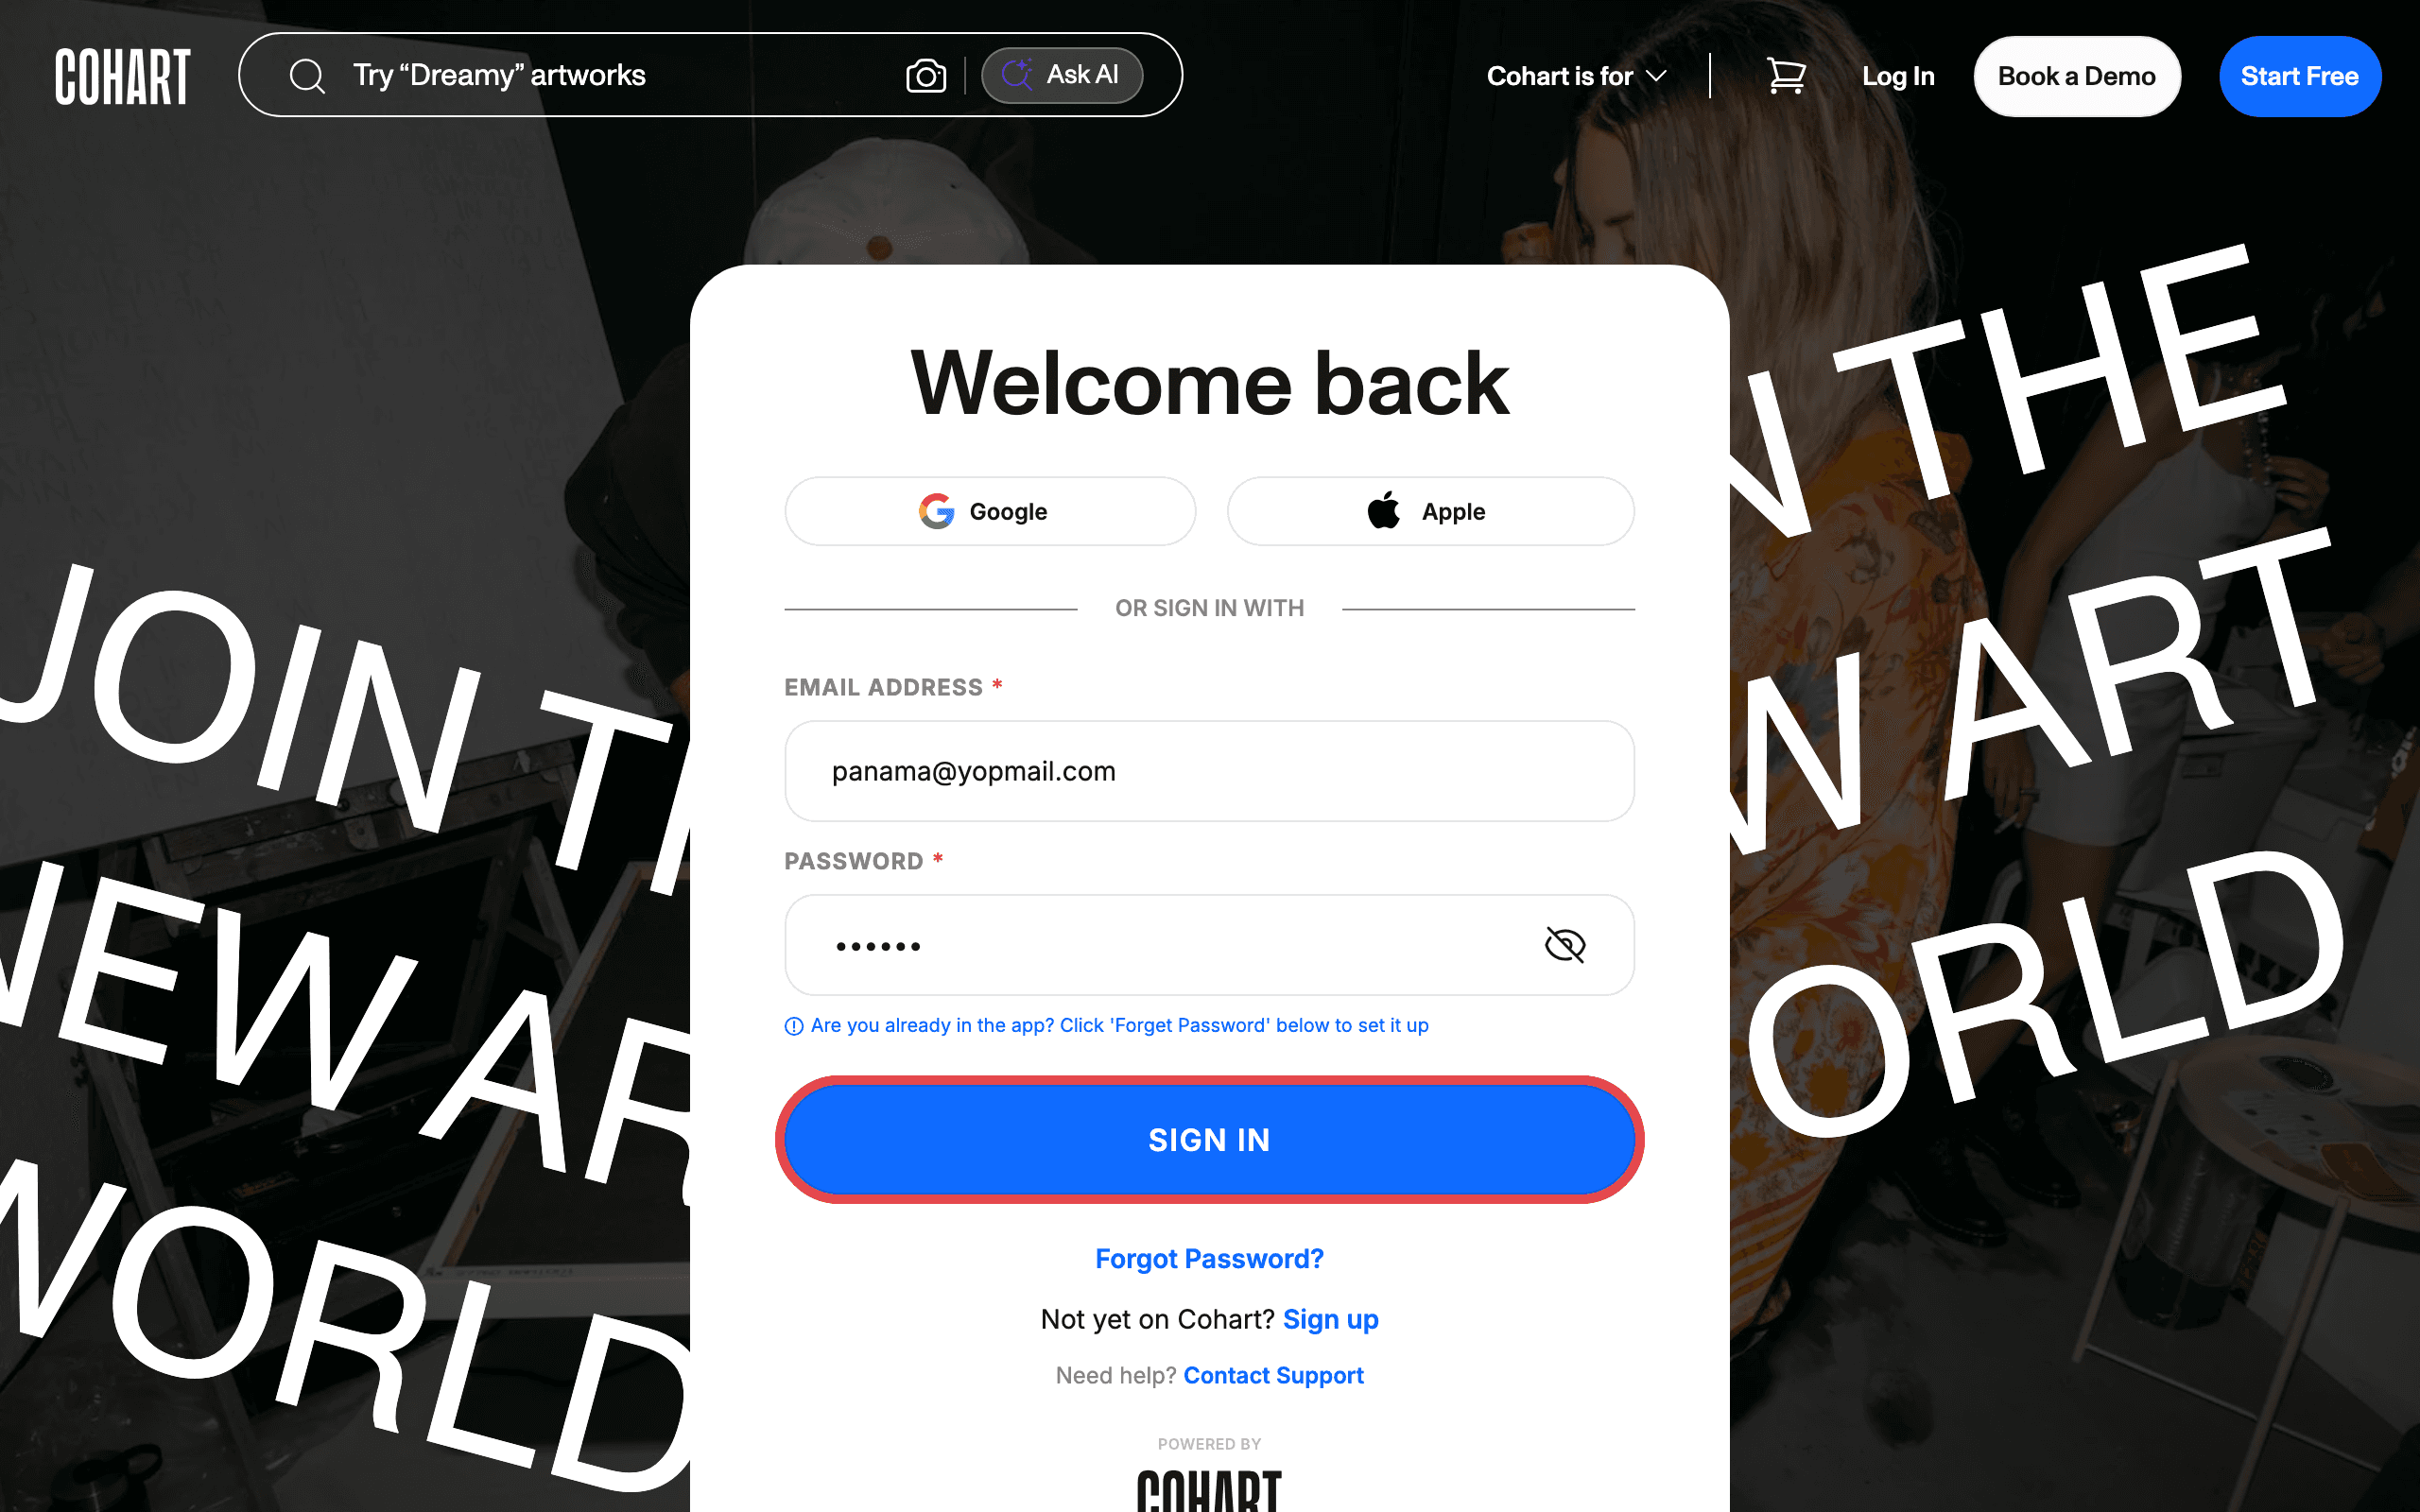
1. Sign in
Sign in with your admin account.
2. Open Global Transactions
Find Admin in the left sidebar.
Click Admin to expand it.
Click Transactions.
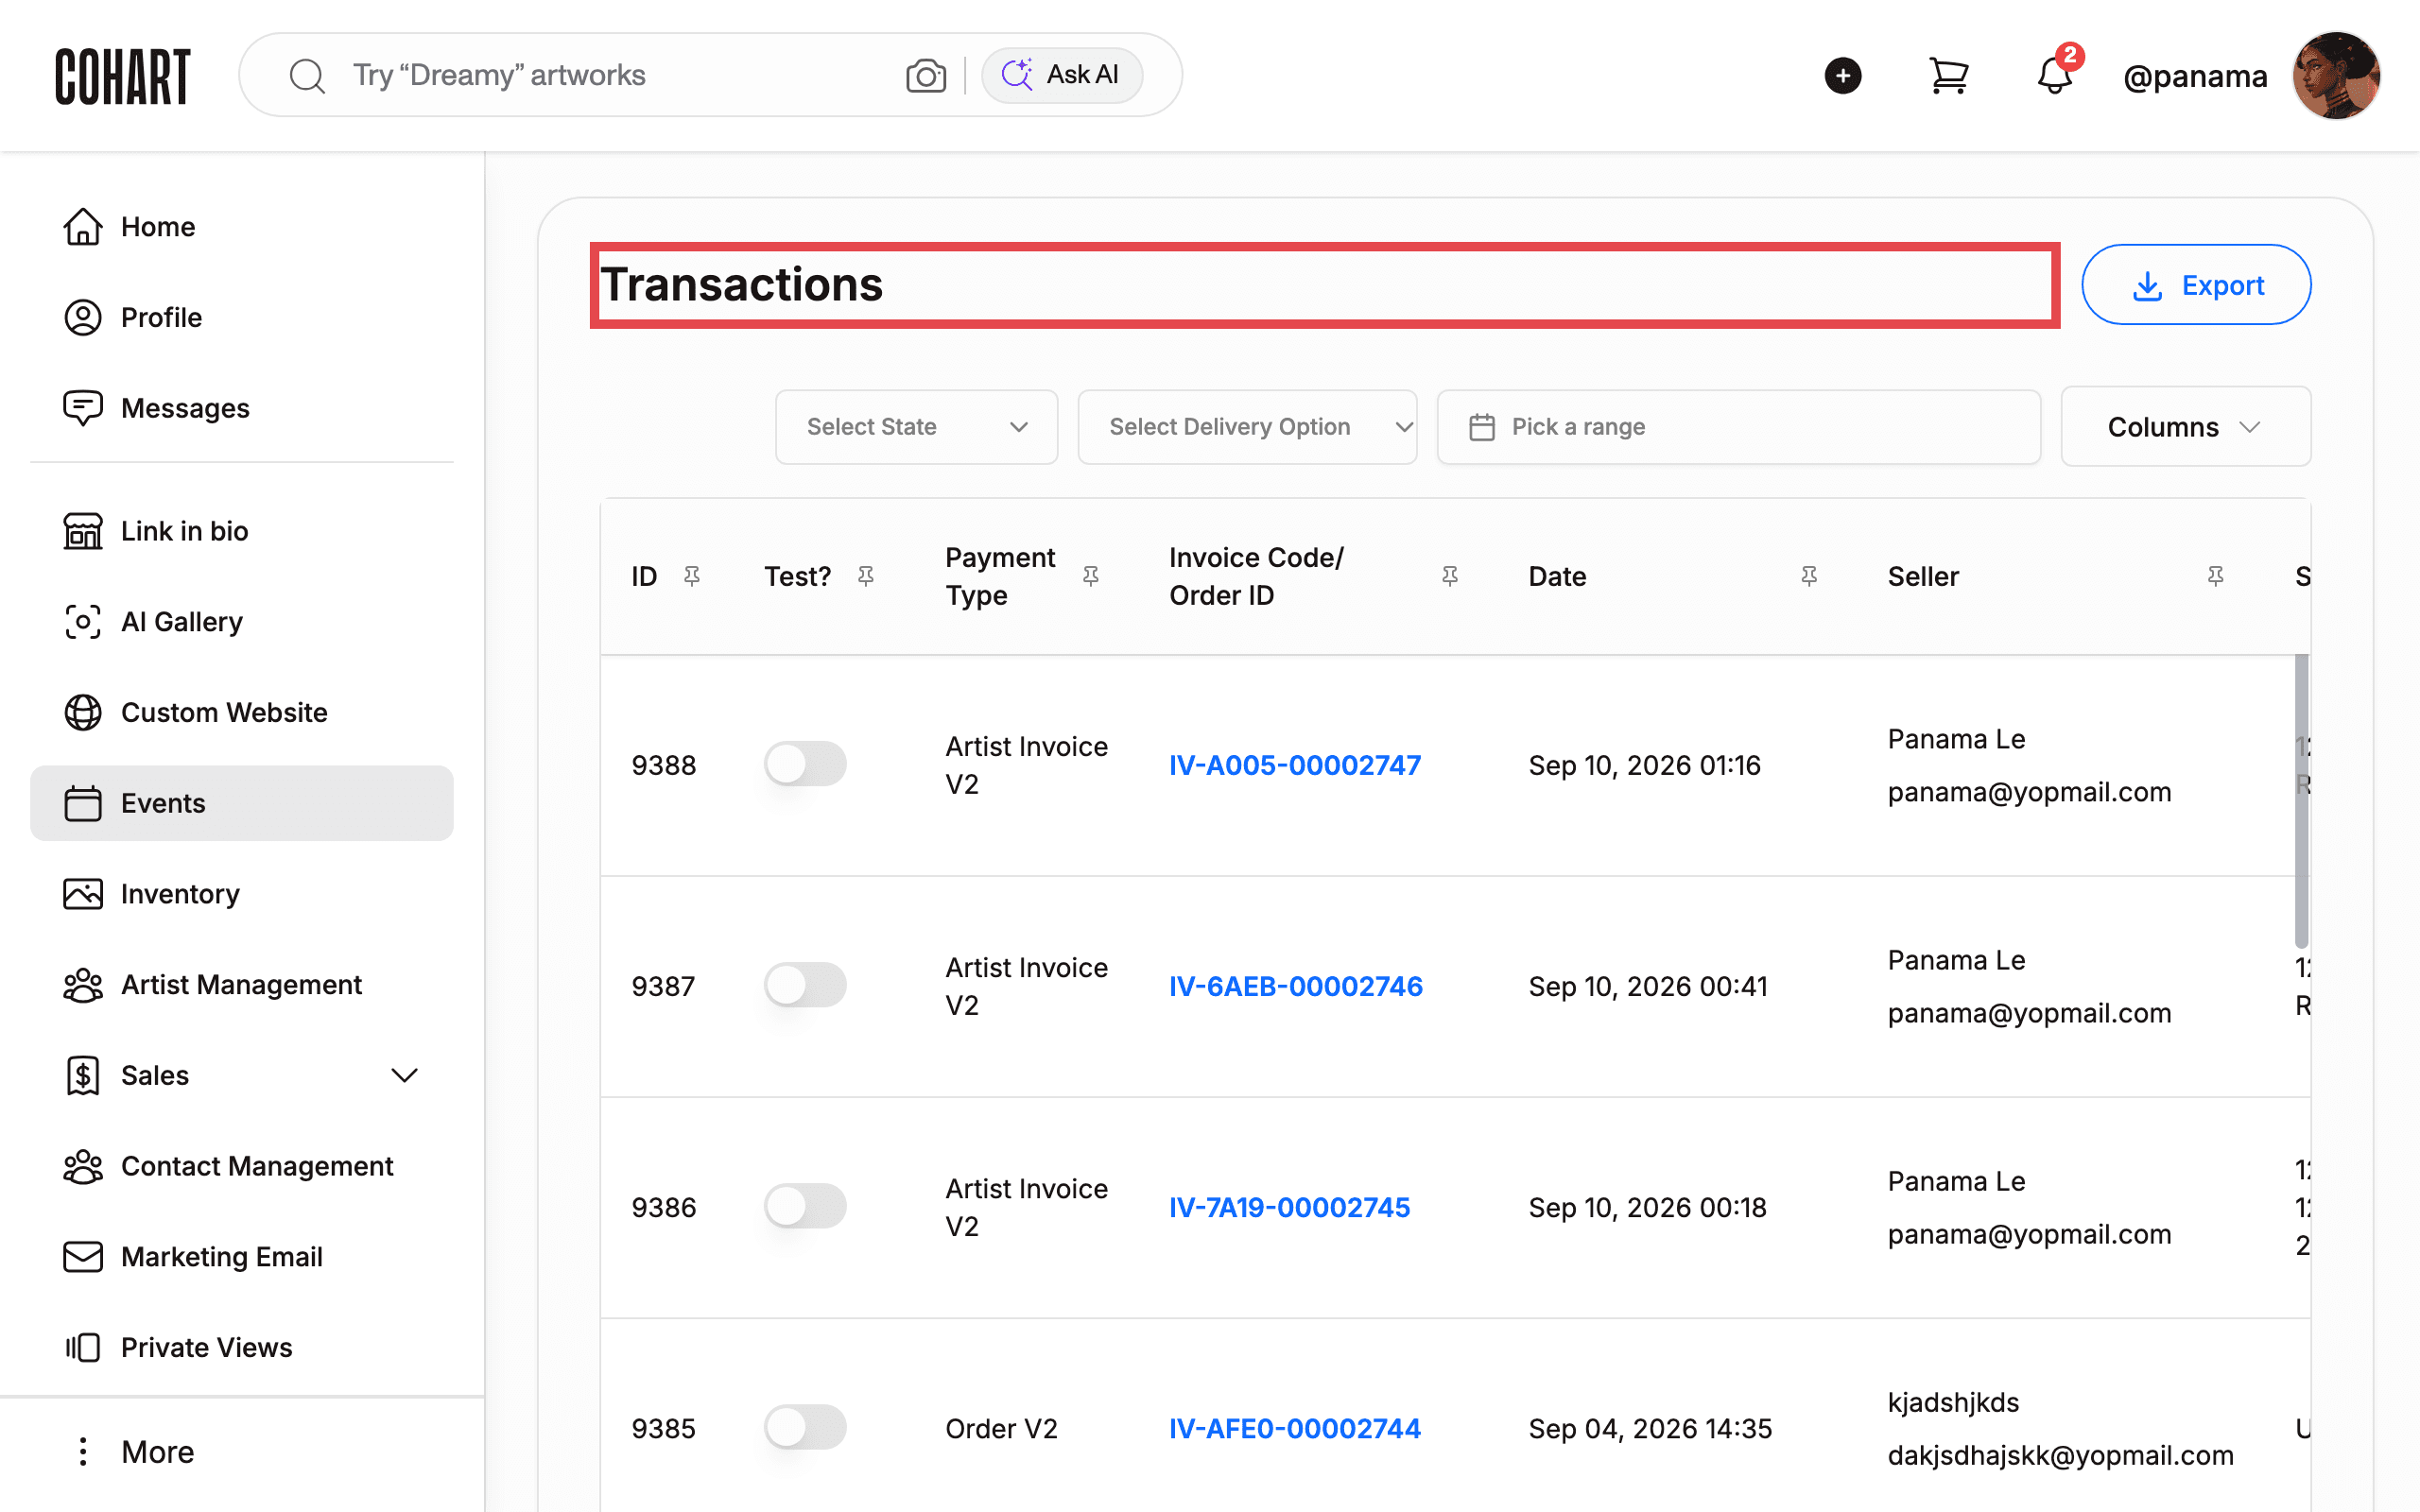
The Transactions table lists every platform order. Columns include ID, Test?, Payment Type, Invoice Code/ Order ID, Date, Seller, Collector, Item Name, Total, and Event Creator Commission (29 columns in total). Each invoice code is a link. An Items per page control with page numbers sits below the table.
3. Export the list as CSV
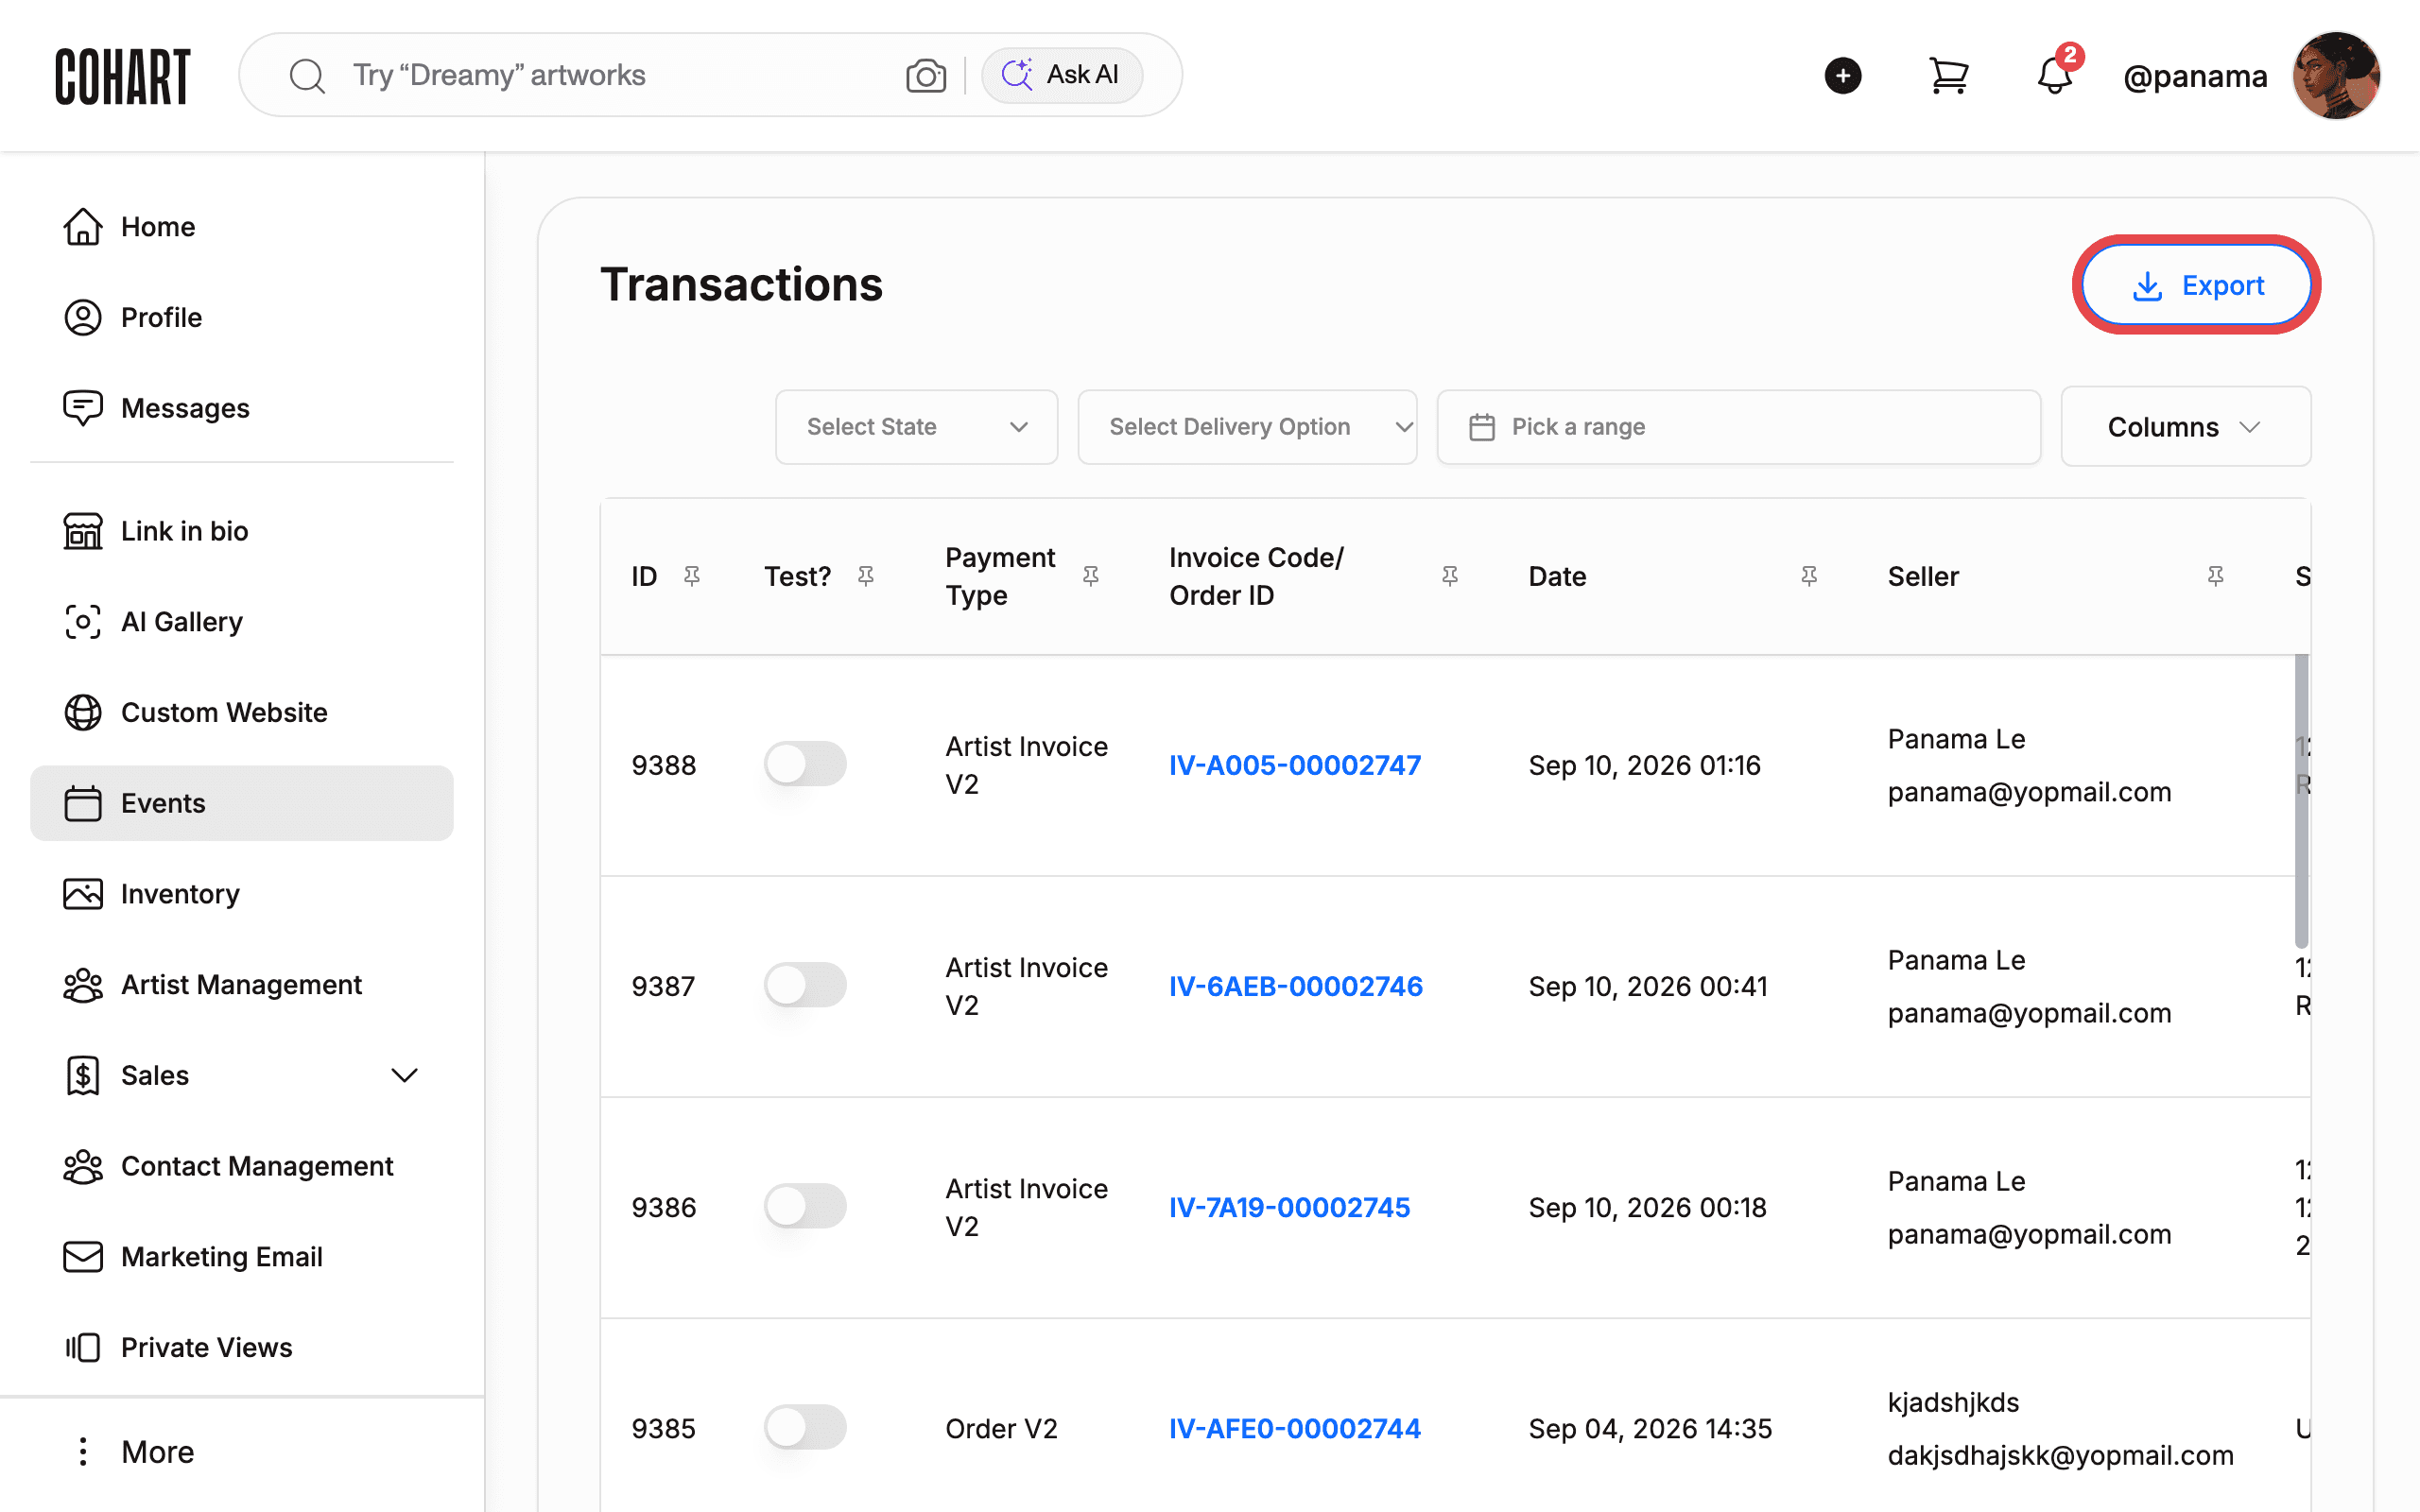
Click Export at the top right of the table.
Your browser downloads a CSV file named like Transactions_20260913_150440.csv (the name carries the export date and time). The export is read-only and changes nothing on the platform.
4. Filter by state
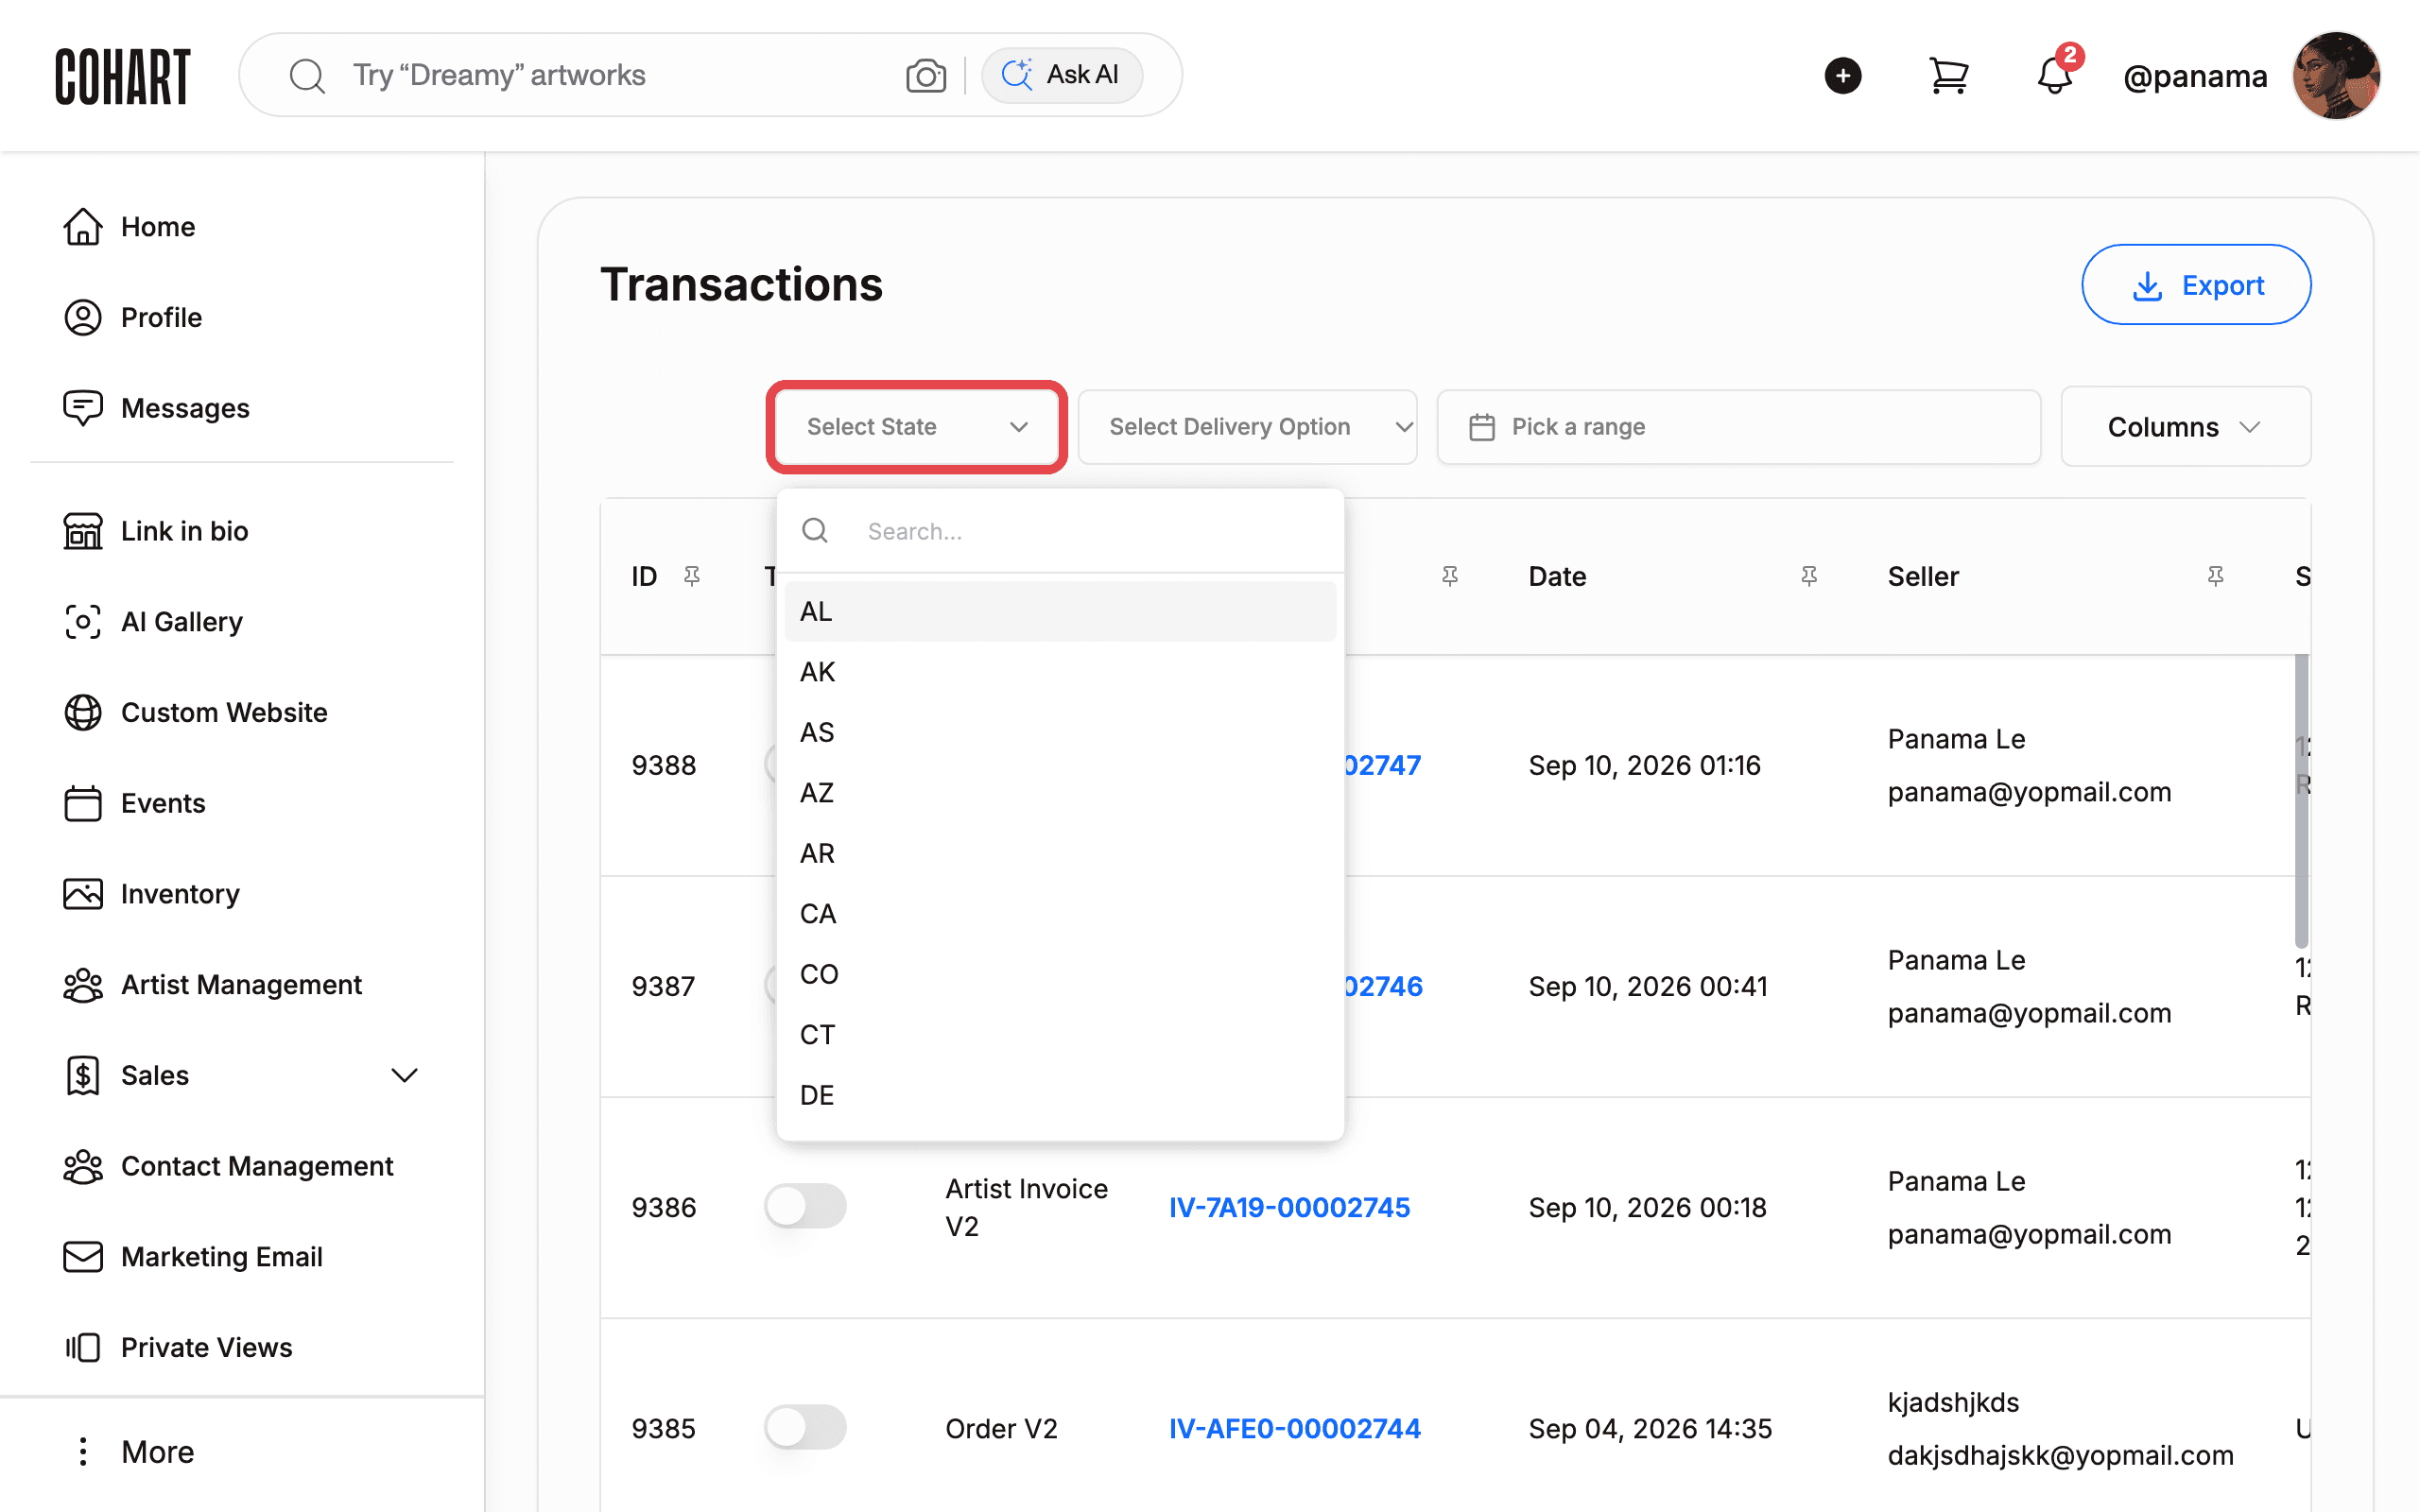
Click Select State.
A menu opens with a Search… box and 57 state and territory codes (AL, AK, AS, AZ, AR, CA, and more).
Click one state, for example CA.
The button label changes from Select State to CA, showing the filter is applied. Click it again to reopen the menu and pick a different state.
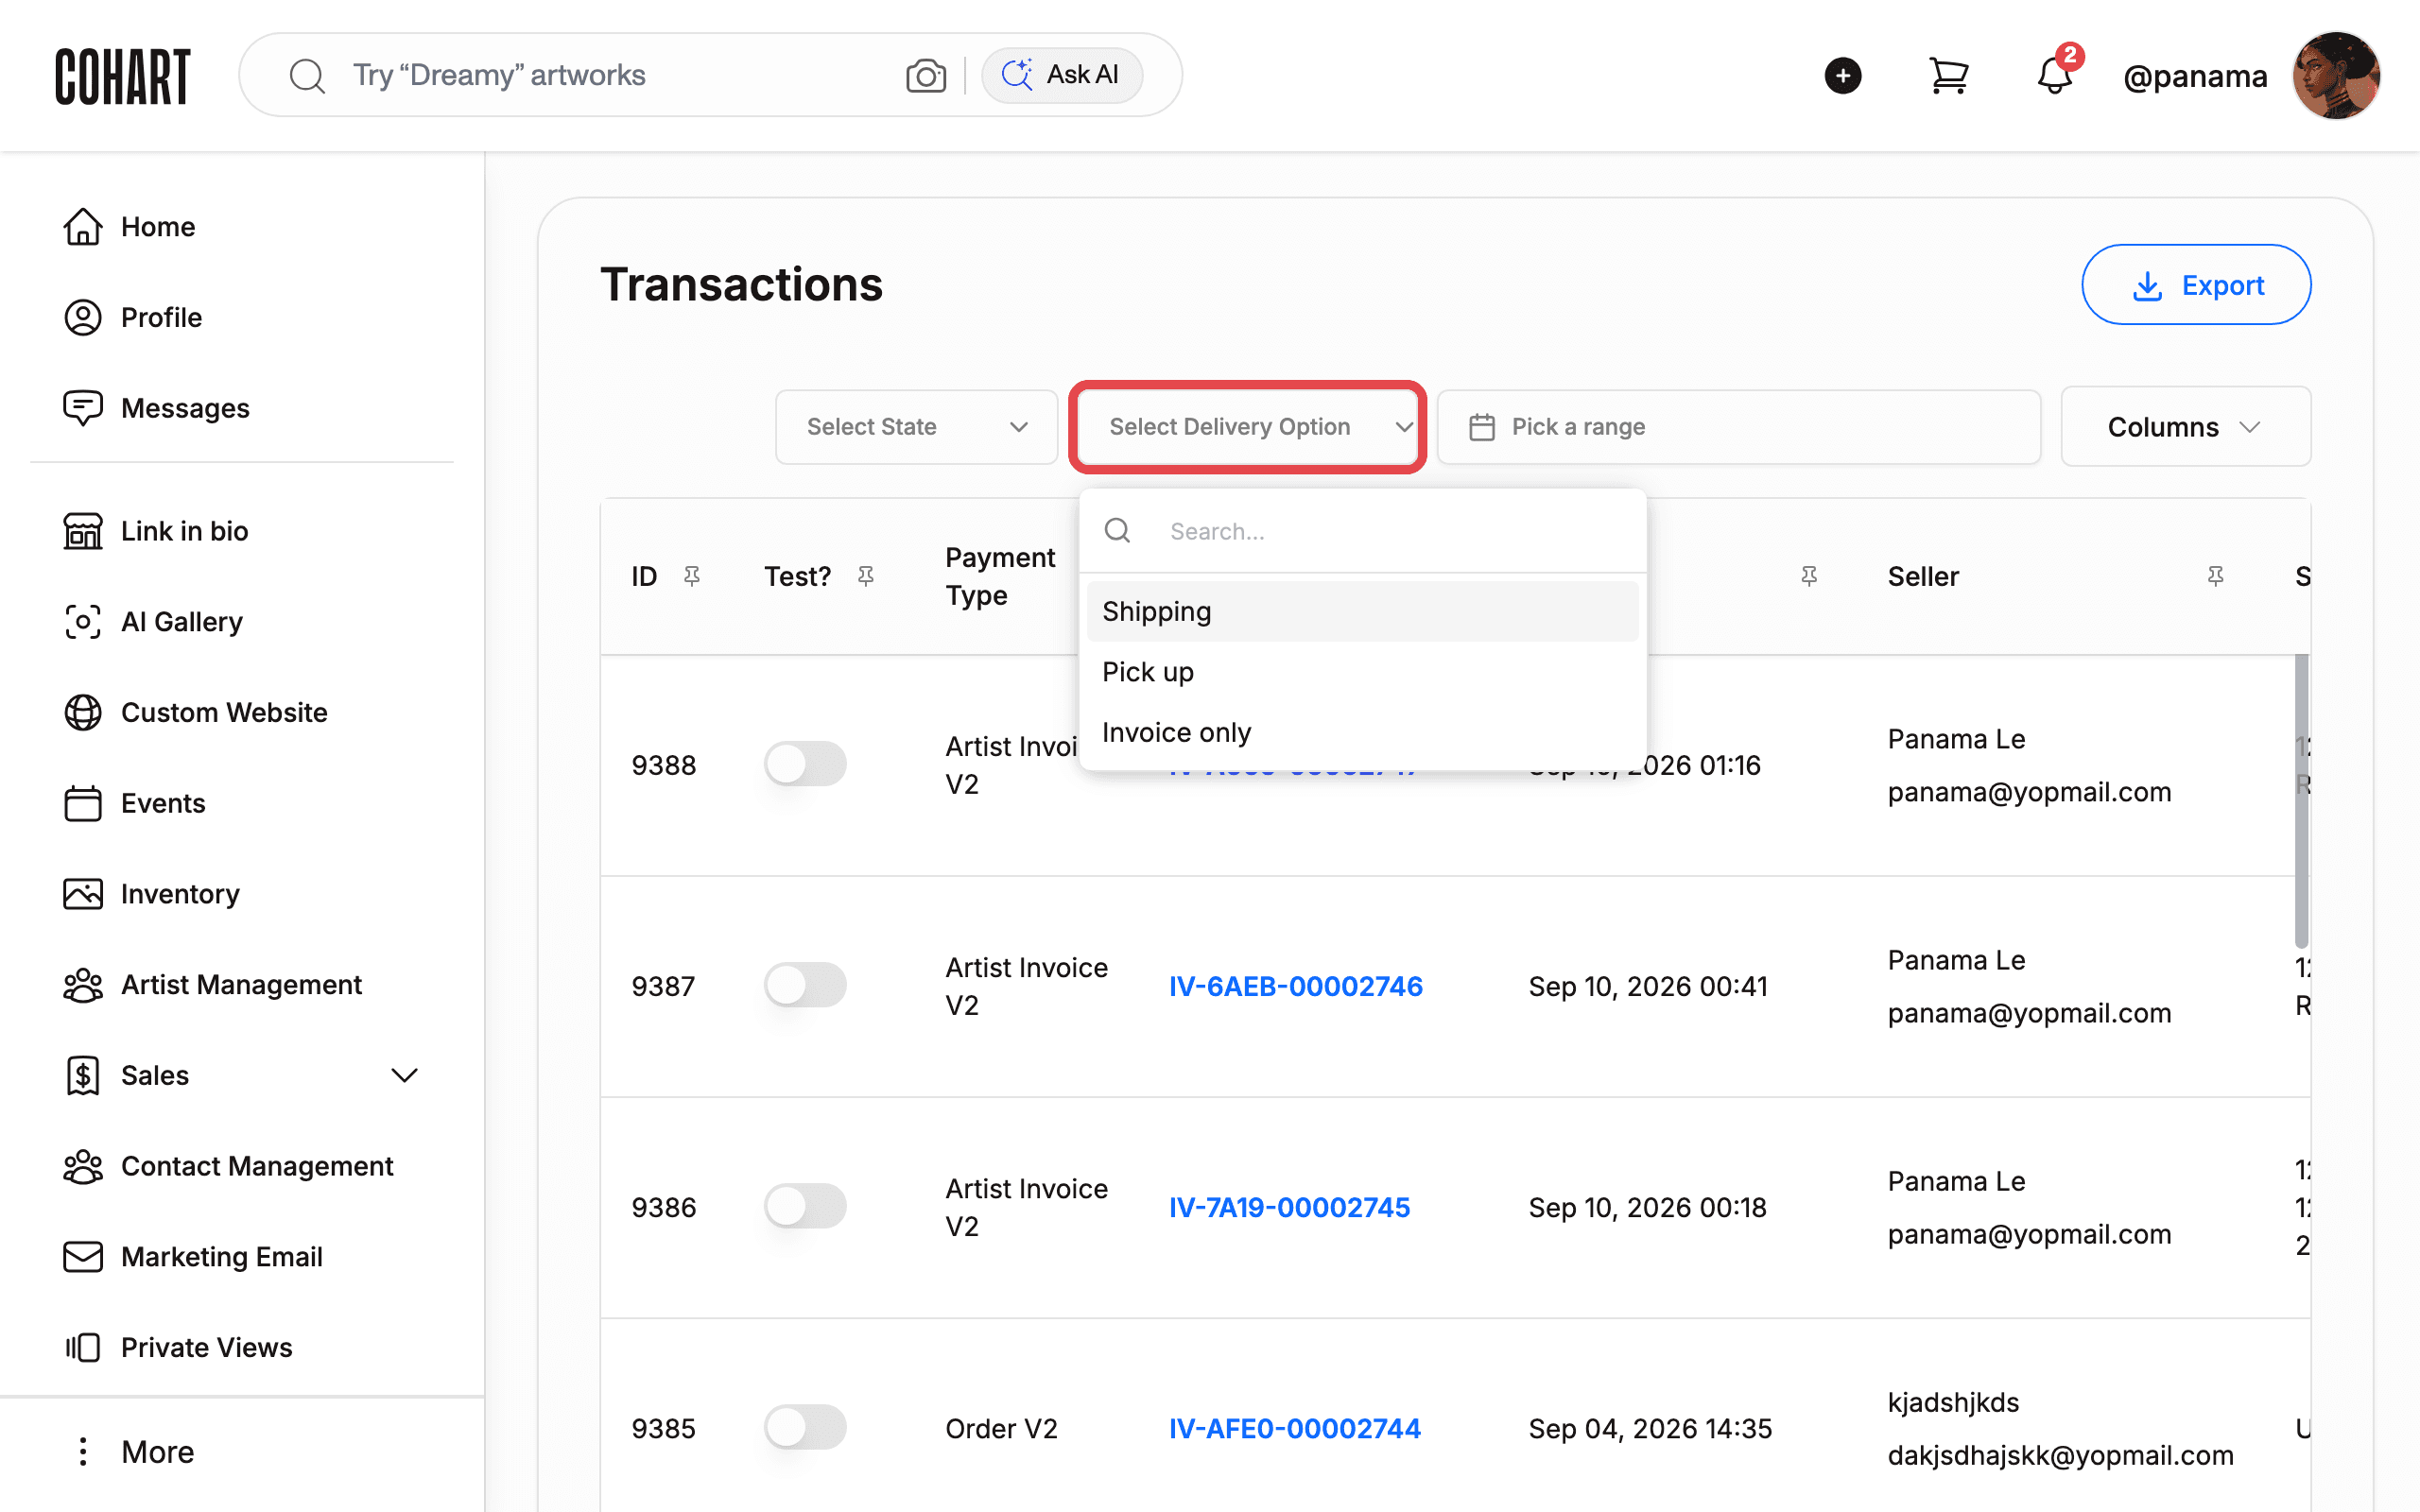
5. Filter by delivery option
Click Select Delivery Option.
A menu opens with a Search… box and three options: Shipping, Pick up, and Invoice only.
Click one option to filter the table to that delivery type.
6. Filter by date
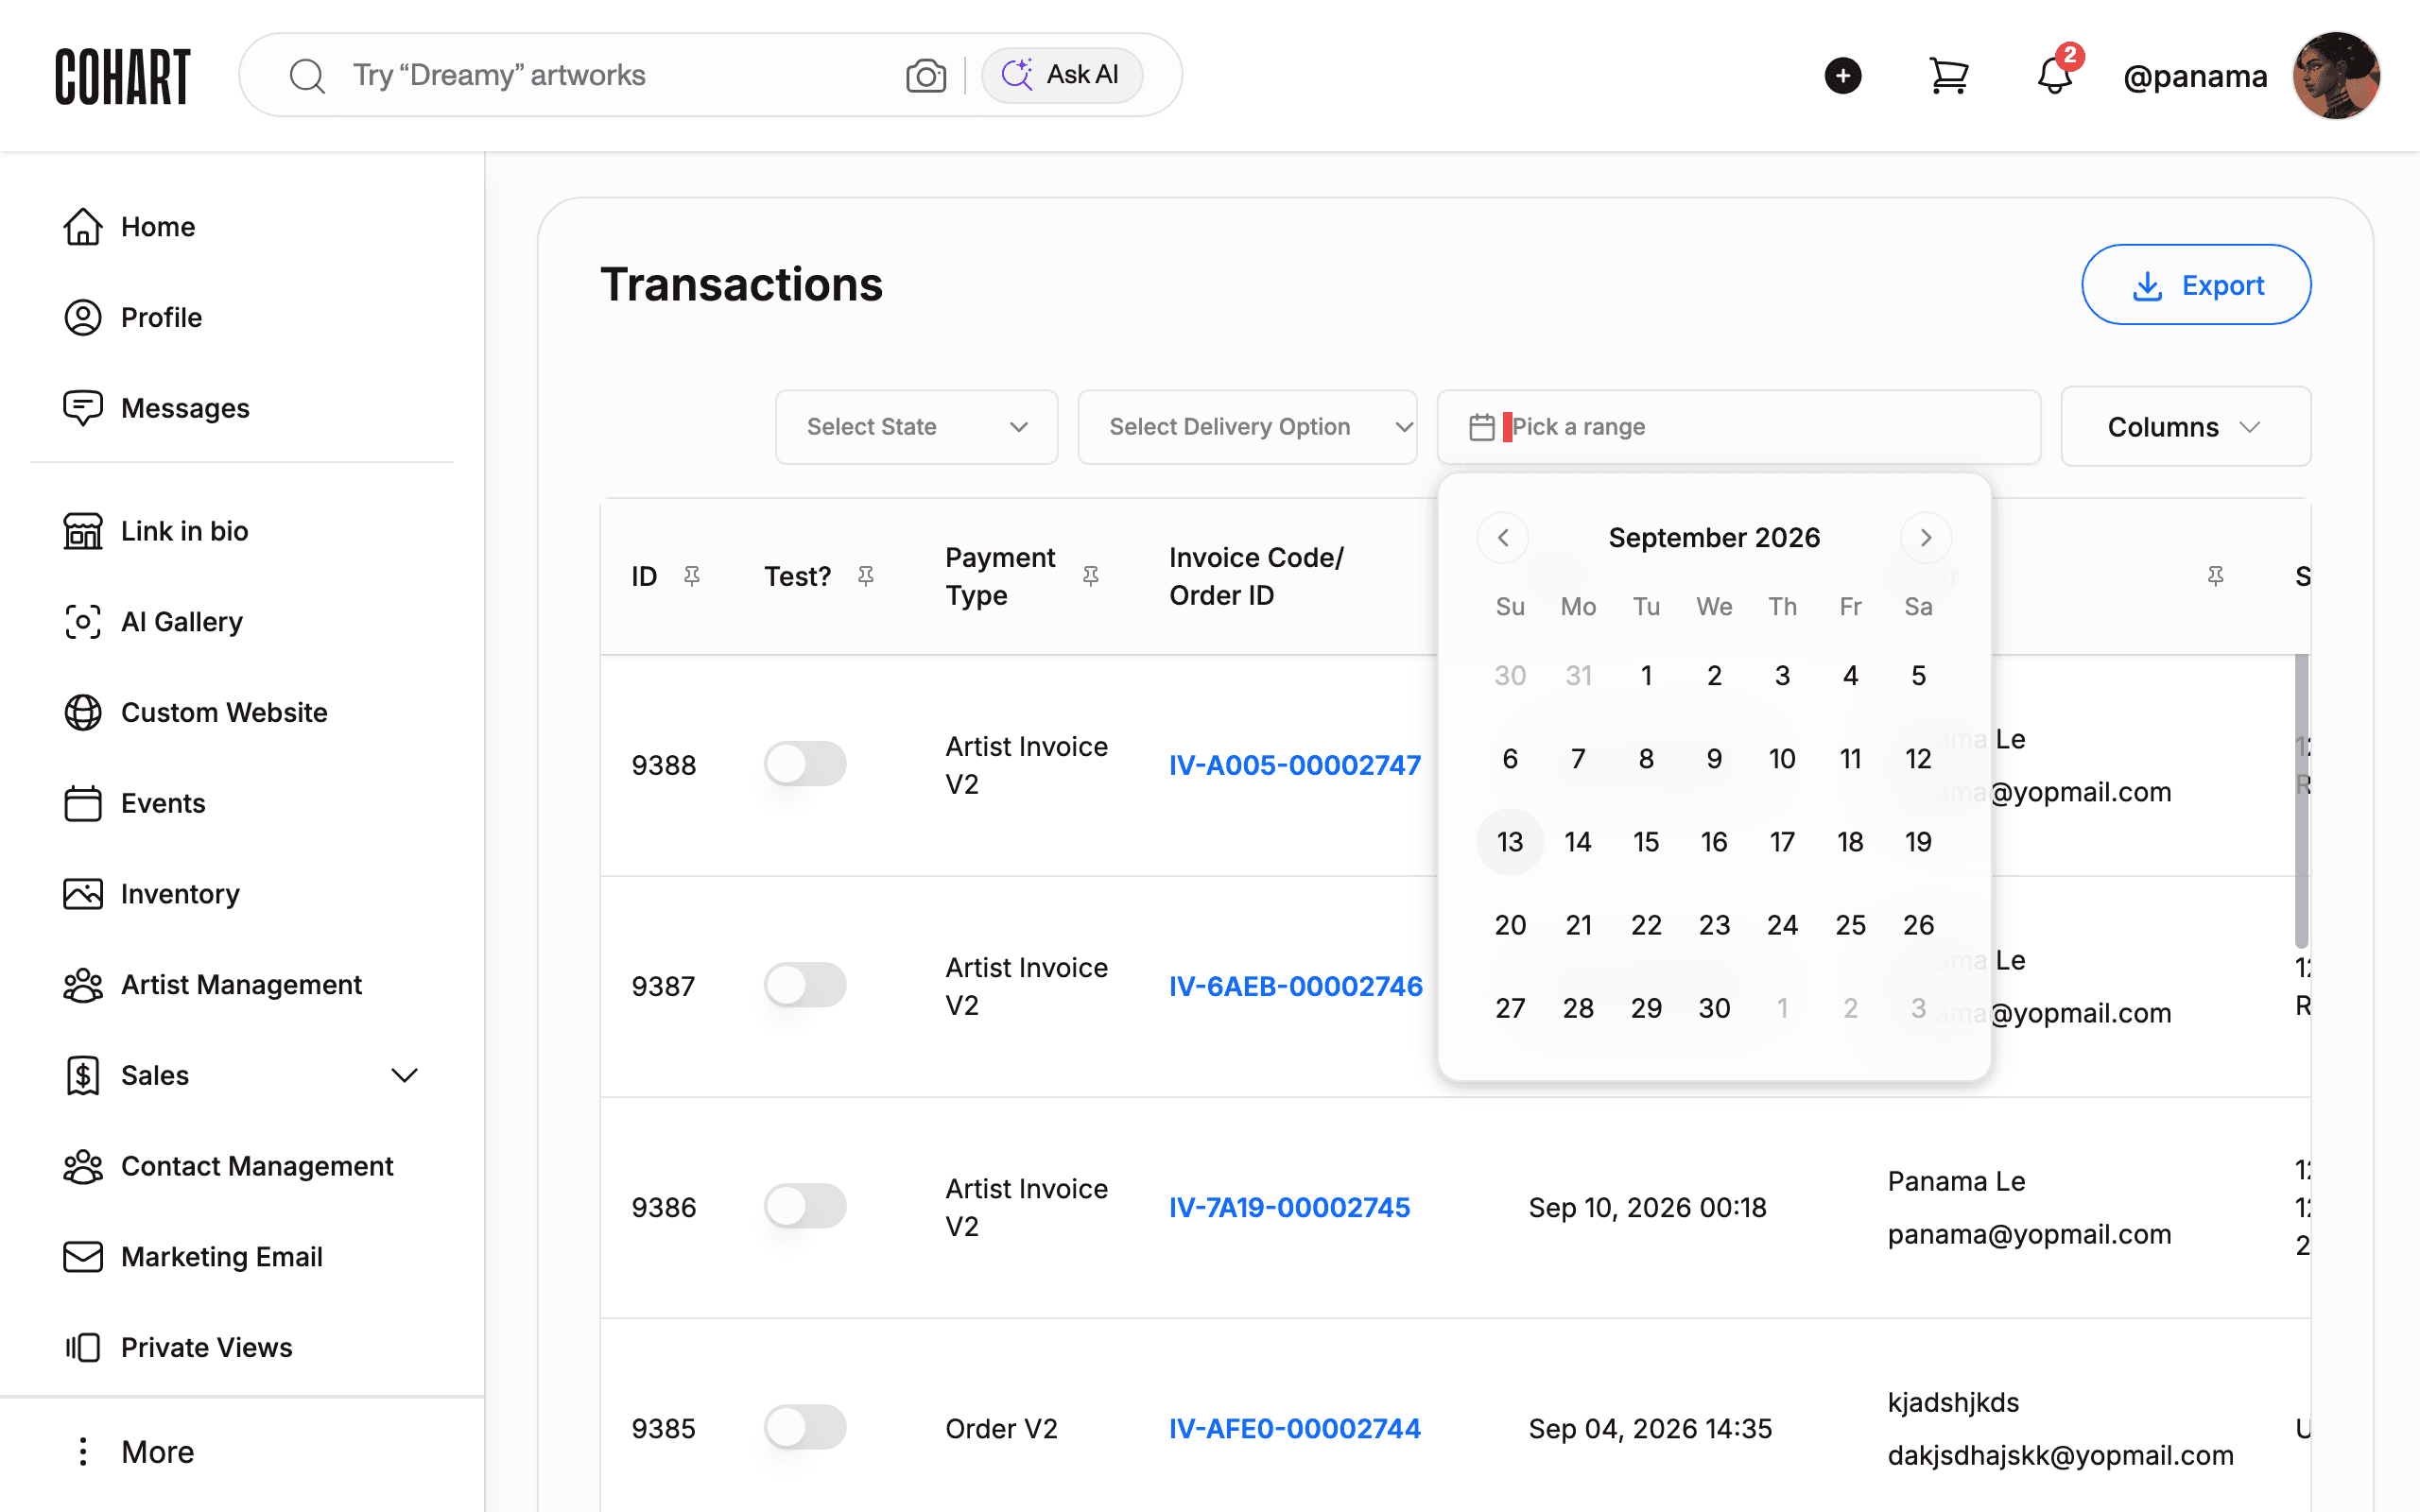
Click Pick a range.
A month calendar popup opens (day headers Su through Sa, with arrows to change month).
Choose your start and end dates on the calendar to limit the table to that period. [UNVERIFIED — check manually]
7. Show or hide columns
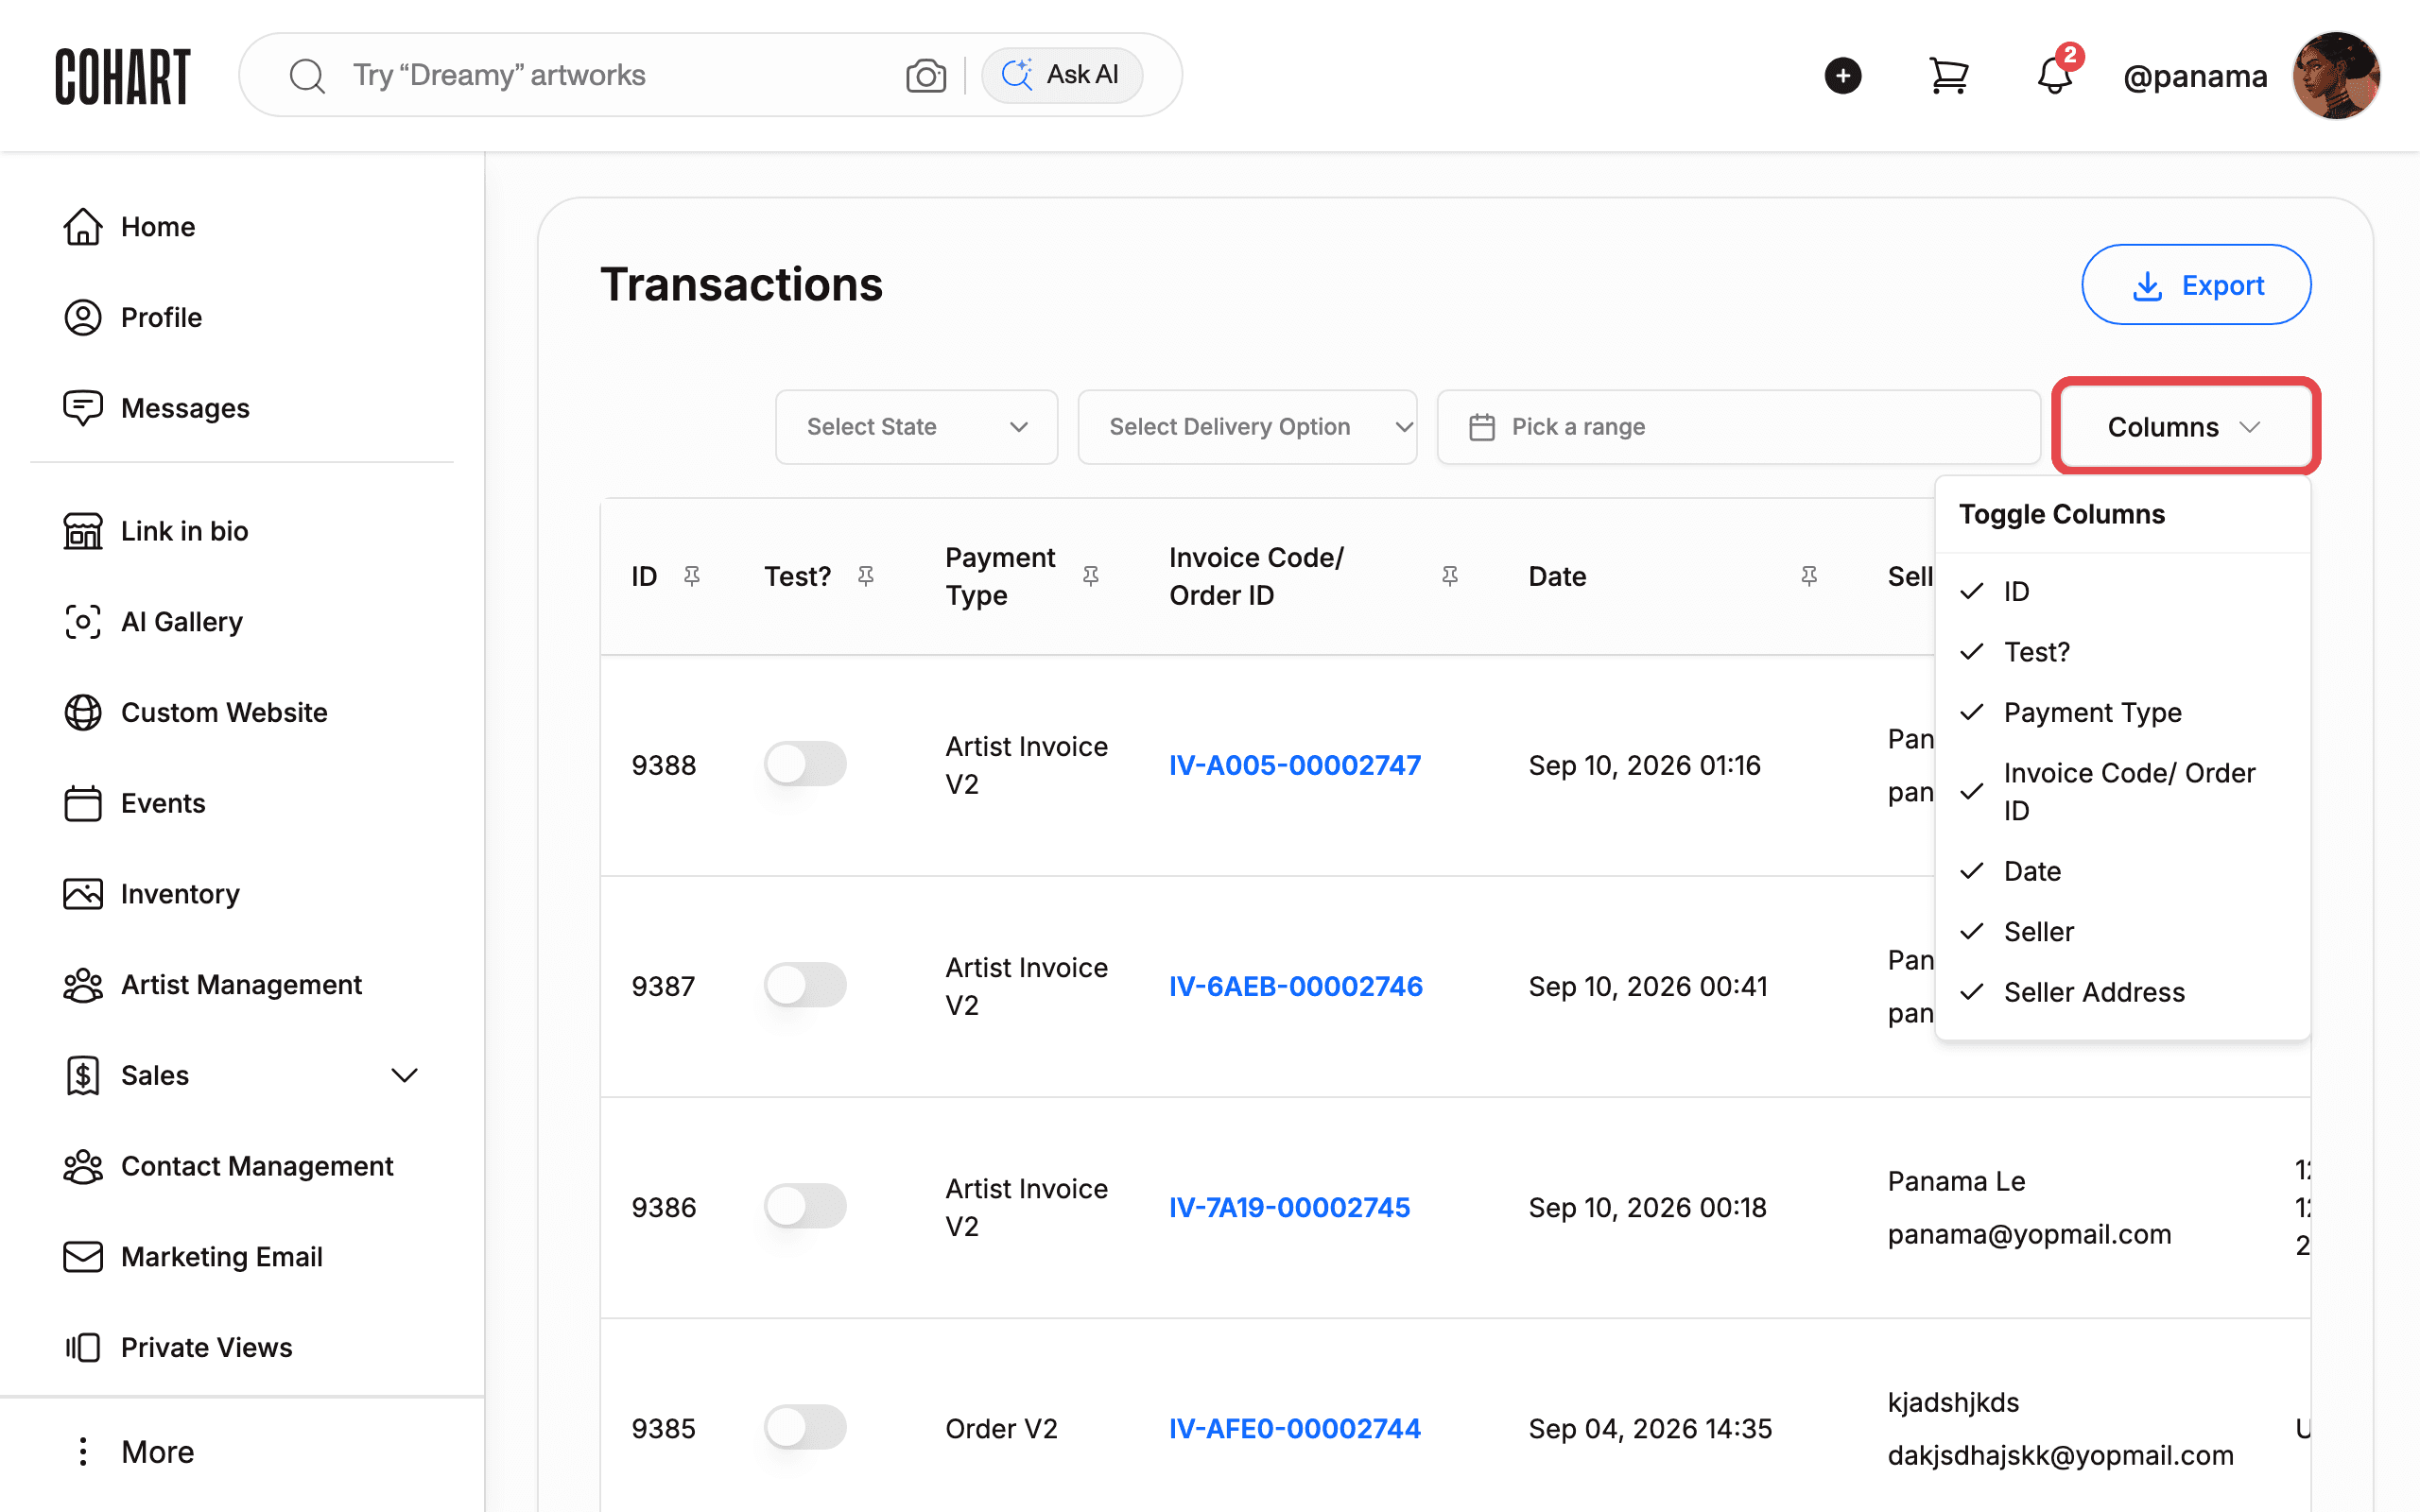
Click Columns.
A Toggle Columns panel lists every column with a checkmark.
Clear a checkbox to hide that column. Checking it again restores it. The panel closes after each change, so reopen Columns for every additional change.
8. Compare the seller Transactions page
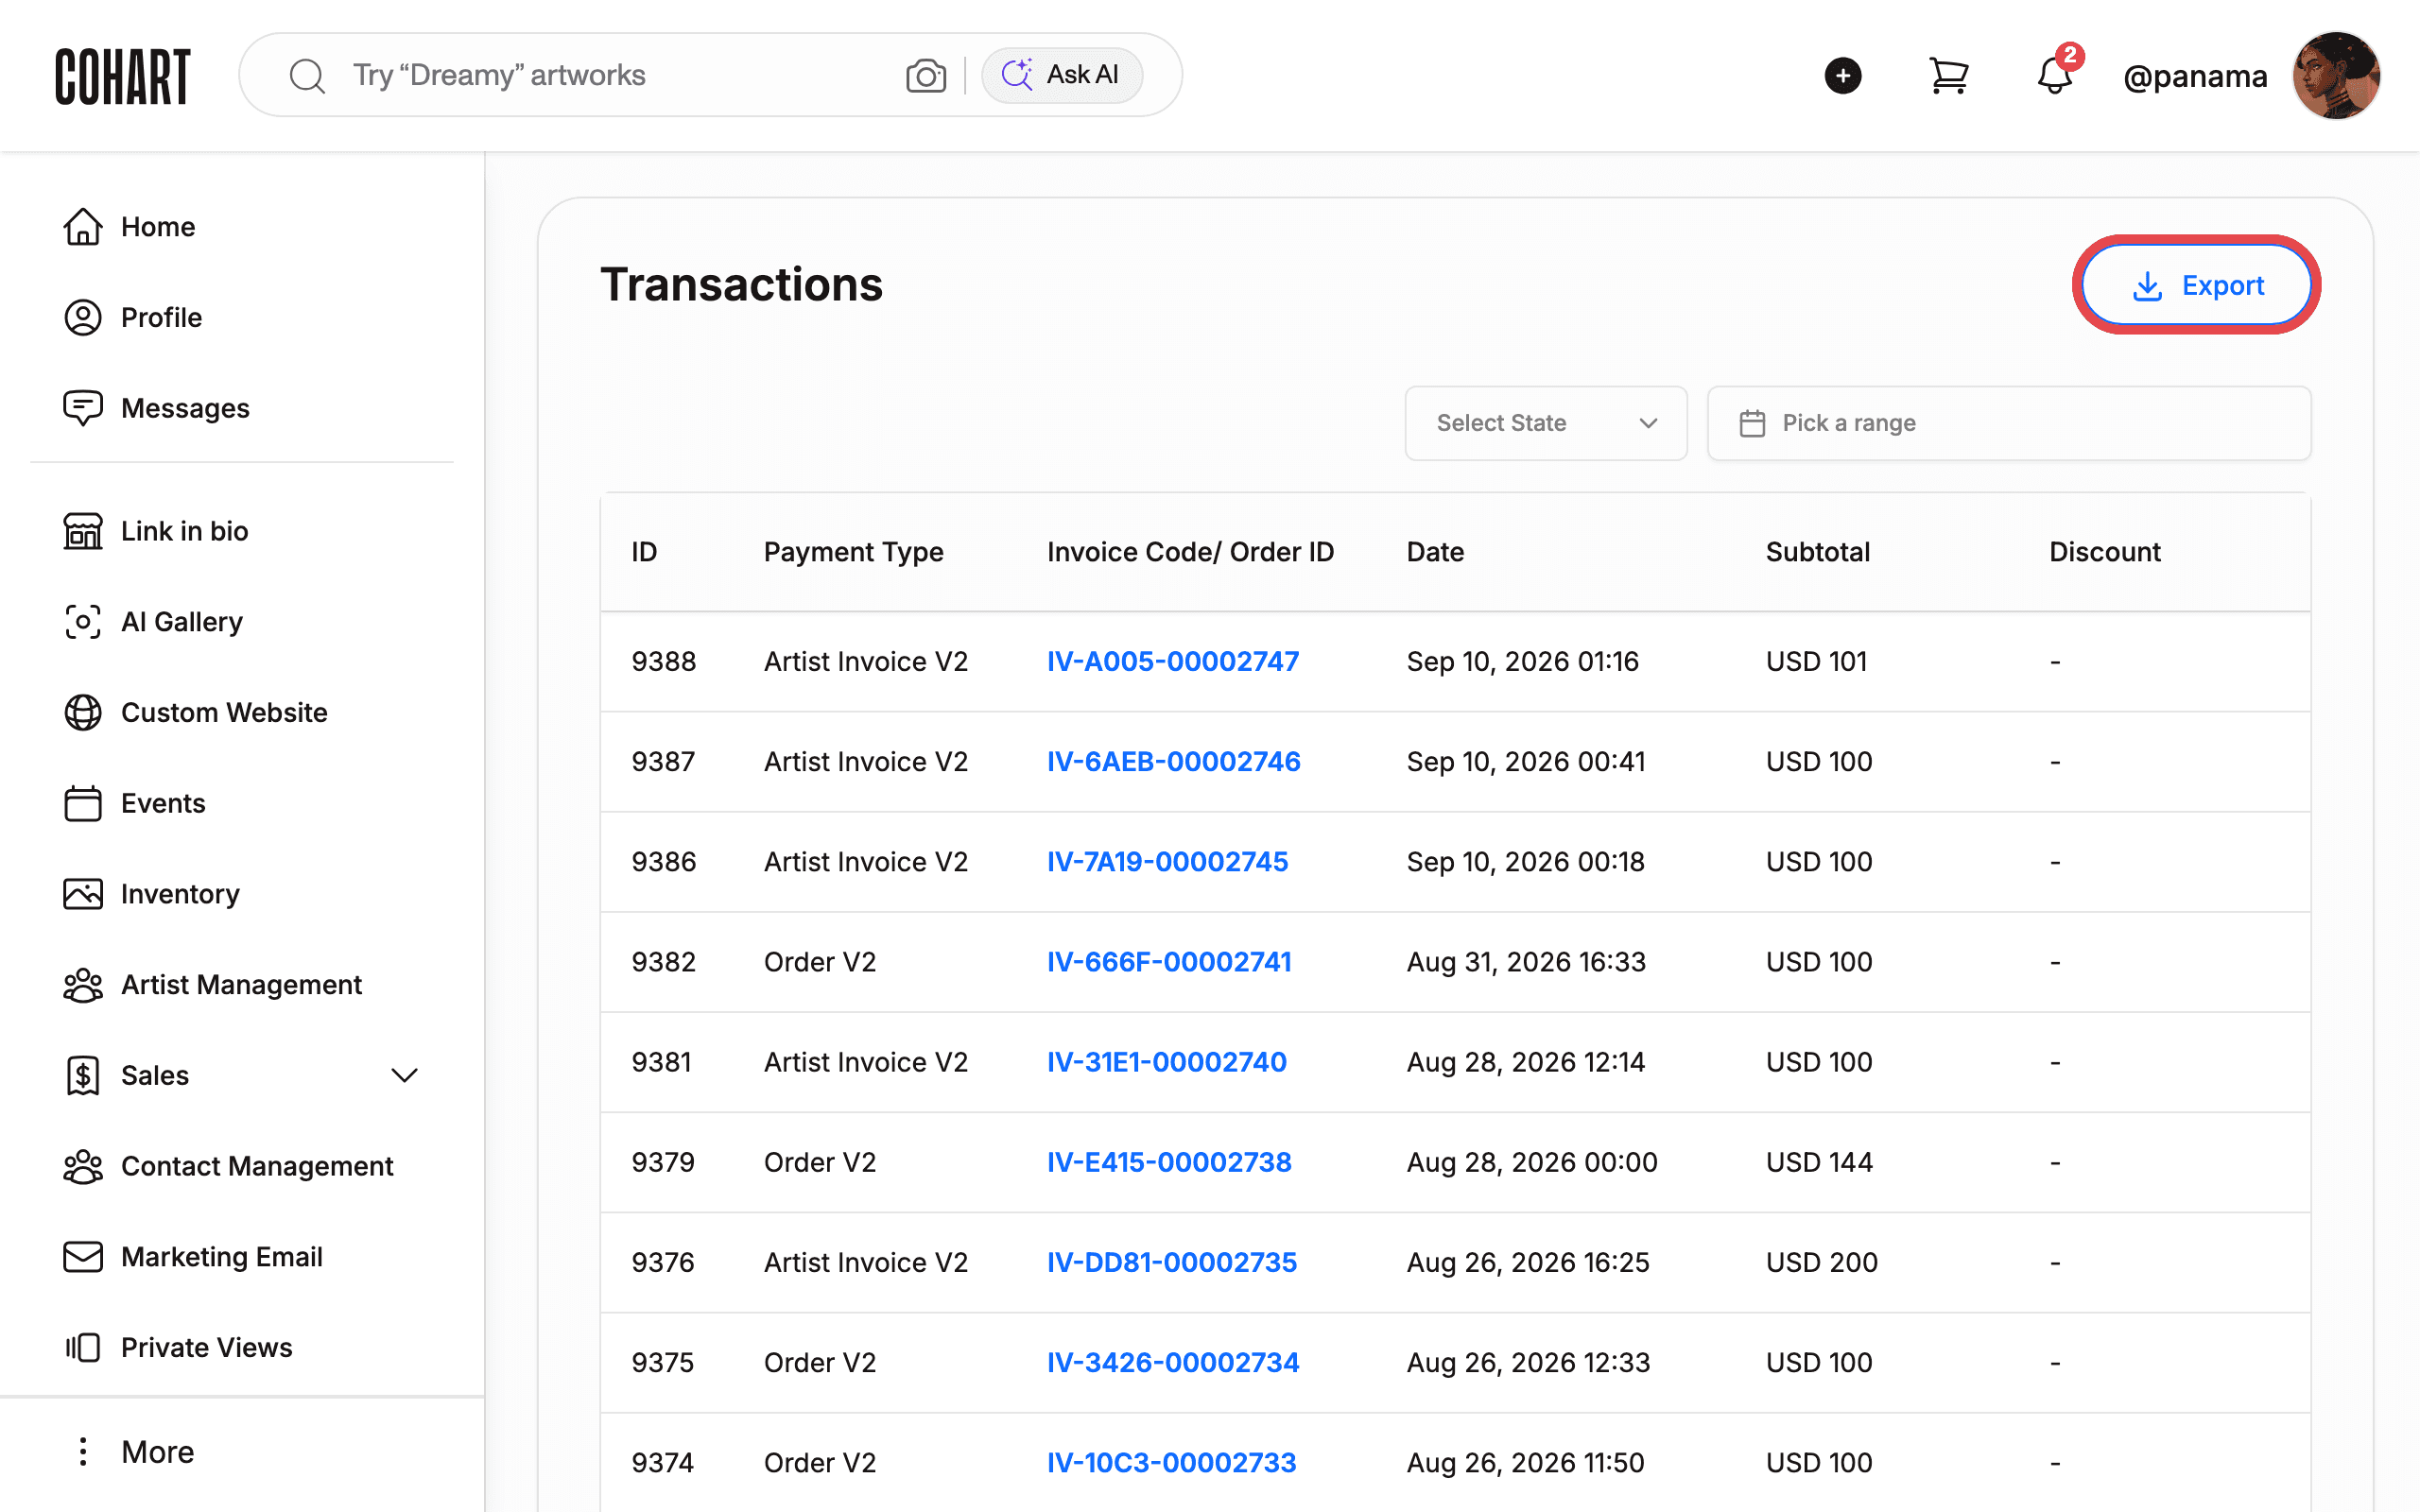
Open the seller Transactions page while signed in.
The seller page is slimmer. Its toolbar has only Export, Select State, and Pick a range. There is no Select Delivery Option and no Columns button.
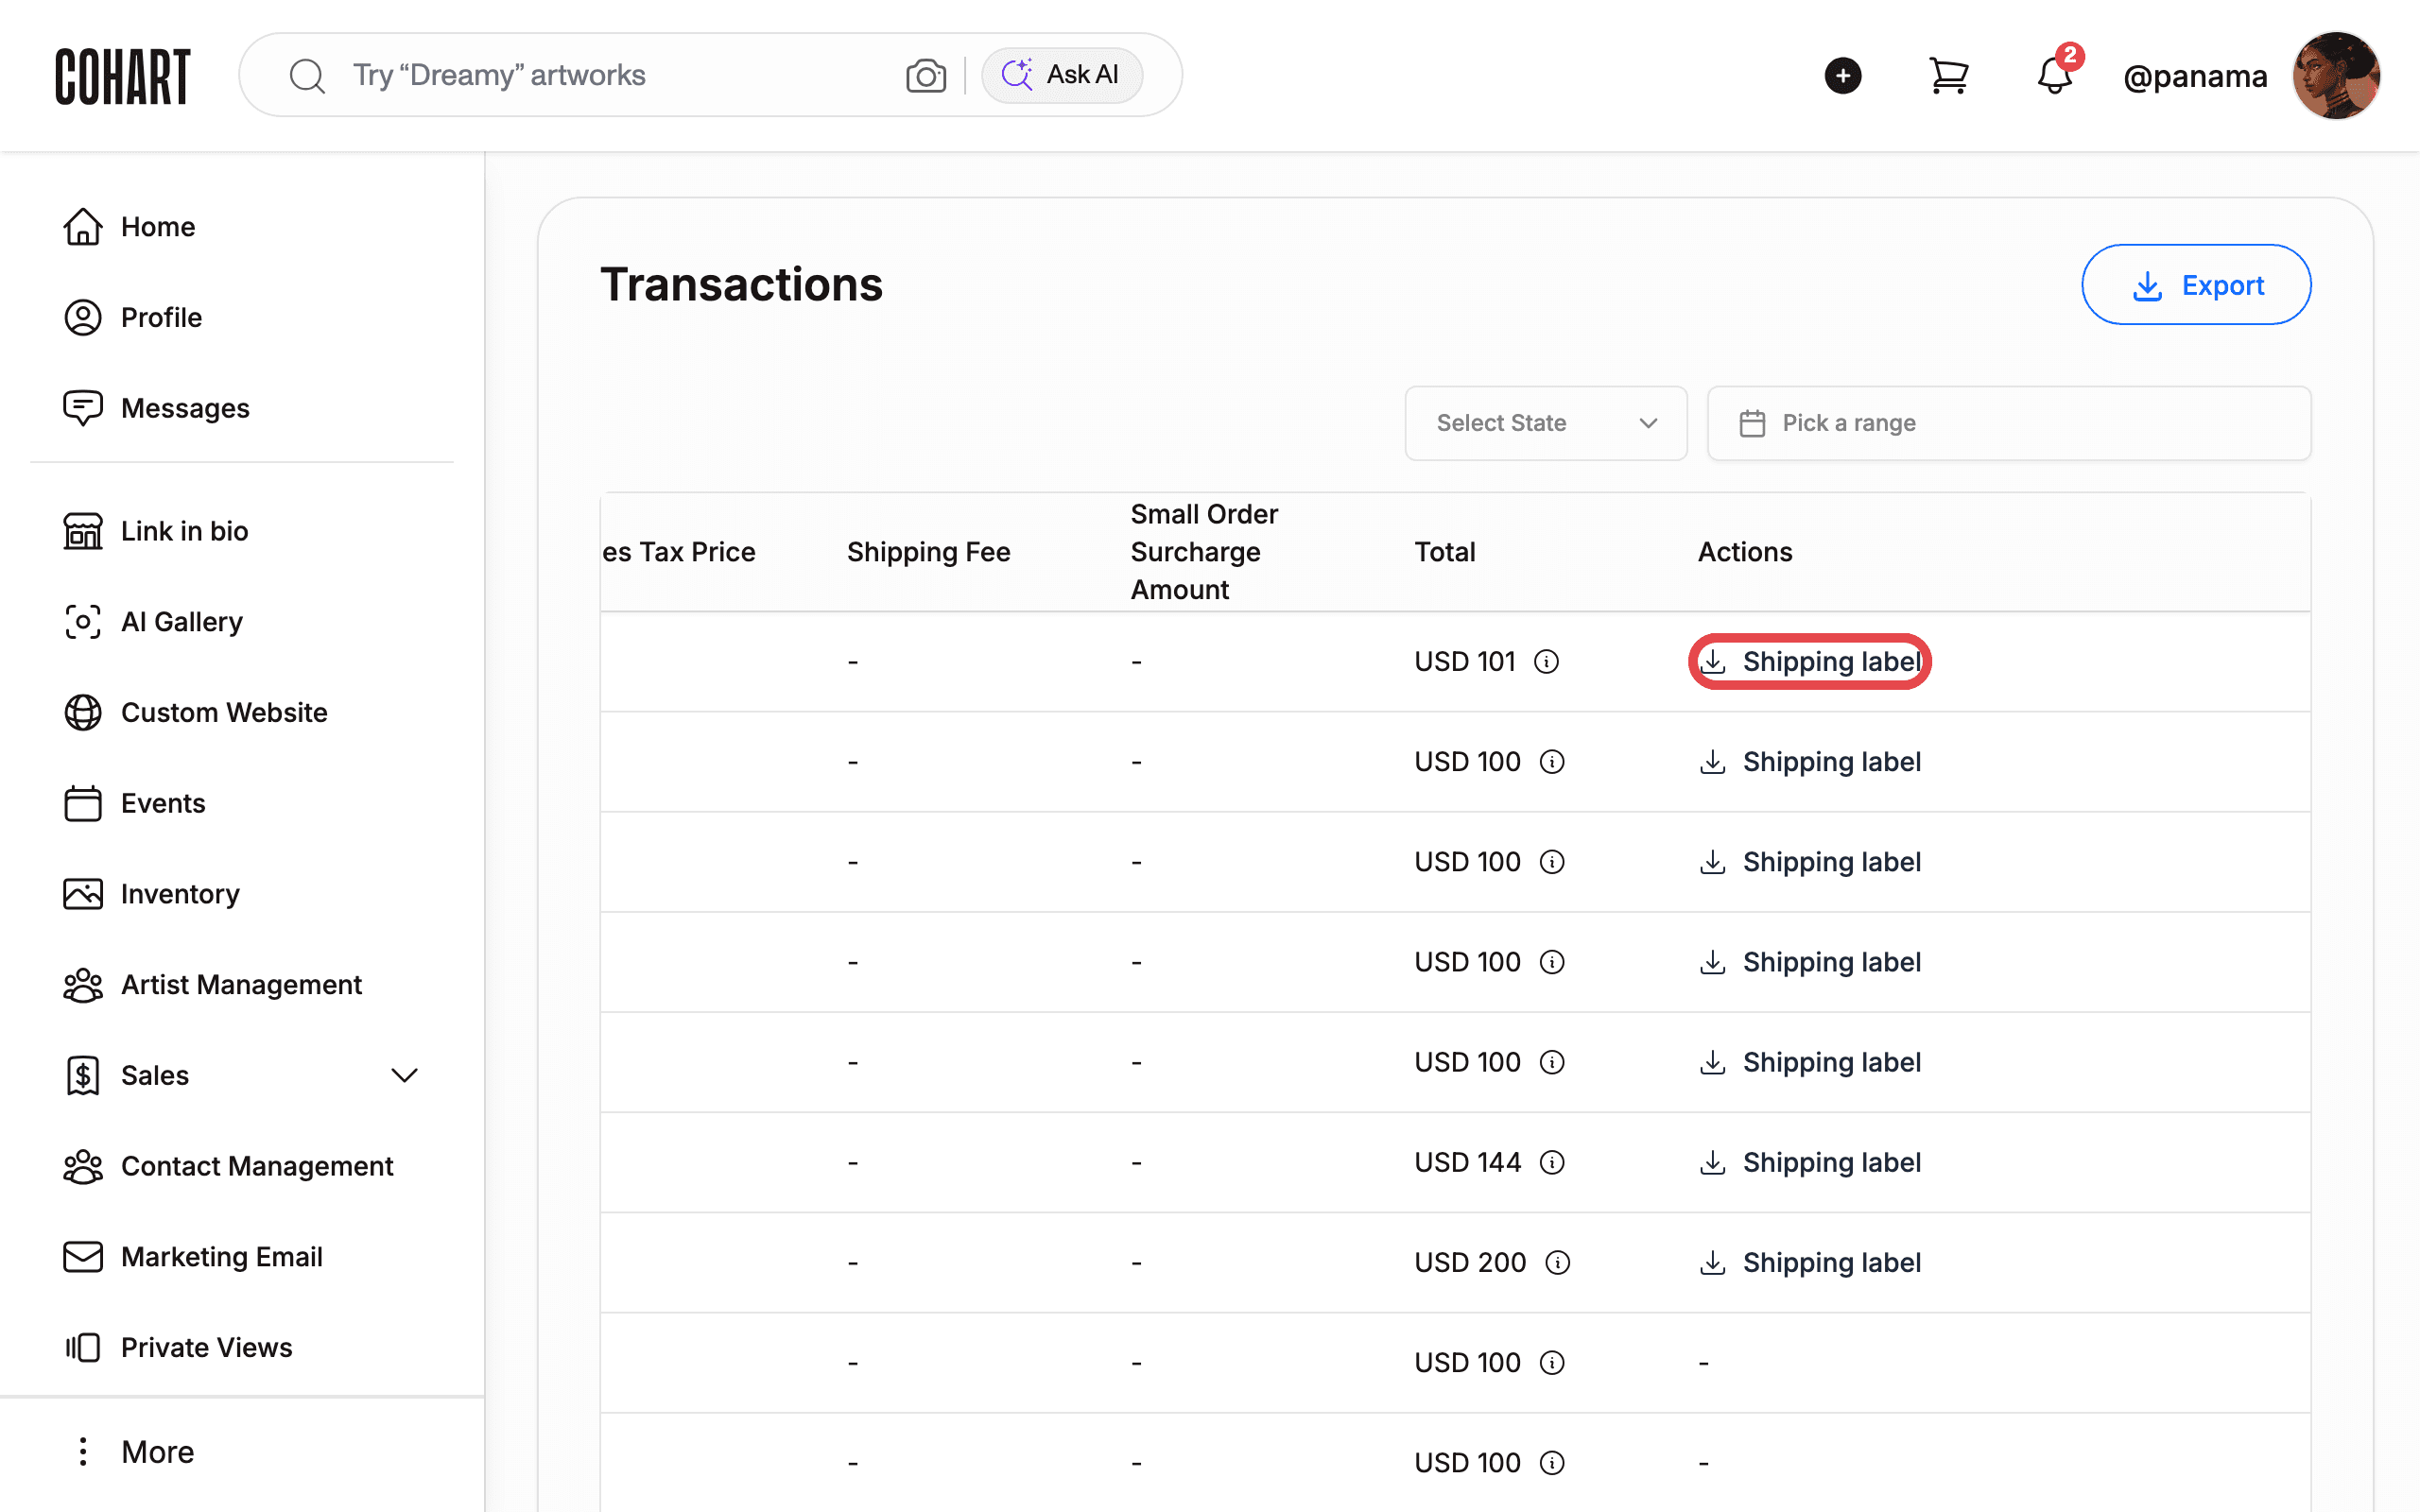
Its table has 17 columns: ID, Payment Type, Invoice Code/ Order ID, Date, Subtotal, Discount, ZIP Code, State, City, County, Country, Sales Tax Rate, Sales Tax Price, Shipping Fee, Small Order Surcharge Amount, Total, and Actions. There is no Test? or Seller column because sellers only see their own orders. Export here also downloads a timestamped CSV.
9. Read the seller row actions
Scroll the seller table all the way to the right.
The Total column carries an info icon per row. The Actions column shows a Shipping label button (download icon) on shipped rows. Rows without a label show -. Click Shipping label to download that order’s label.
Tips
- After sign-in you land on the inventory page, not Transactions. Always navigate via Admin > Transactions for the global view. (Sales also lists a Transactions entry.)
- Each table header shows a small pin icon (Pin column). Its exact behavior was not confirmed. [UNVERIFIED — check manually]
- On your first visit a cookie banner offers Preferences, Reject all, and Accept all. Choosing any option is safe.
- The Test? column shows an on/off switch per row that flags the record as a test order. Flipping it may change the record, so leave it unchanged.
Troubleshooting
- The table looks empty → the rows load a few seconds after the page shell appears → wait before assuming there is no data.
- Shipping label buttons seem missing → row action buttons render as rows scroll into view → scroll the table horizontally to the far right first.